DIY Kitchen Ideas: A Step-by-Step Guide to Painting Laminate Countertops
This post contains affiliate links. When you purchase through links on our site, we may earn a small commission at no additional cost to you. As an Amazon Associate we earn from qualifying purchases.
We only recommend products we would use ourselves and all opinions expressed here are our own.
Read the full disclaimer here.
One of the first projects that we tackled after buying our 1980’s fixer upper was our kitchen refresh. This included painting our kitchen cabinets and updating our laminate countertops with a concrete feather finish.

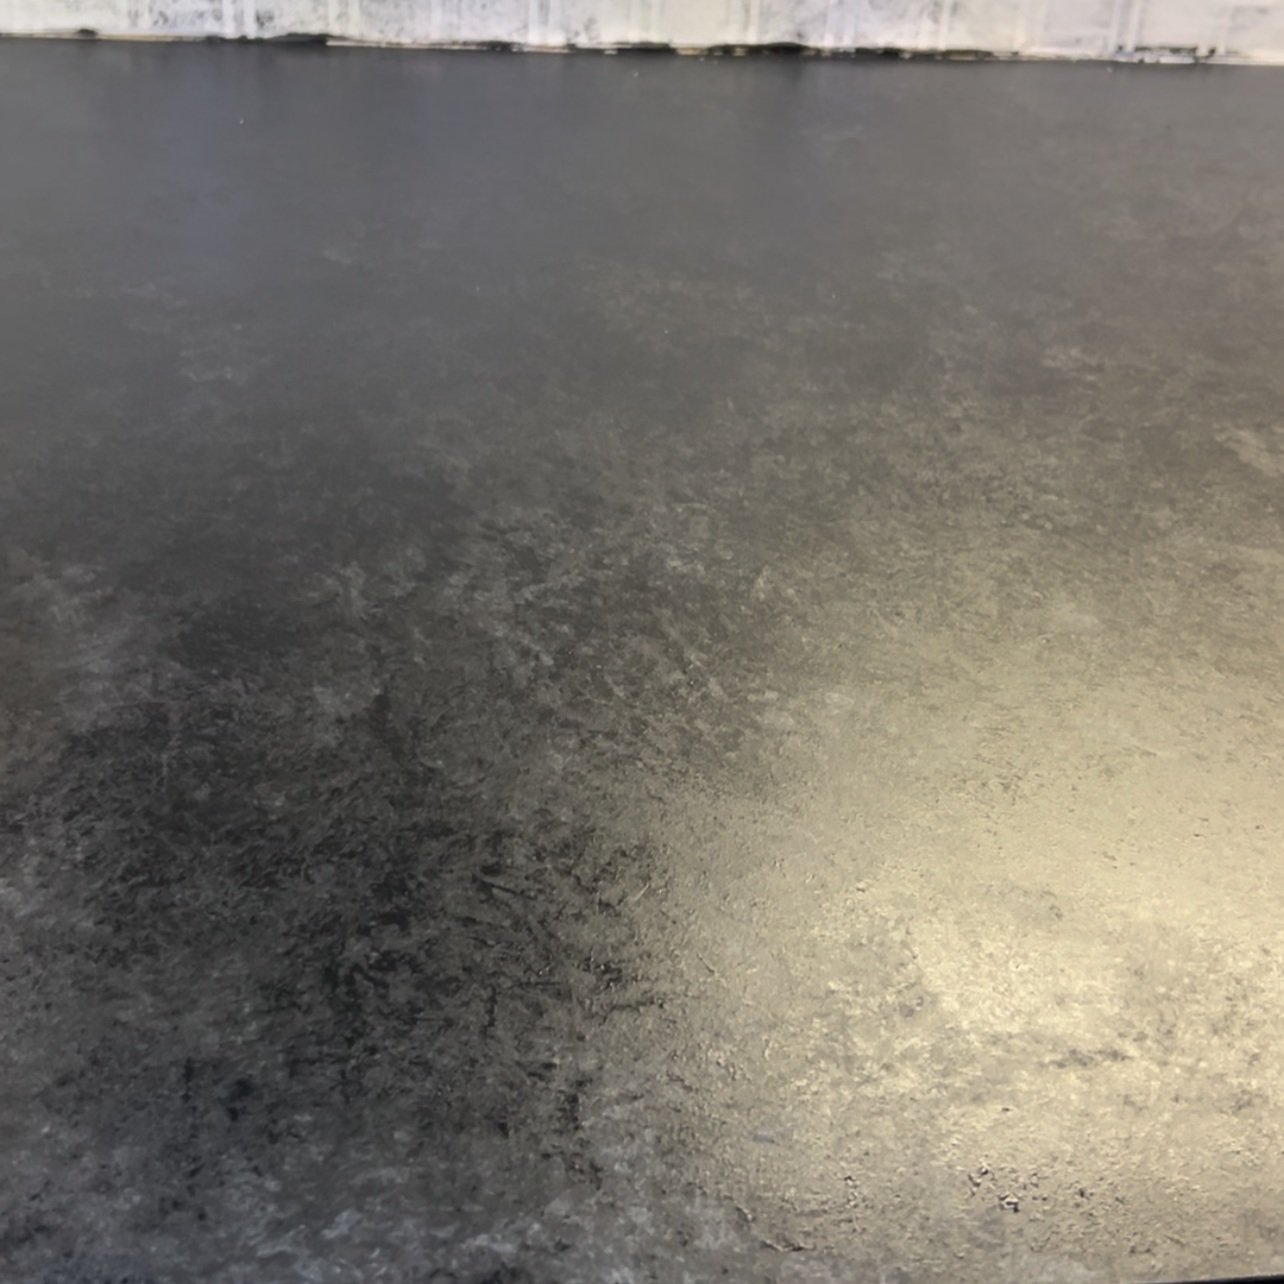
The Before: the concrete feather finish countertops

The Before: Removing the concrete feather finish to prep for painting
However, over the last two years of DIY renovating our home, we’ve learned many new things about home decor and our own personal style.
While we learned a lot while completing our first kitchen refresh, it no longer fit the vision that we want for our home. The bright white of the concrete feather finish countertops, white tile floors that the previous owners installed, and the bright green cabinets felt way too harsh and cold for this space.
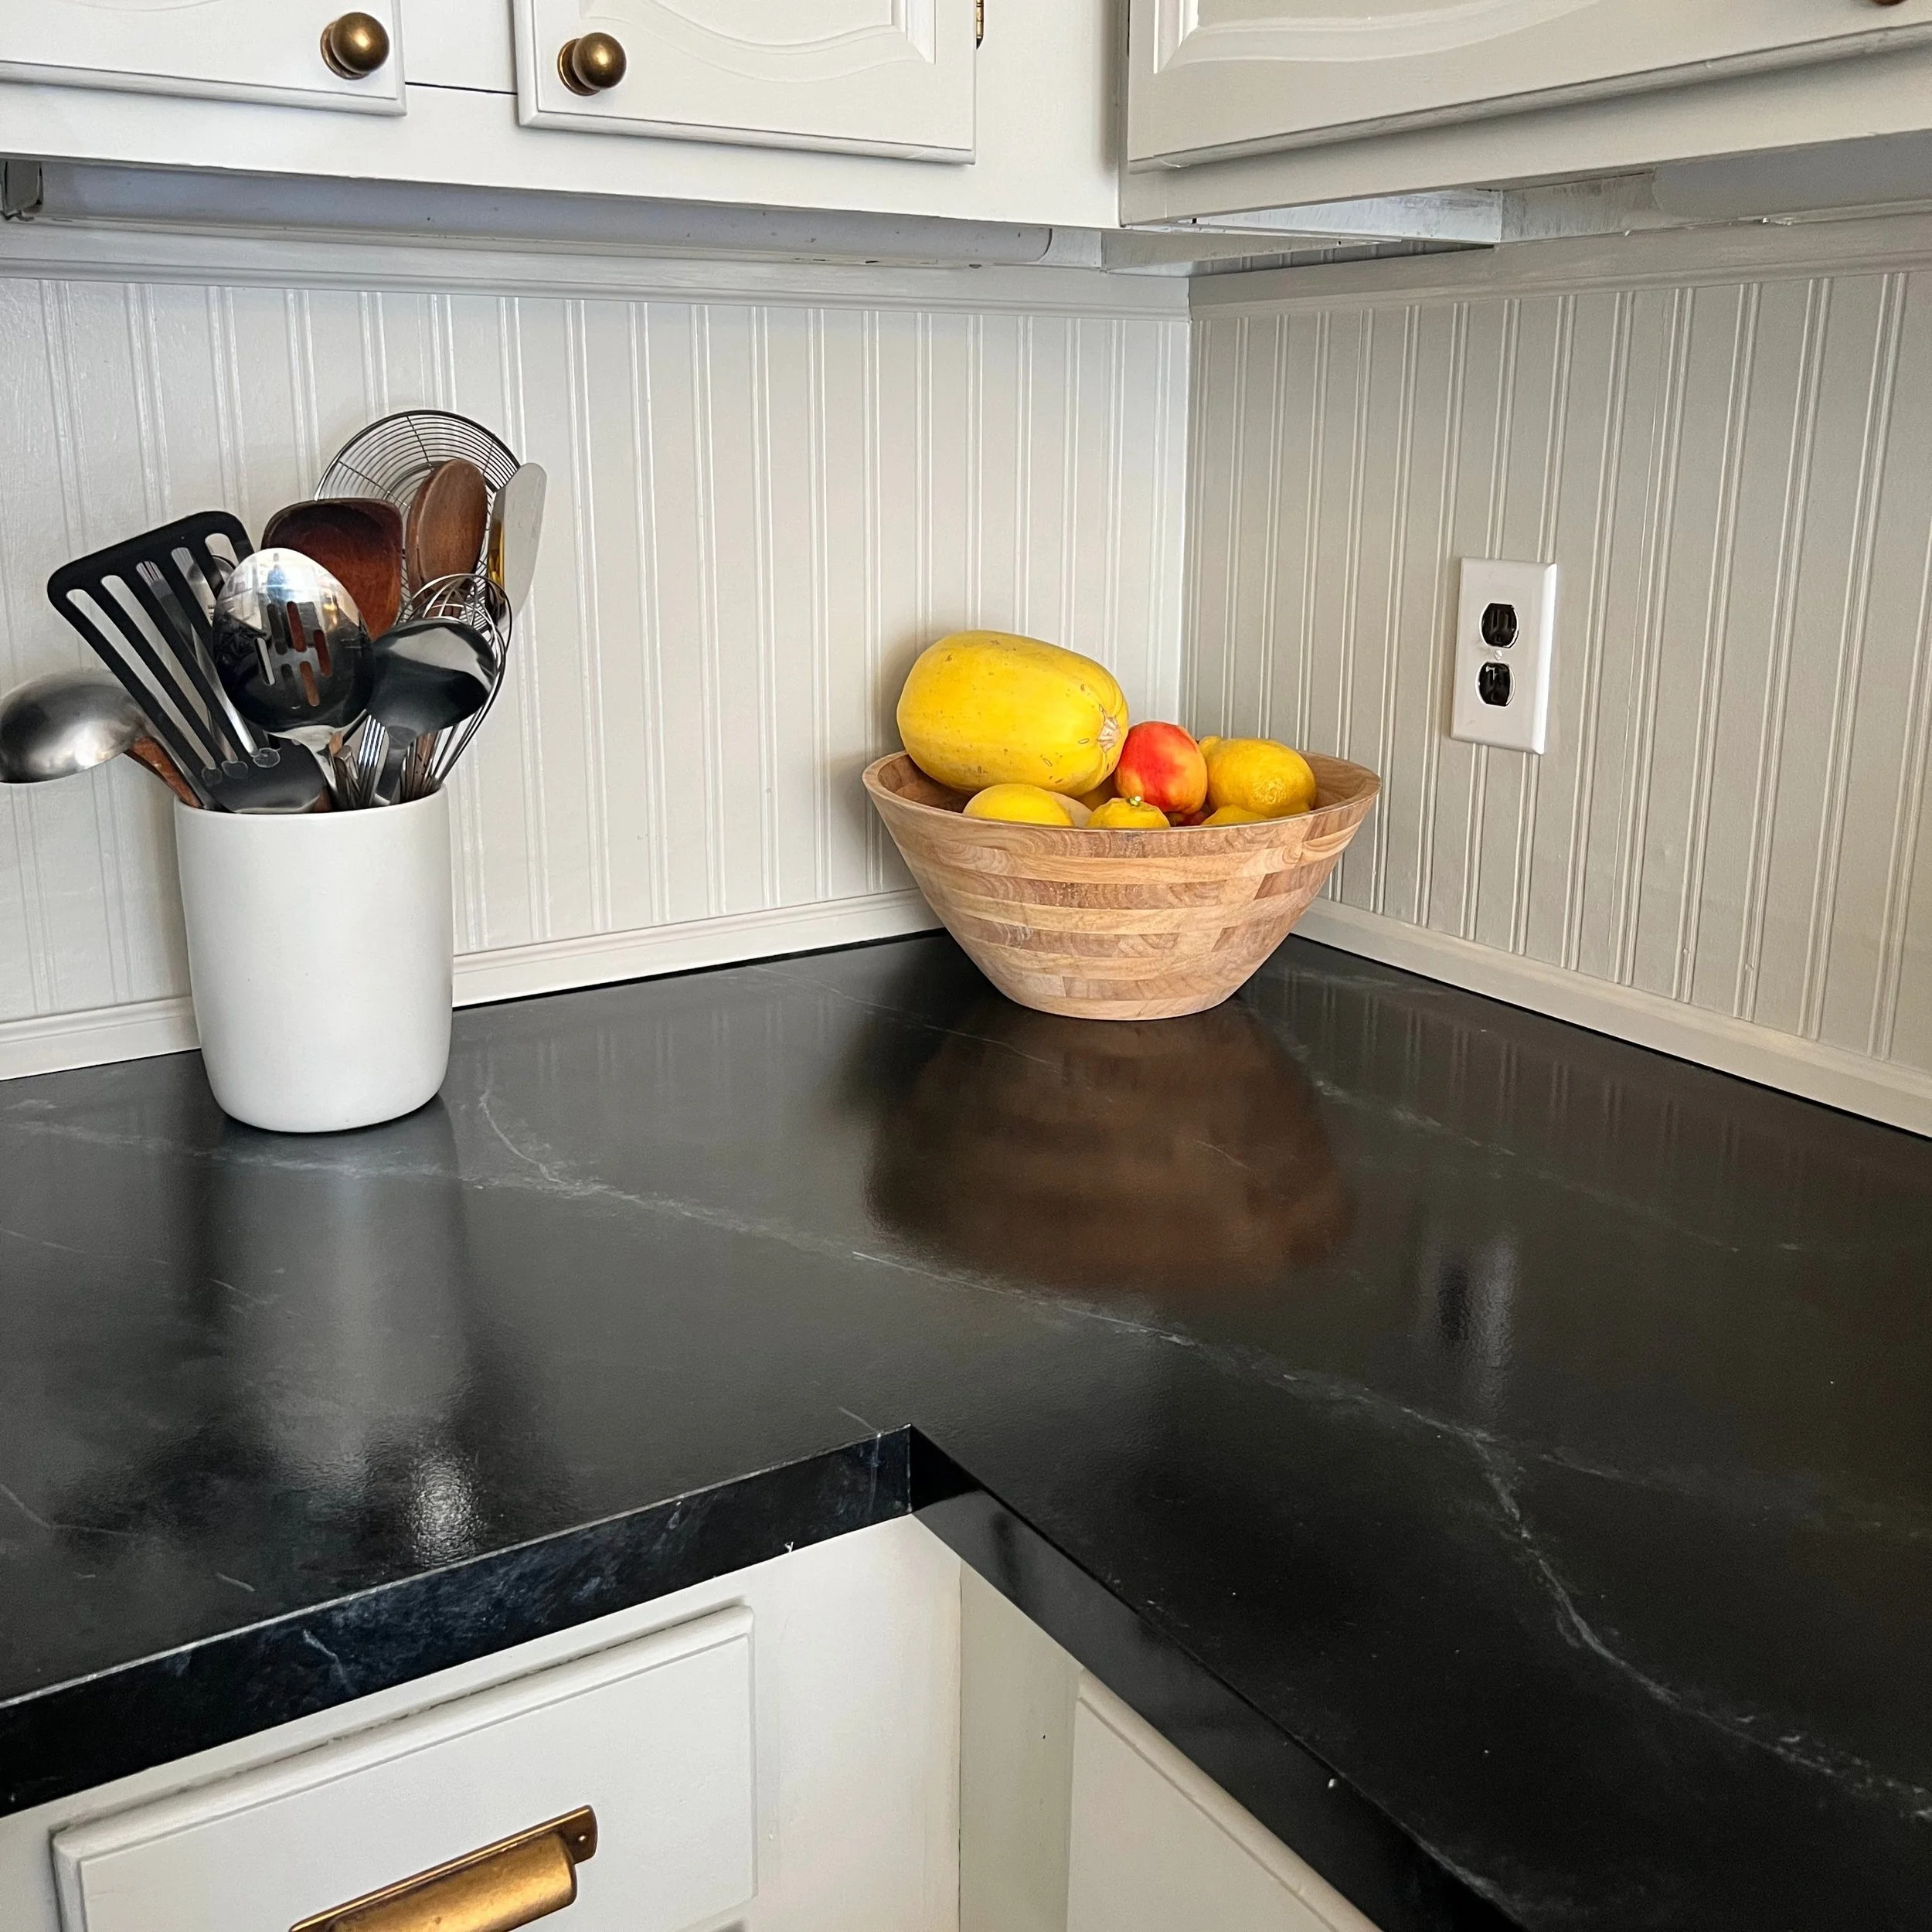
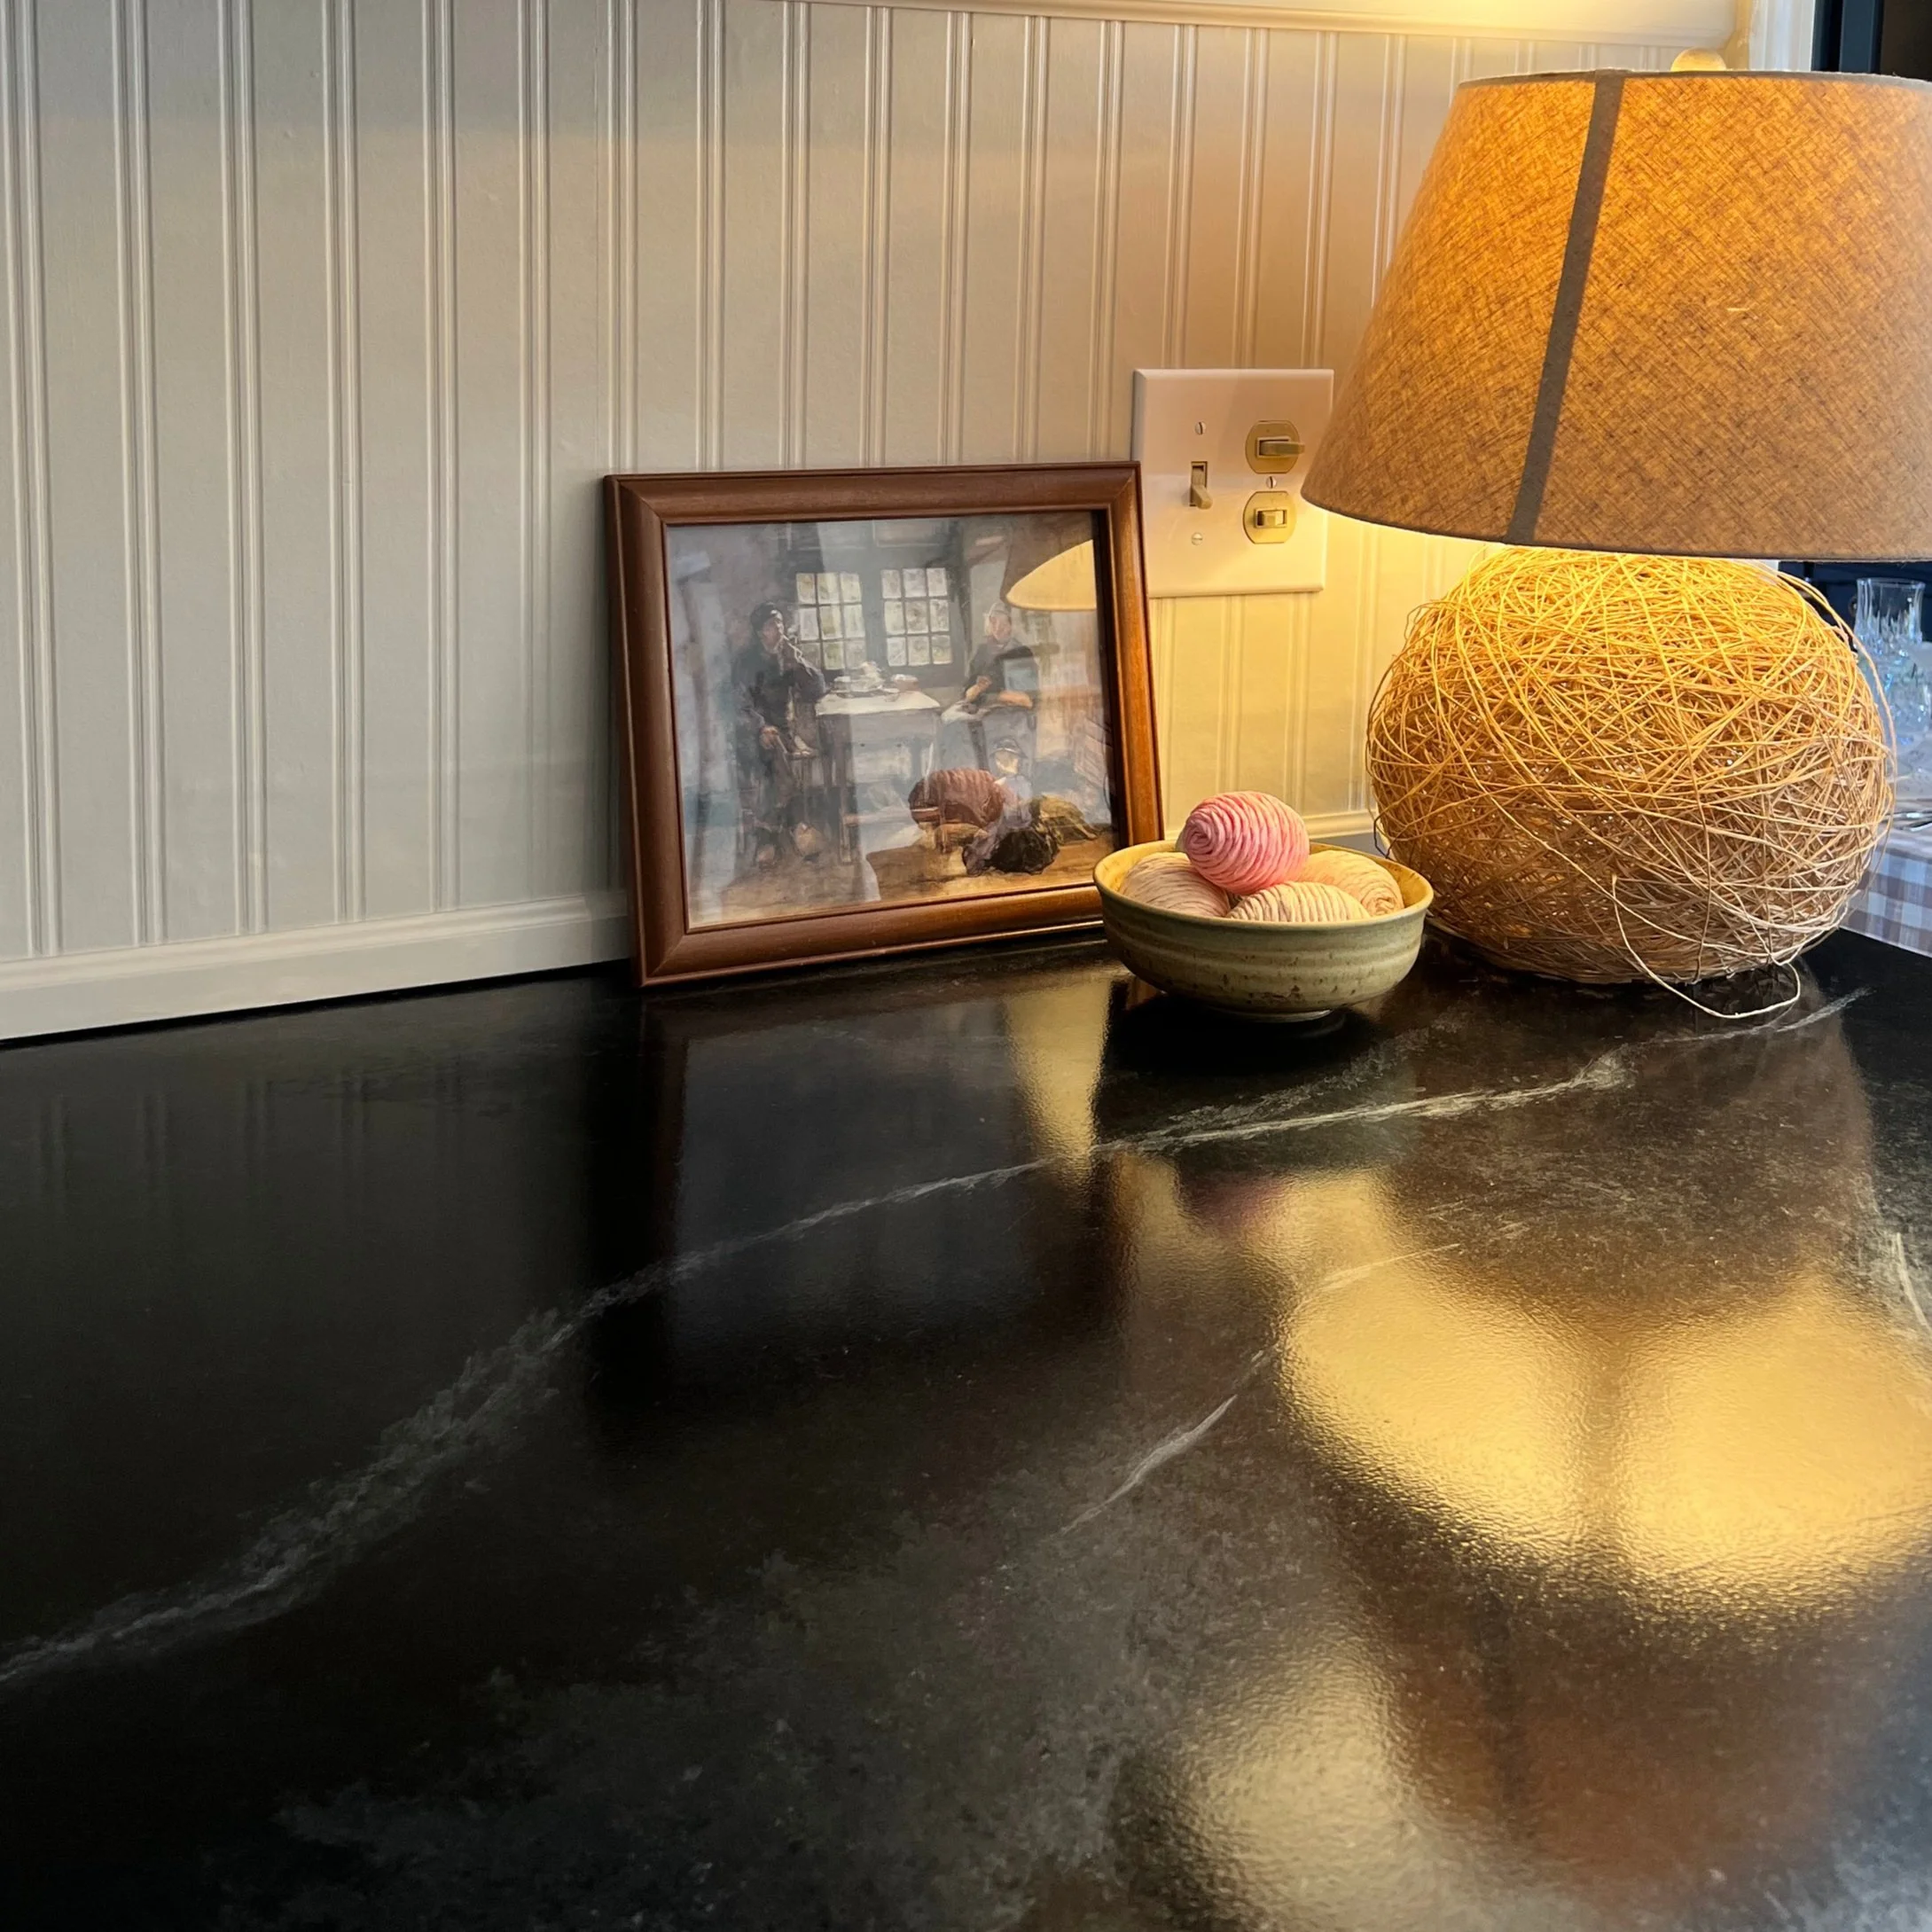
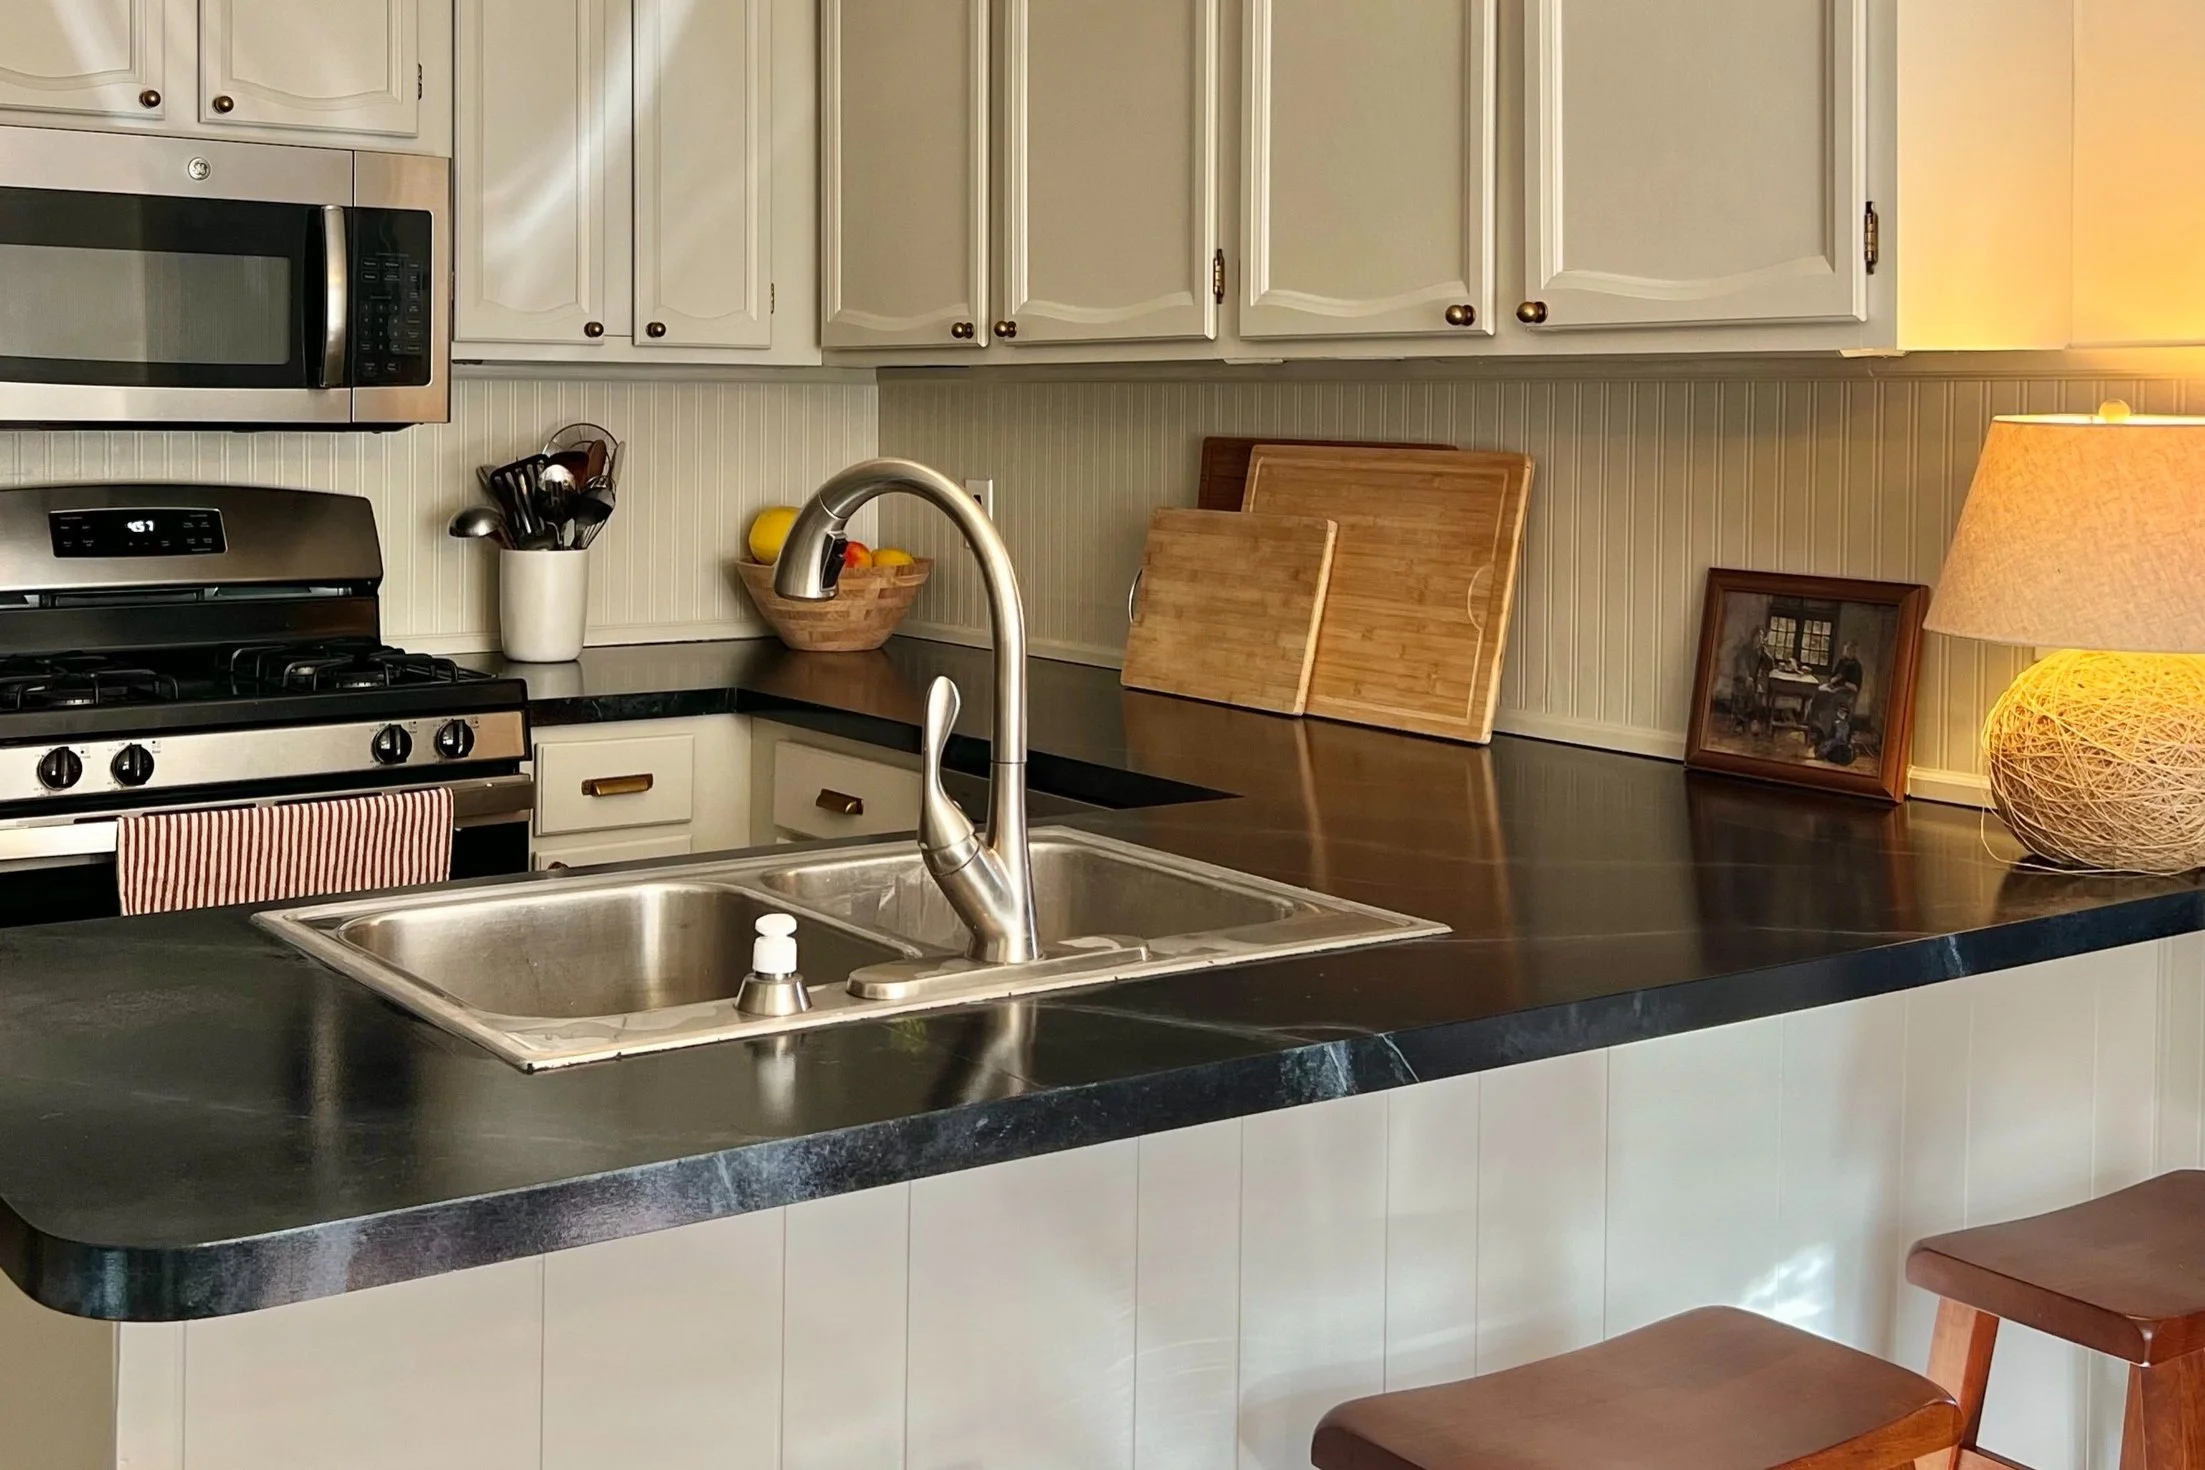
The After: the painted and sealed countertops
And, since we love to cook and hang out in our kitchen, we decided it was time to warm up the space with another kitchen refresh before undergoing a full renovation down the road.
Since this is another budget-friendly kitchen update, we decided to kick off this project by removing the concrete feather finish (we carefully used a wood chisel for this), and paint the original laminate with the Giani Granite Countertop Paint Kit.
Why Paint Laminate Countertops?
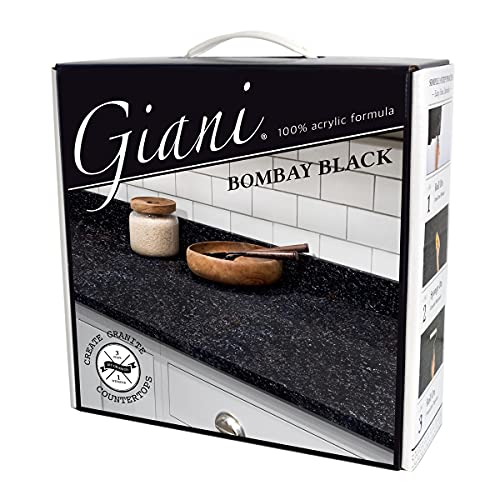
We purchased the Giani Granite Countertop Paint Kit in the shade Bombay Black for around $100, making it an incredibly affordable way to update our laminate countertops while we save for new countertops in the meantime.
Giani Inc. offers other countertop kits as well—including epoxy countertop kits, which are about the most durable, budget friendly countertop option out there. However, since we only need this countertop update to last for a year or two because we plan to do a full kitchen renovation down the road, we decided to go with the acrylic paint kit.
This countertop paint kit was incredibly easy to use, had very little odor, and dried quickly. We love how our painted countertops turned out, and can’t wait to share the process with you!
Preparing to Paint Laminate Countertops
Giani Inc. offers a ton of different color combinations in their countertop paint kits. Even though the kit we bought is intended to create a granite effect, I had a vision for mushroom-greige cabinets with painted faux soapstone countertops (more on how we created this effect below)
The kit comes with a paint roller, sponge, a sponge brush, but we used a couple of additional materials to create the soapstone effect:
Materials You’ll Need
Painter’s tape
Plastic grocery bag or trash bag
Scissors

Our original laminate countertops before the concrete feather finish
Prepping Your Countertops
Prior to painting, we thoroughly cleaned out our countertops—once with soap and water, and another time with just water to make sure we removed all dirt and grease.
Once the countertops were clean, I lightly sanded the laminate with 220 grit sandpaper to prep the surface for the paint to adhere to. Then, I wiped the surface down with a wet cloth twice to make sure all of the dust was removed.
Countertop Paint Application Process
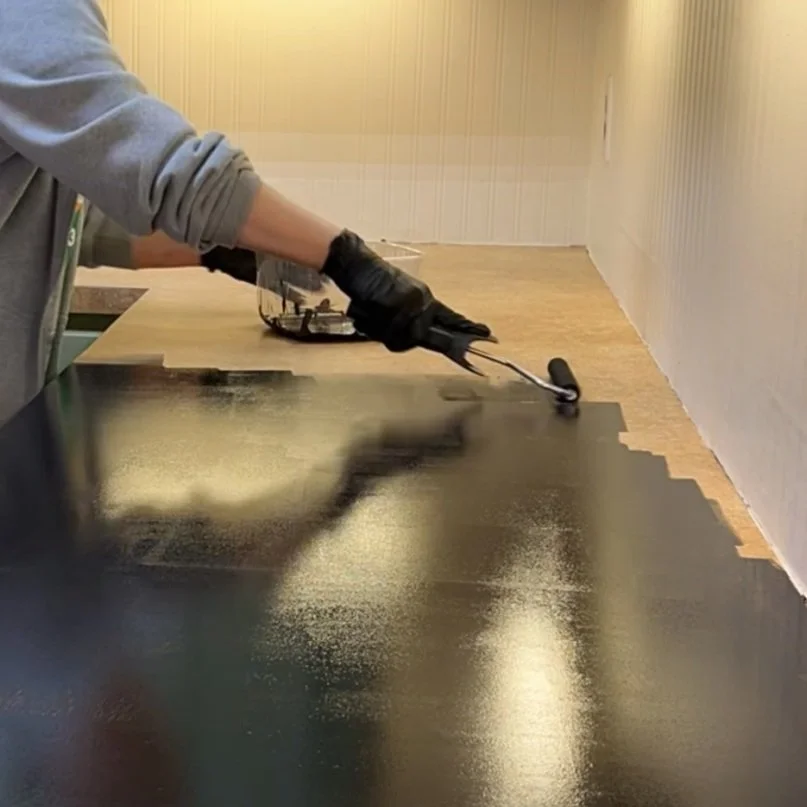

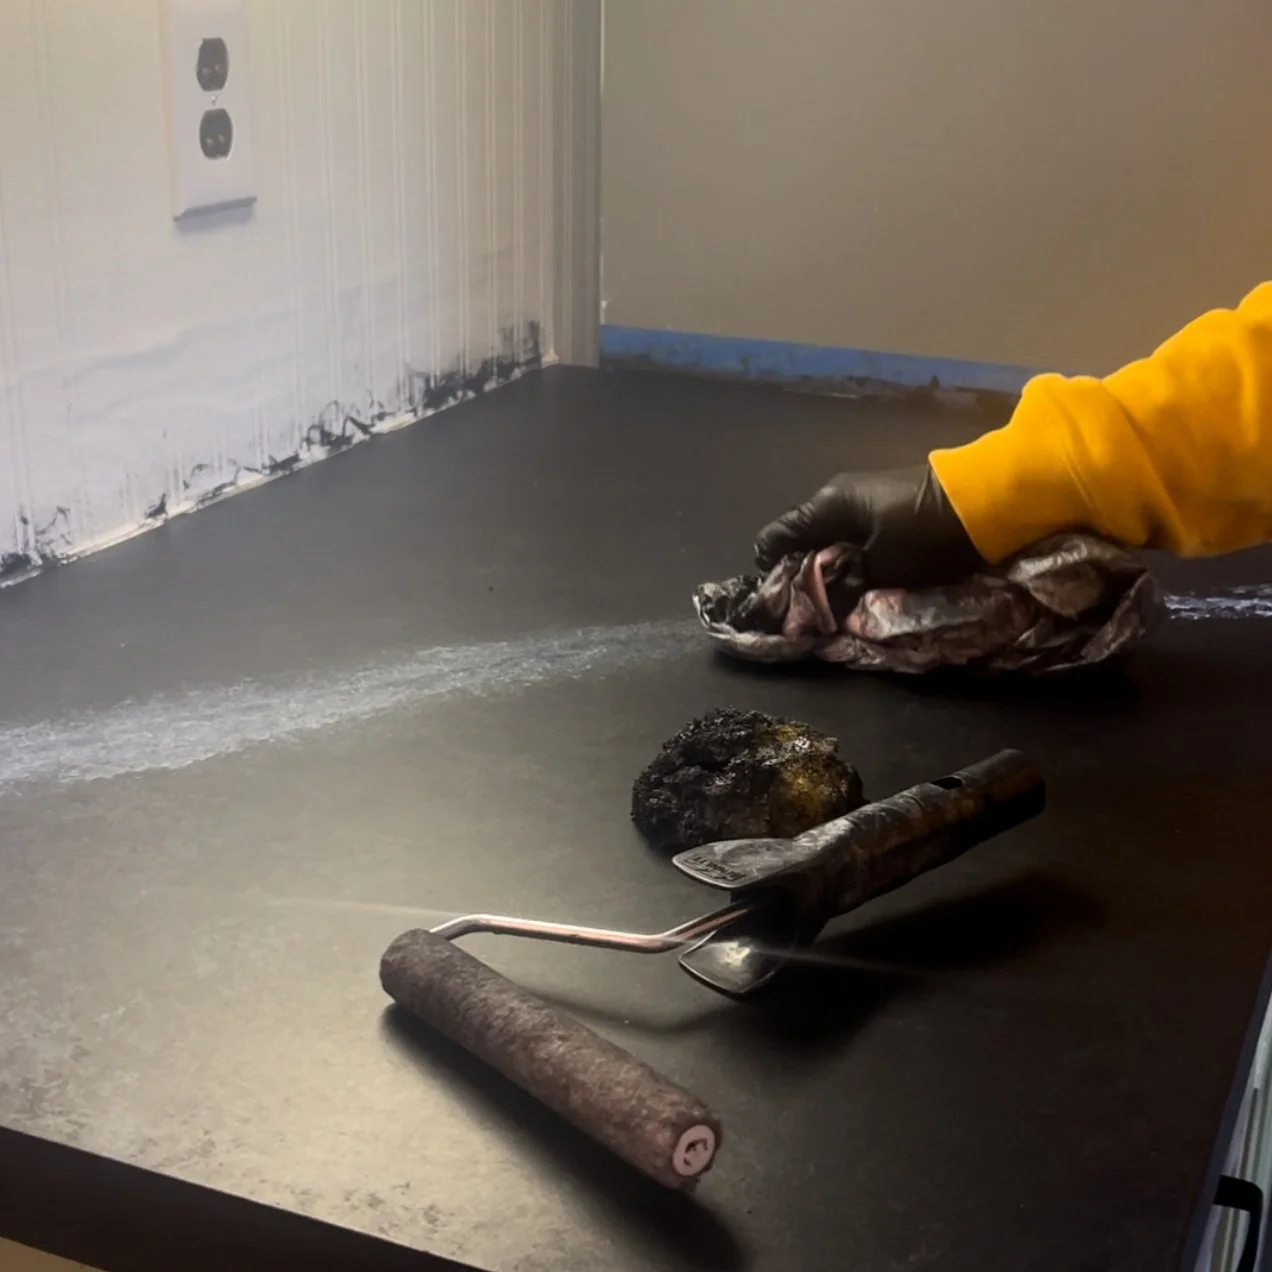
We started off by applying two coats of the black primer, letting it dry according to the manufacturer’s instructions.
Once the primer was dry, we mixed together the Pearl Mica and Black onyx paints together to create a dark grey color.
We cut the sponge in half, and used it to dab the dark grey color onto our countertops. For a more natural stone look, we then dabbed the wet paint with a plastic grocery bag for more texture.
Once the dark grey paint dried, we repeated that process using only the Black Onyx paint for more depth and dimension.
We almost stopped painting here, but decided to try something new and add some veining.

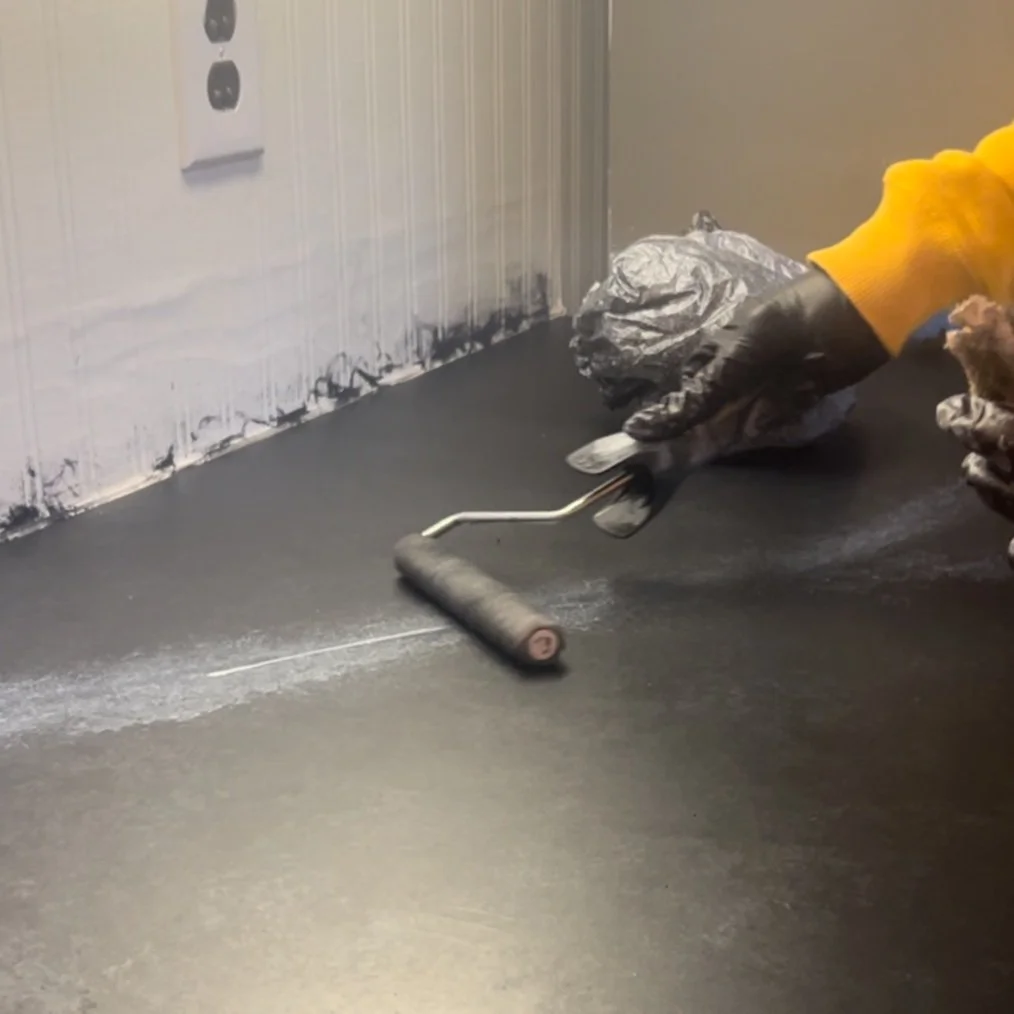
We cut a small piece of the sponge, and used it to draw veining lines on our countertops.
Pearl Mica was the primary paint color we used for this process, but would also add in touches of the dark grey and Black Onyx paints to create our desired look.
While the paint was still wet, we would go over it with a dry roller brush and/or the plastic grocery bag for a more natural look.
After watching many YouTube tutorials on painting faux stone countertops, we leared two primary things:
Stone is not perfect, so don’t aim for perfection here
Vaulting in real stone tends to move in the same direction, so try to create veins that “flow” the same way.
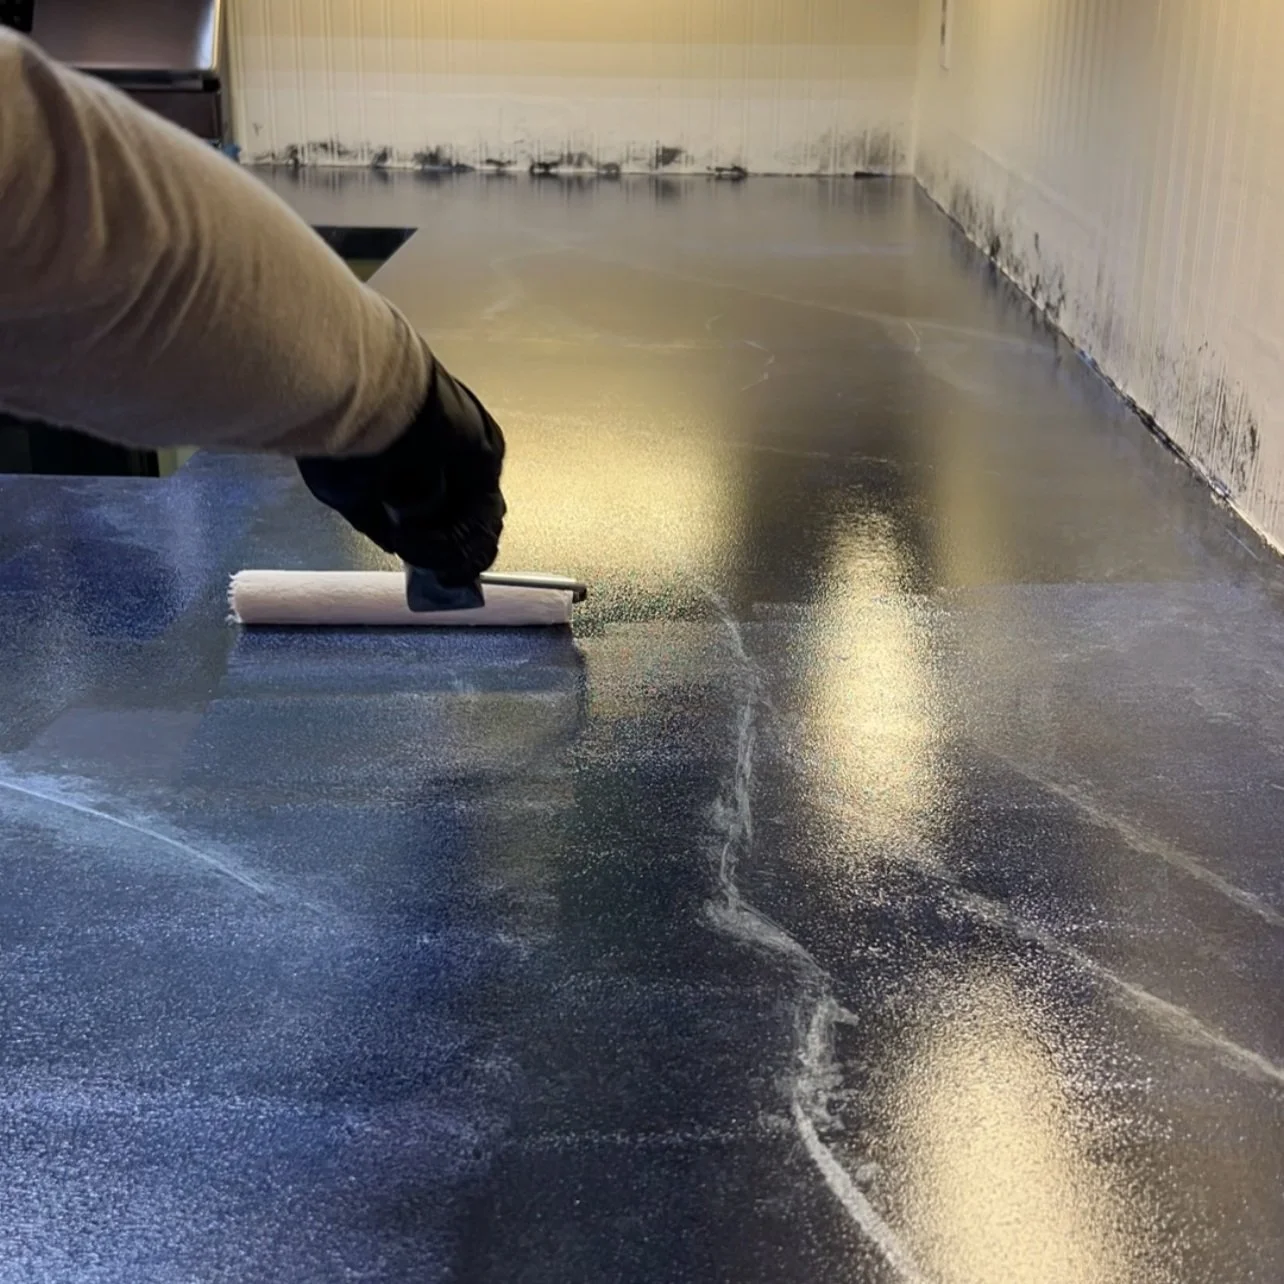
Once the paint dried for the recommended amount of time, we applied the first layer of the Glitter Topcoat. Don’t be alarmed if it looks a little blue while applying—the topcoat ends up drying clear.
After the topcoat dried for one hour, we removed the painter’s tape to avoid it getting stuck in the paint.
We ended up adding three total layers of the Glitter Topcoat, and love how the countertops turned out!
Painted Countertop Aftercare and Maintenance
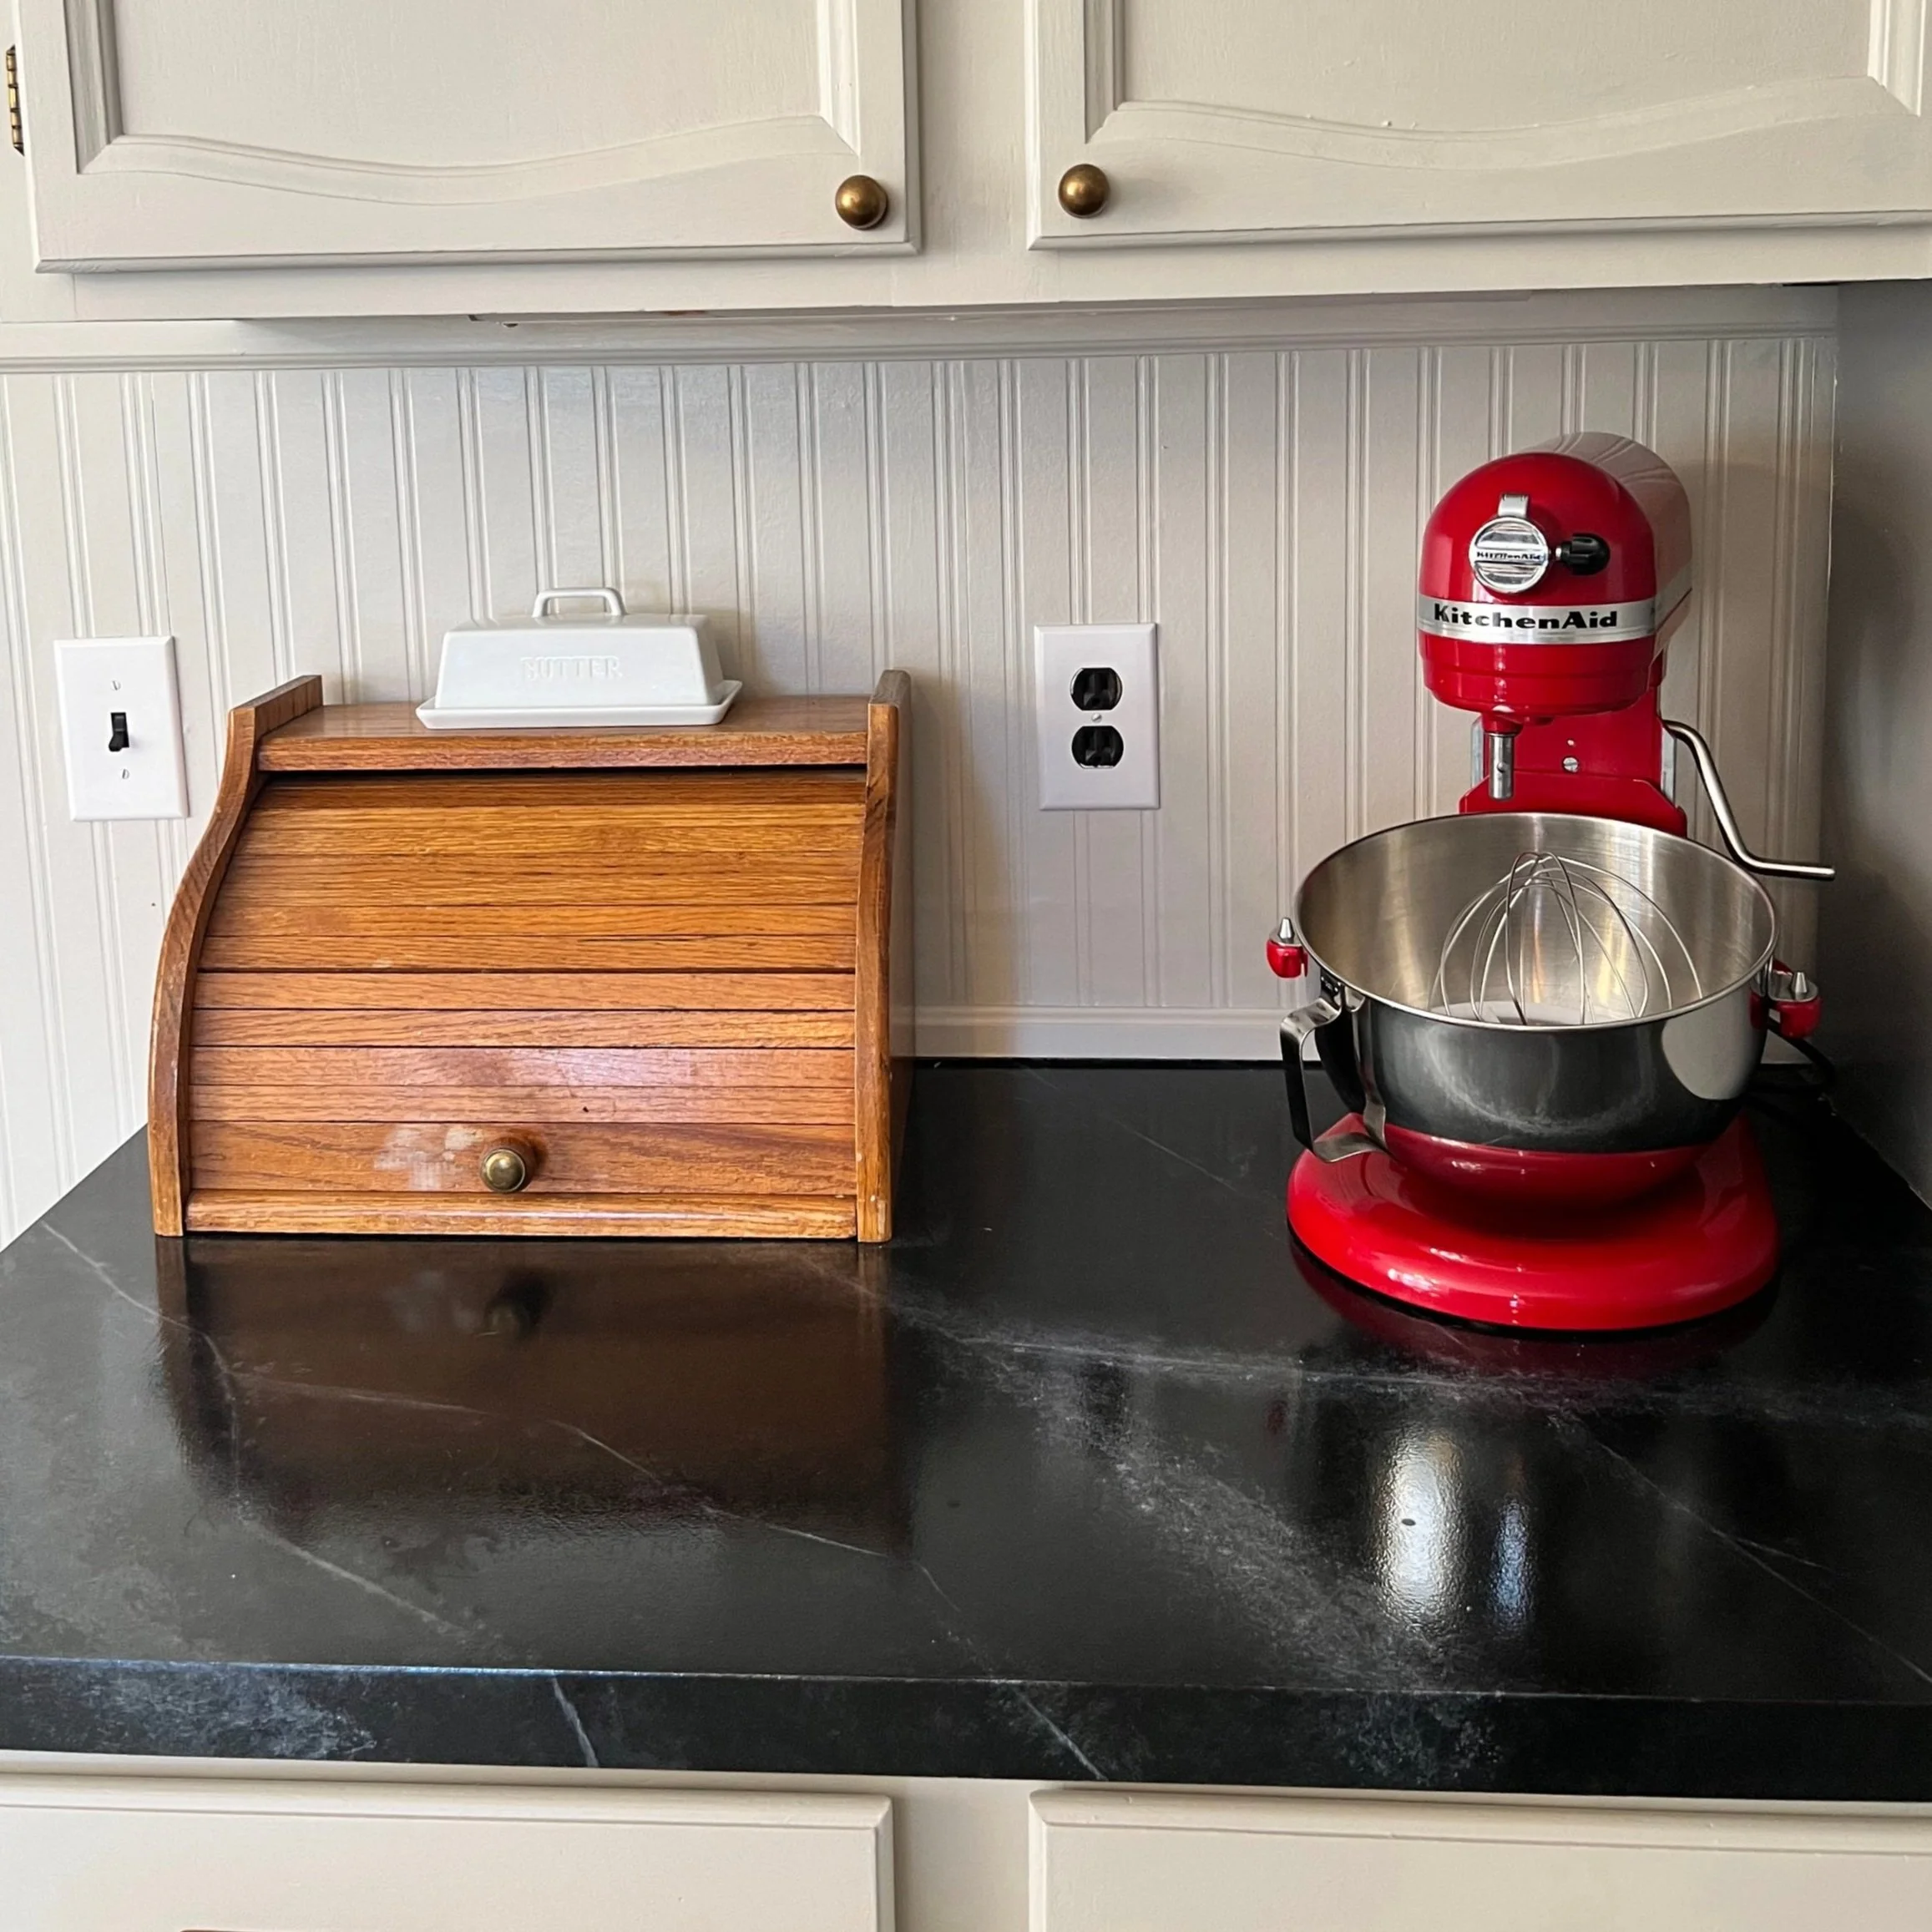
Once the paint is fully cured, it is food safe. We avoided putting heavy objects on our countertop for 14 days after painting. When we used heavier items like our KitchenAid mixer, large wood cutting boards, etc., we placed a towel beneath them to avoid chipping the paint before it was fully cured.
We noticed that our countertops were a little fragile for the first 2 months (we had about 4 small chips occur during this time). We quickly touched up the small chips using some leftover paint and glitter topcoat. After 2 months, however, we’ve had absolutely no issues!
Here are some rules we follow to keep our painted countertops in good condition:
Never put hot pots and pans directly on the countertop
Never cut directly on the countertop
When something spills, we try to clean it up as quickly as possible. If there is something super sticky on the countertop, I spray it with cleaner and let it soak for a few minutes so I don’t have to harshly scrub the countertop.
Conclusion
Painting our laminate countertops was an awesome way to transform our kitchen on a budget. It’s been about six months since we tackled this project, and are still incredibly happy with the results.
In fact, we like our painted countertops so much that we’re considering keeping them for longer than we initially planned!
Have you ever tried or considered painting laminate countertops? If so, please share your experiences, tips, or questions in the comment section below.
Be sure to subscribe to our e-mail newsletter so you never miss a new blog post, and can have DIY home improvement tips, tricks, and ideas sent straight to your inbox.