Step-By-Step Guide to Creating Custom Built-In Bookshelves with IKEA Billy Bookcase Hack

This post contains affiliate links. When you purchase through links on our site, we may earn a small commission at no additional cost to you.
As an Amazon Associate we earn from qualifying purchases.
As a Lowe’s partner we earn from qualifying purchases.
We only recommend products we would use ourselves and all opinions expressed here are our own.
Read the full disclaimer here.
When we first bought our home, we knew it was a fixer-upper with a lot of charm and potential. While unpacking, we quickly realized that our house didn’t have much storage space, and the storage we did have wasn’t very space efficient.
Oliver’s office eventually became a dumping ground for excess tools, project materials, files, books… the list goes on. Long story short, it was in desperate need of a storage solution.

We wanted to add storage that looked custom and sophisticated without breaking the bank. After a little bit of research, we decided to use IKEA Billy Bookcases as the foundation of this project.
This DIY project maximized our functional storage space without making the room feel smaller, and made Oliver’s office feel polished and organized.
In this week’s blog post, we’ll walk through the process of creating this custom built-in bookshelf using the IKEA Billy Bookcase hack.
Planning Your Office Built-In Bookshelves
When building your own built-in bookshelves, you want to take time measuring your space and creating your plan.
Everyone’s space is different, which means you might need to purchase a different number of IKEA Billy Bookcases than we did.

The wall we were building this built-in bookshelf along is 13.83 feet long, so we used the following materials for our project:
Wood Veneer Edge Banding (paid link)
Trim, as needed (we used a combination of PVC and MDF)
B-I-N Shellac-Based Interior Primer and Sealer (paid link)
Benjamin Moore Paint in Yorktowne Green
Cabinet knobs (paid link)
Plywood (same thickness as bookshelves) if you decide to build a custom bookshelf attachment
Assembling and Customizing IKEA Billy Bookcases
We started off by removing the crown molding and baseboards from the walls (be sure to carefully remove them if you plan on re-installing later!)
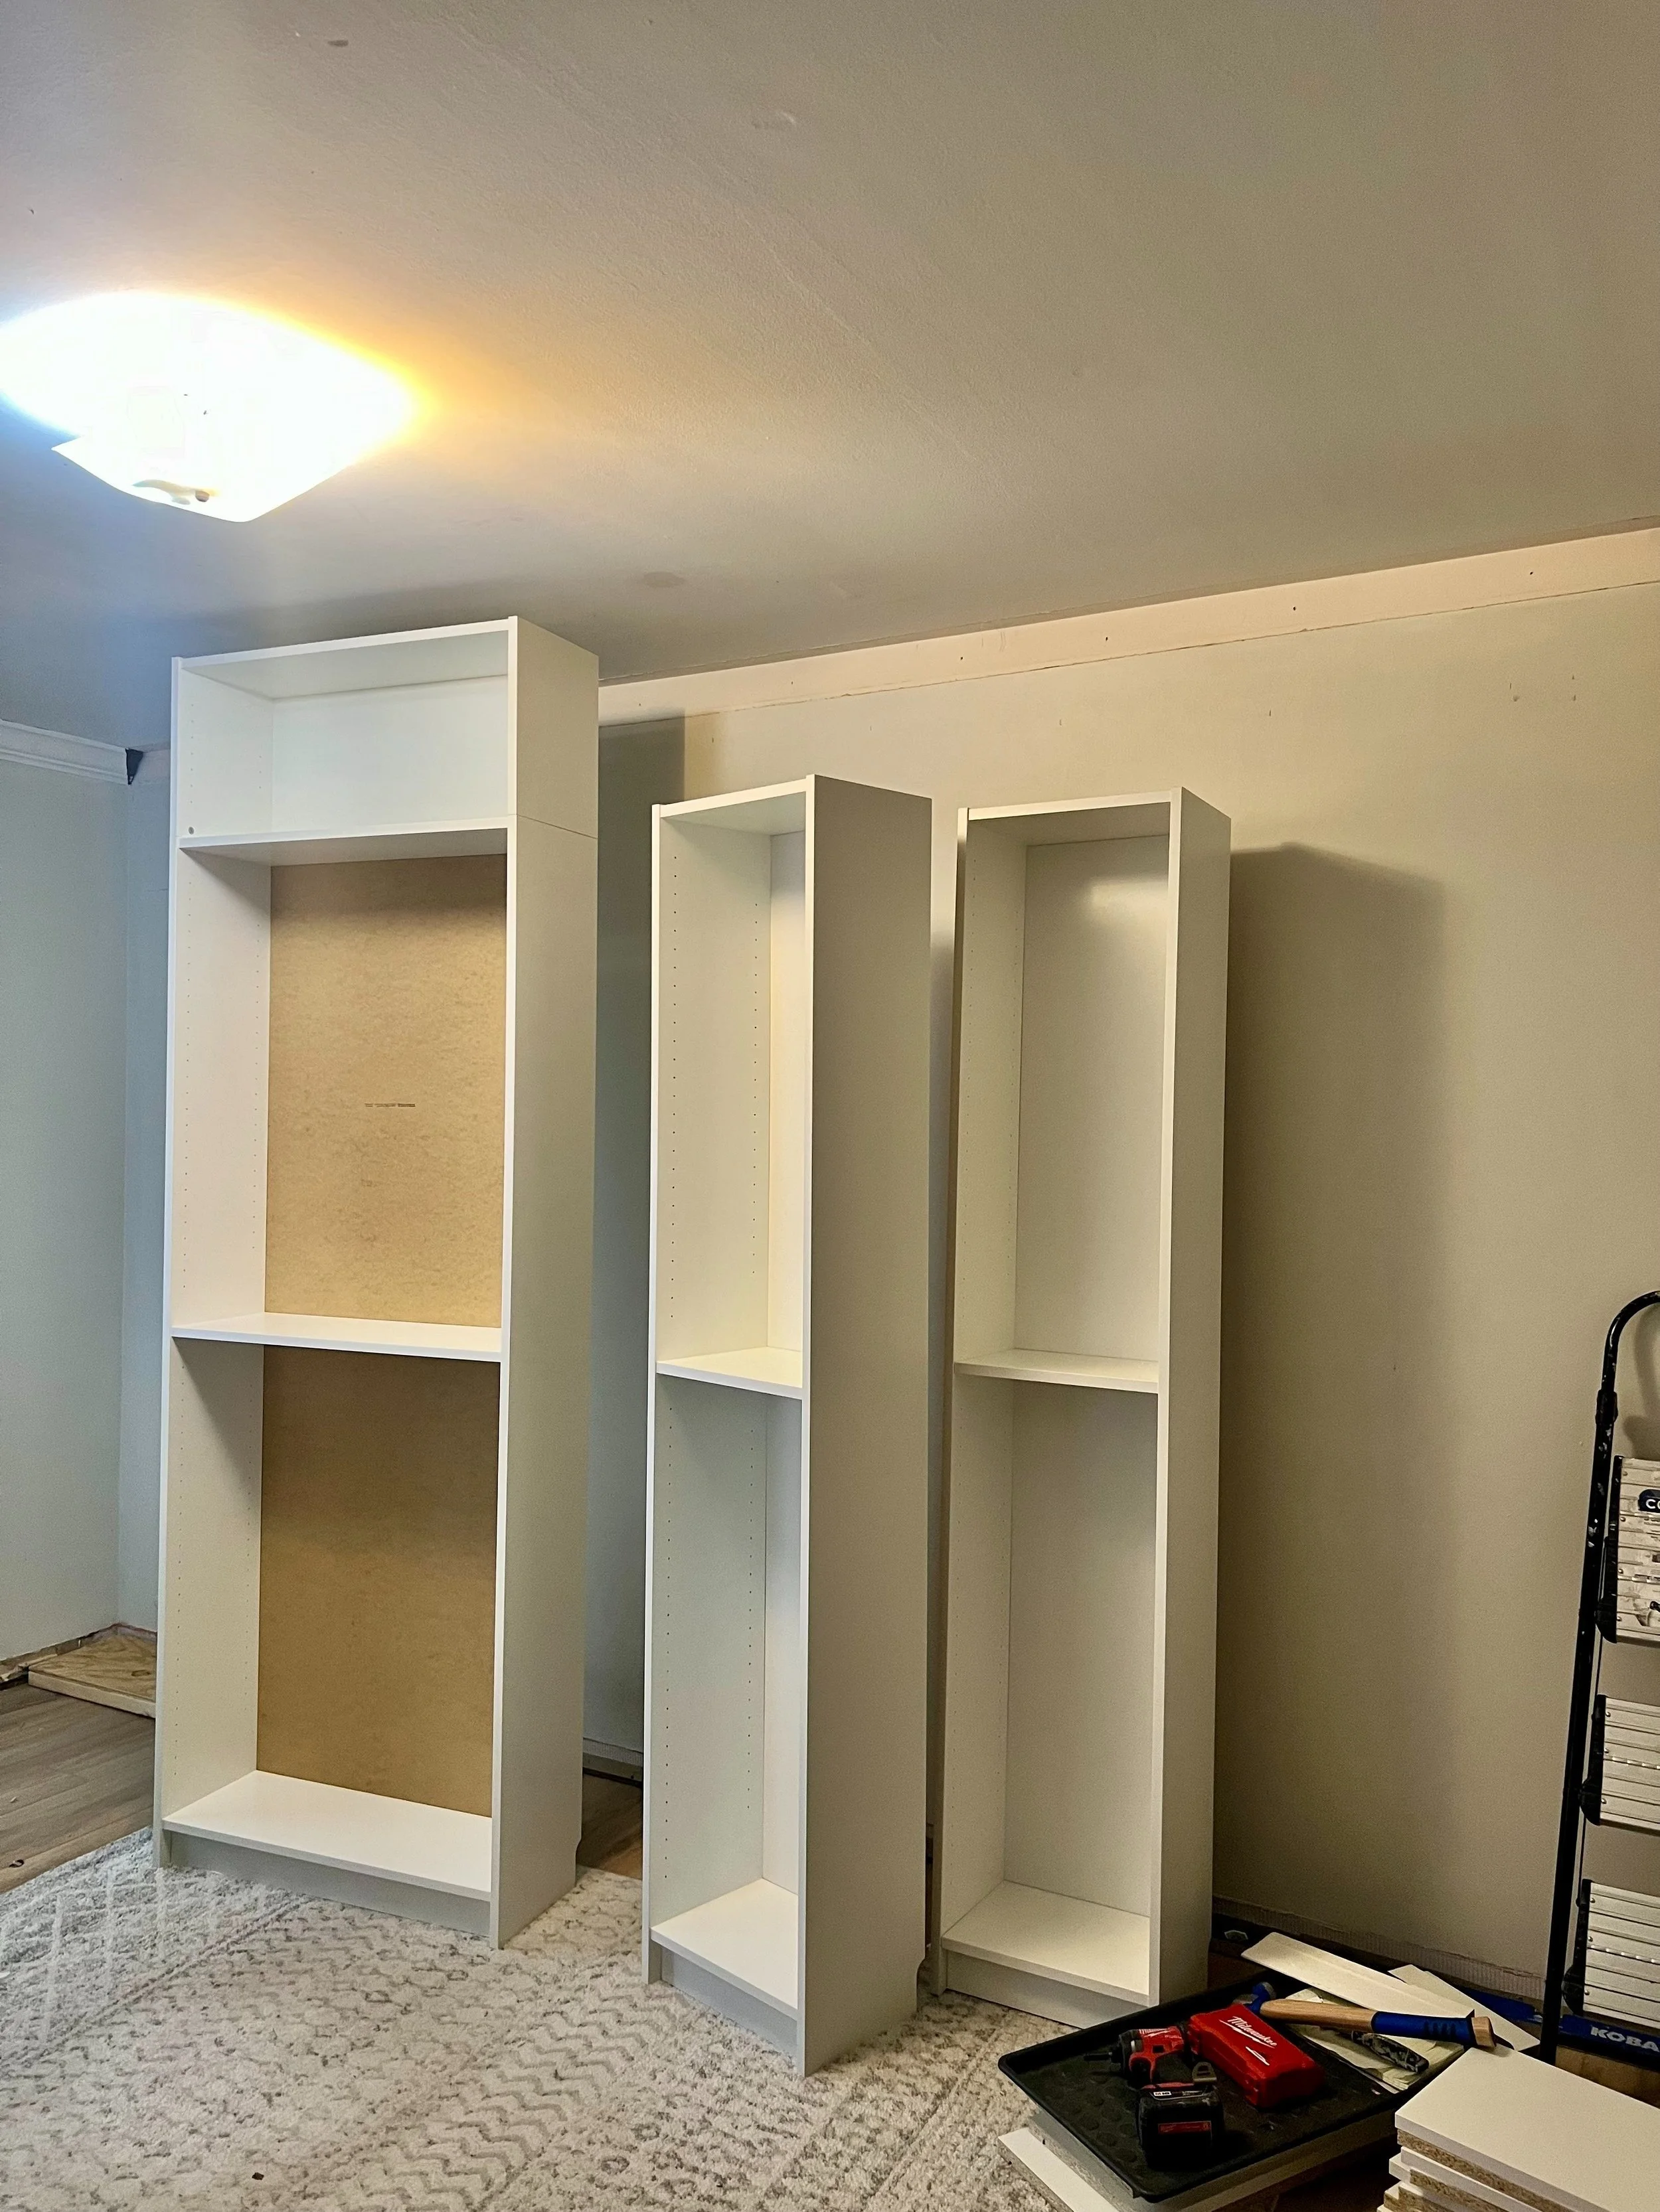
Once we had all of our materials, we assembled the IKEA Billy Bookcases according to the instructions, and added the Billy Height Extension Units on top of the two wider bookcases (31 1/2x11x79 1/2 ")
Originally, we were planning on building a footer for the bookcases to sit on, but ultimately decided it wasn’t necessary with our 8ft ceilings.
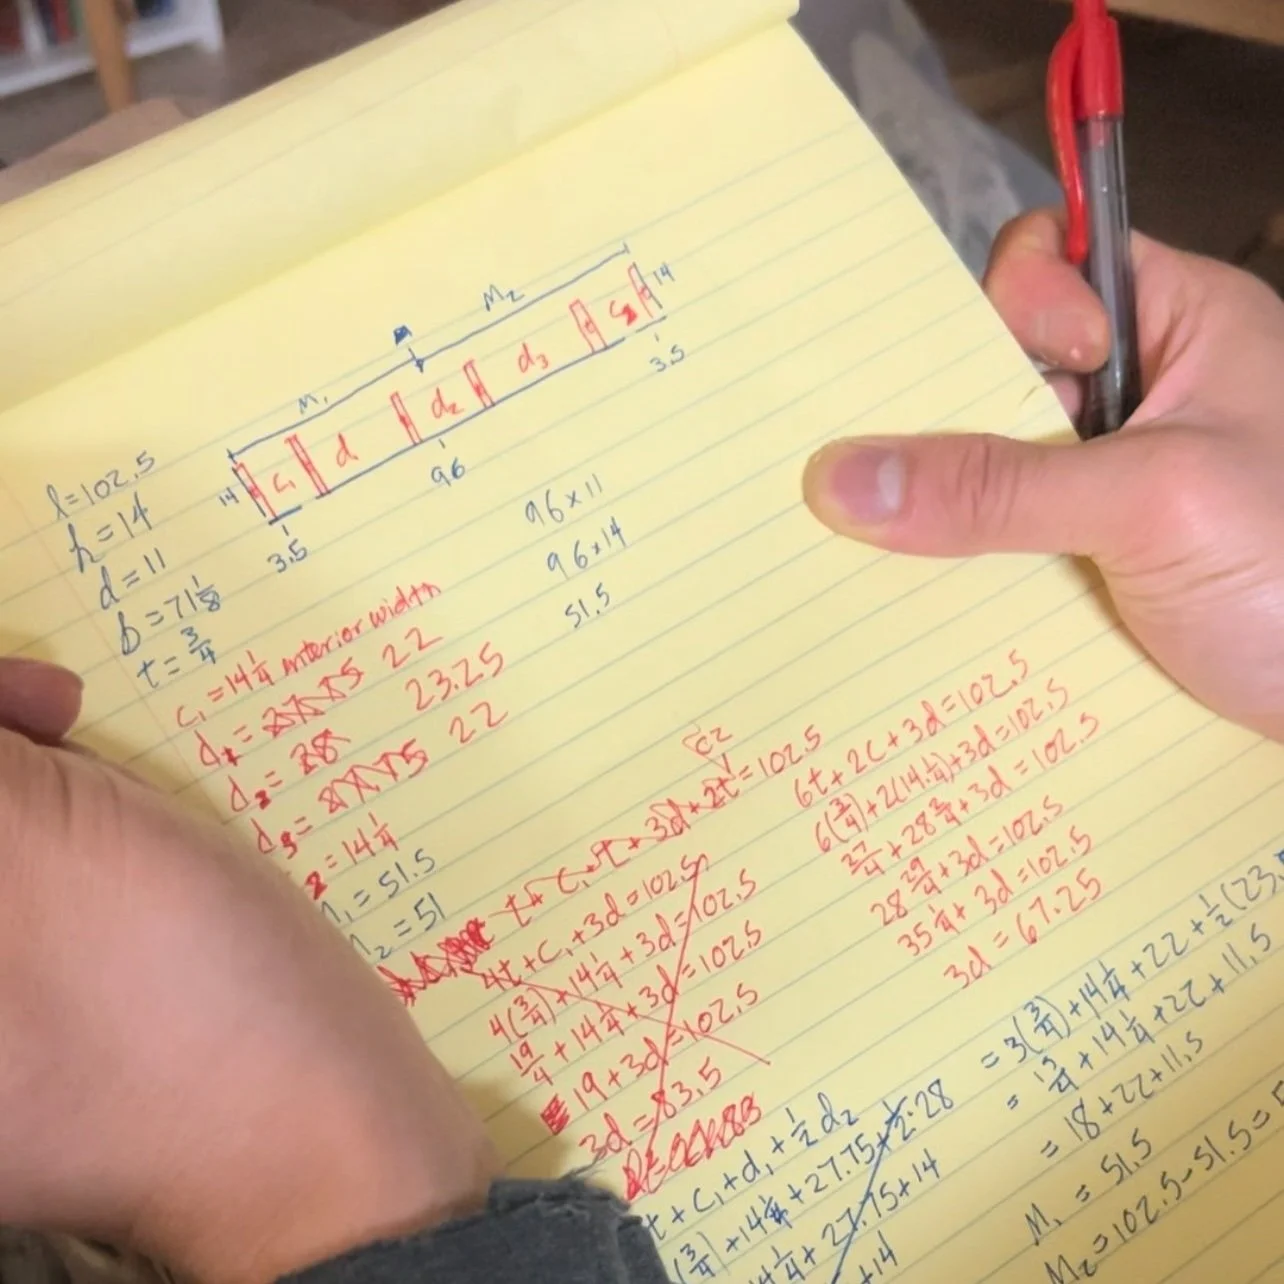
Next, we moved the bookshelves into place and double checked our measurements for building the custom bookshelf that would sit on top of the two narrower Billy Bookcases (15 3/4x11x79 1/2 ")
Here is our design for the custom bookshelf we built:
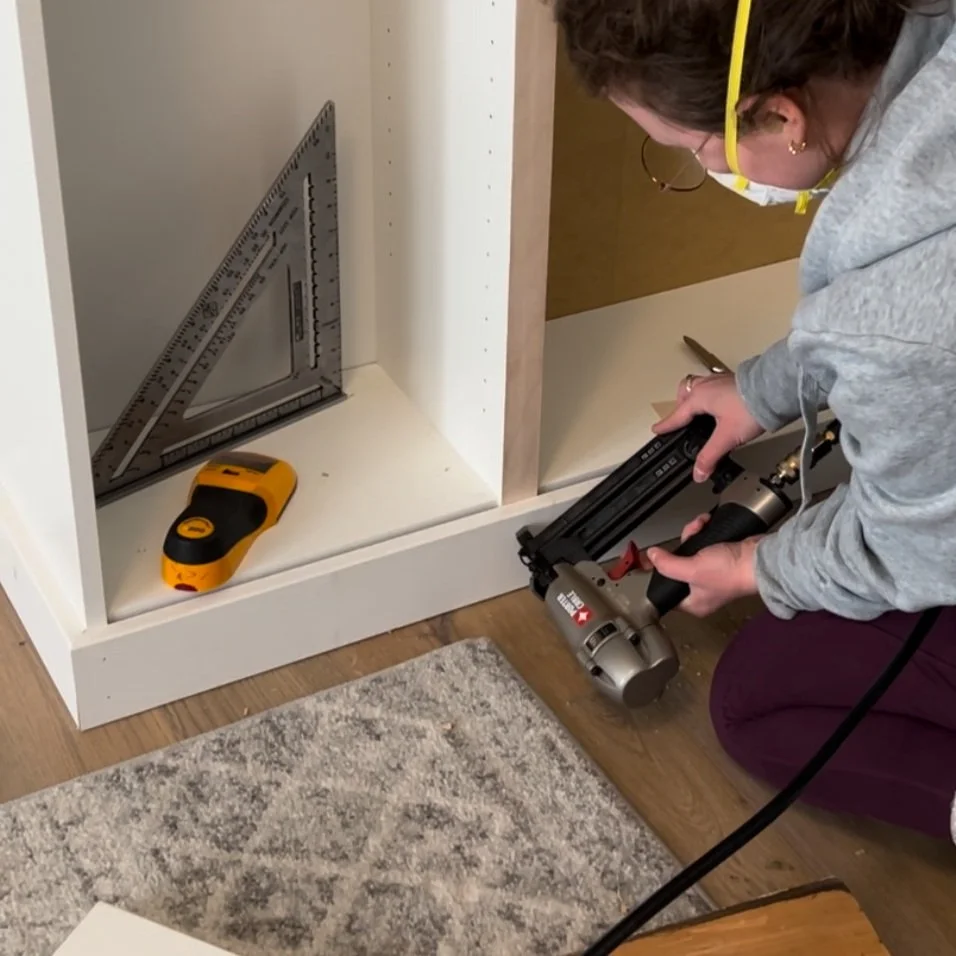
We used a stud finder to attach the Billy Bookcases to the walls, and secured them to the studs using metal brackets and 2 1/2in cabinet screws.
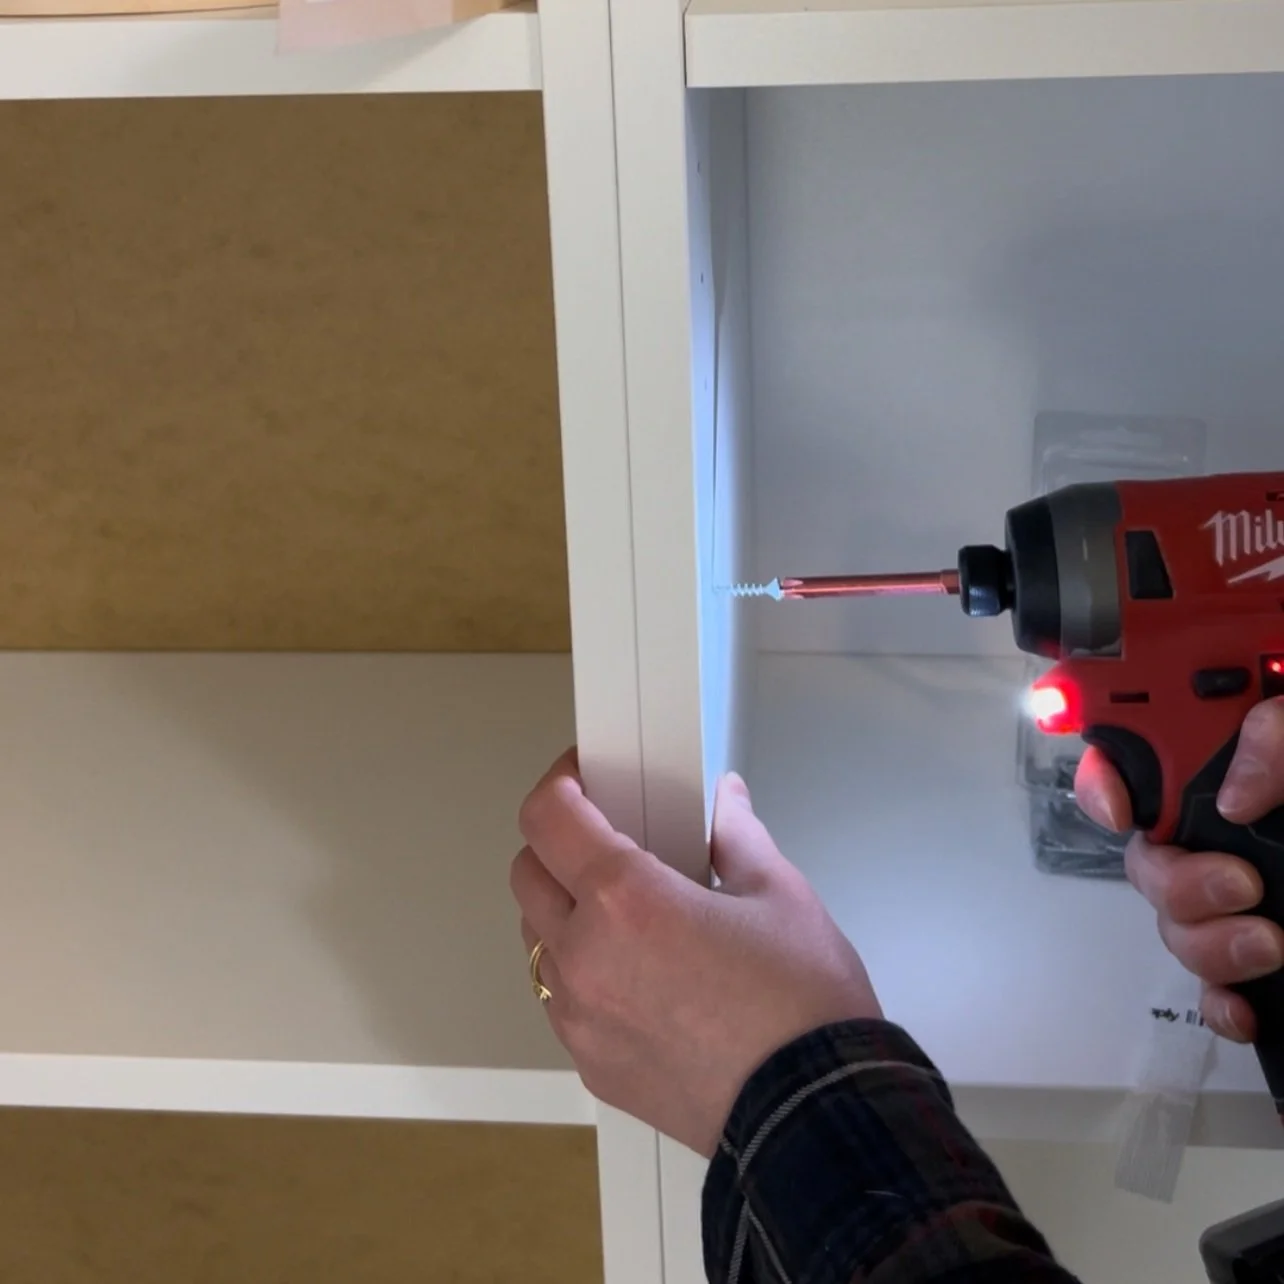
We also attached the bookcases to each other using 3/4in screws. Make sure you are careful not to drill too deep here, or else you might make a hole in the other side of the bookcase.
It’s super important to triple check that each bookcase is secure before moving on to the next step of the installation. Each of our bookcases are secured to studs in multiple locations, as well as to each other so that nothing is loose.
To make the bookshelves look built-in, we installed base molding to the bottom of the bookcases, and ironed on wood veneer edge banding (paid link) to hide the gap between bookshelves.

Before reinstalling the crown molding, we needed to make sure that it had something to secure itself to.
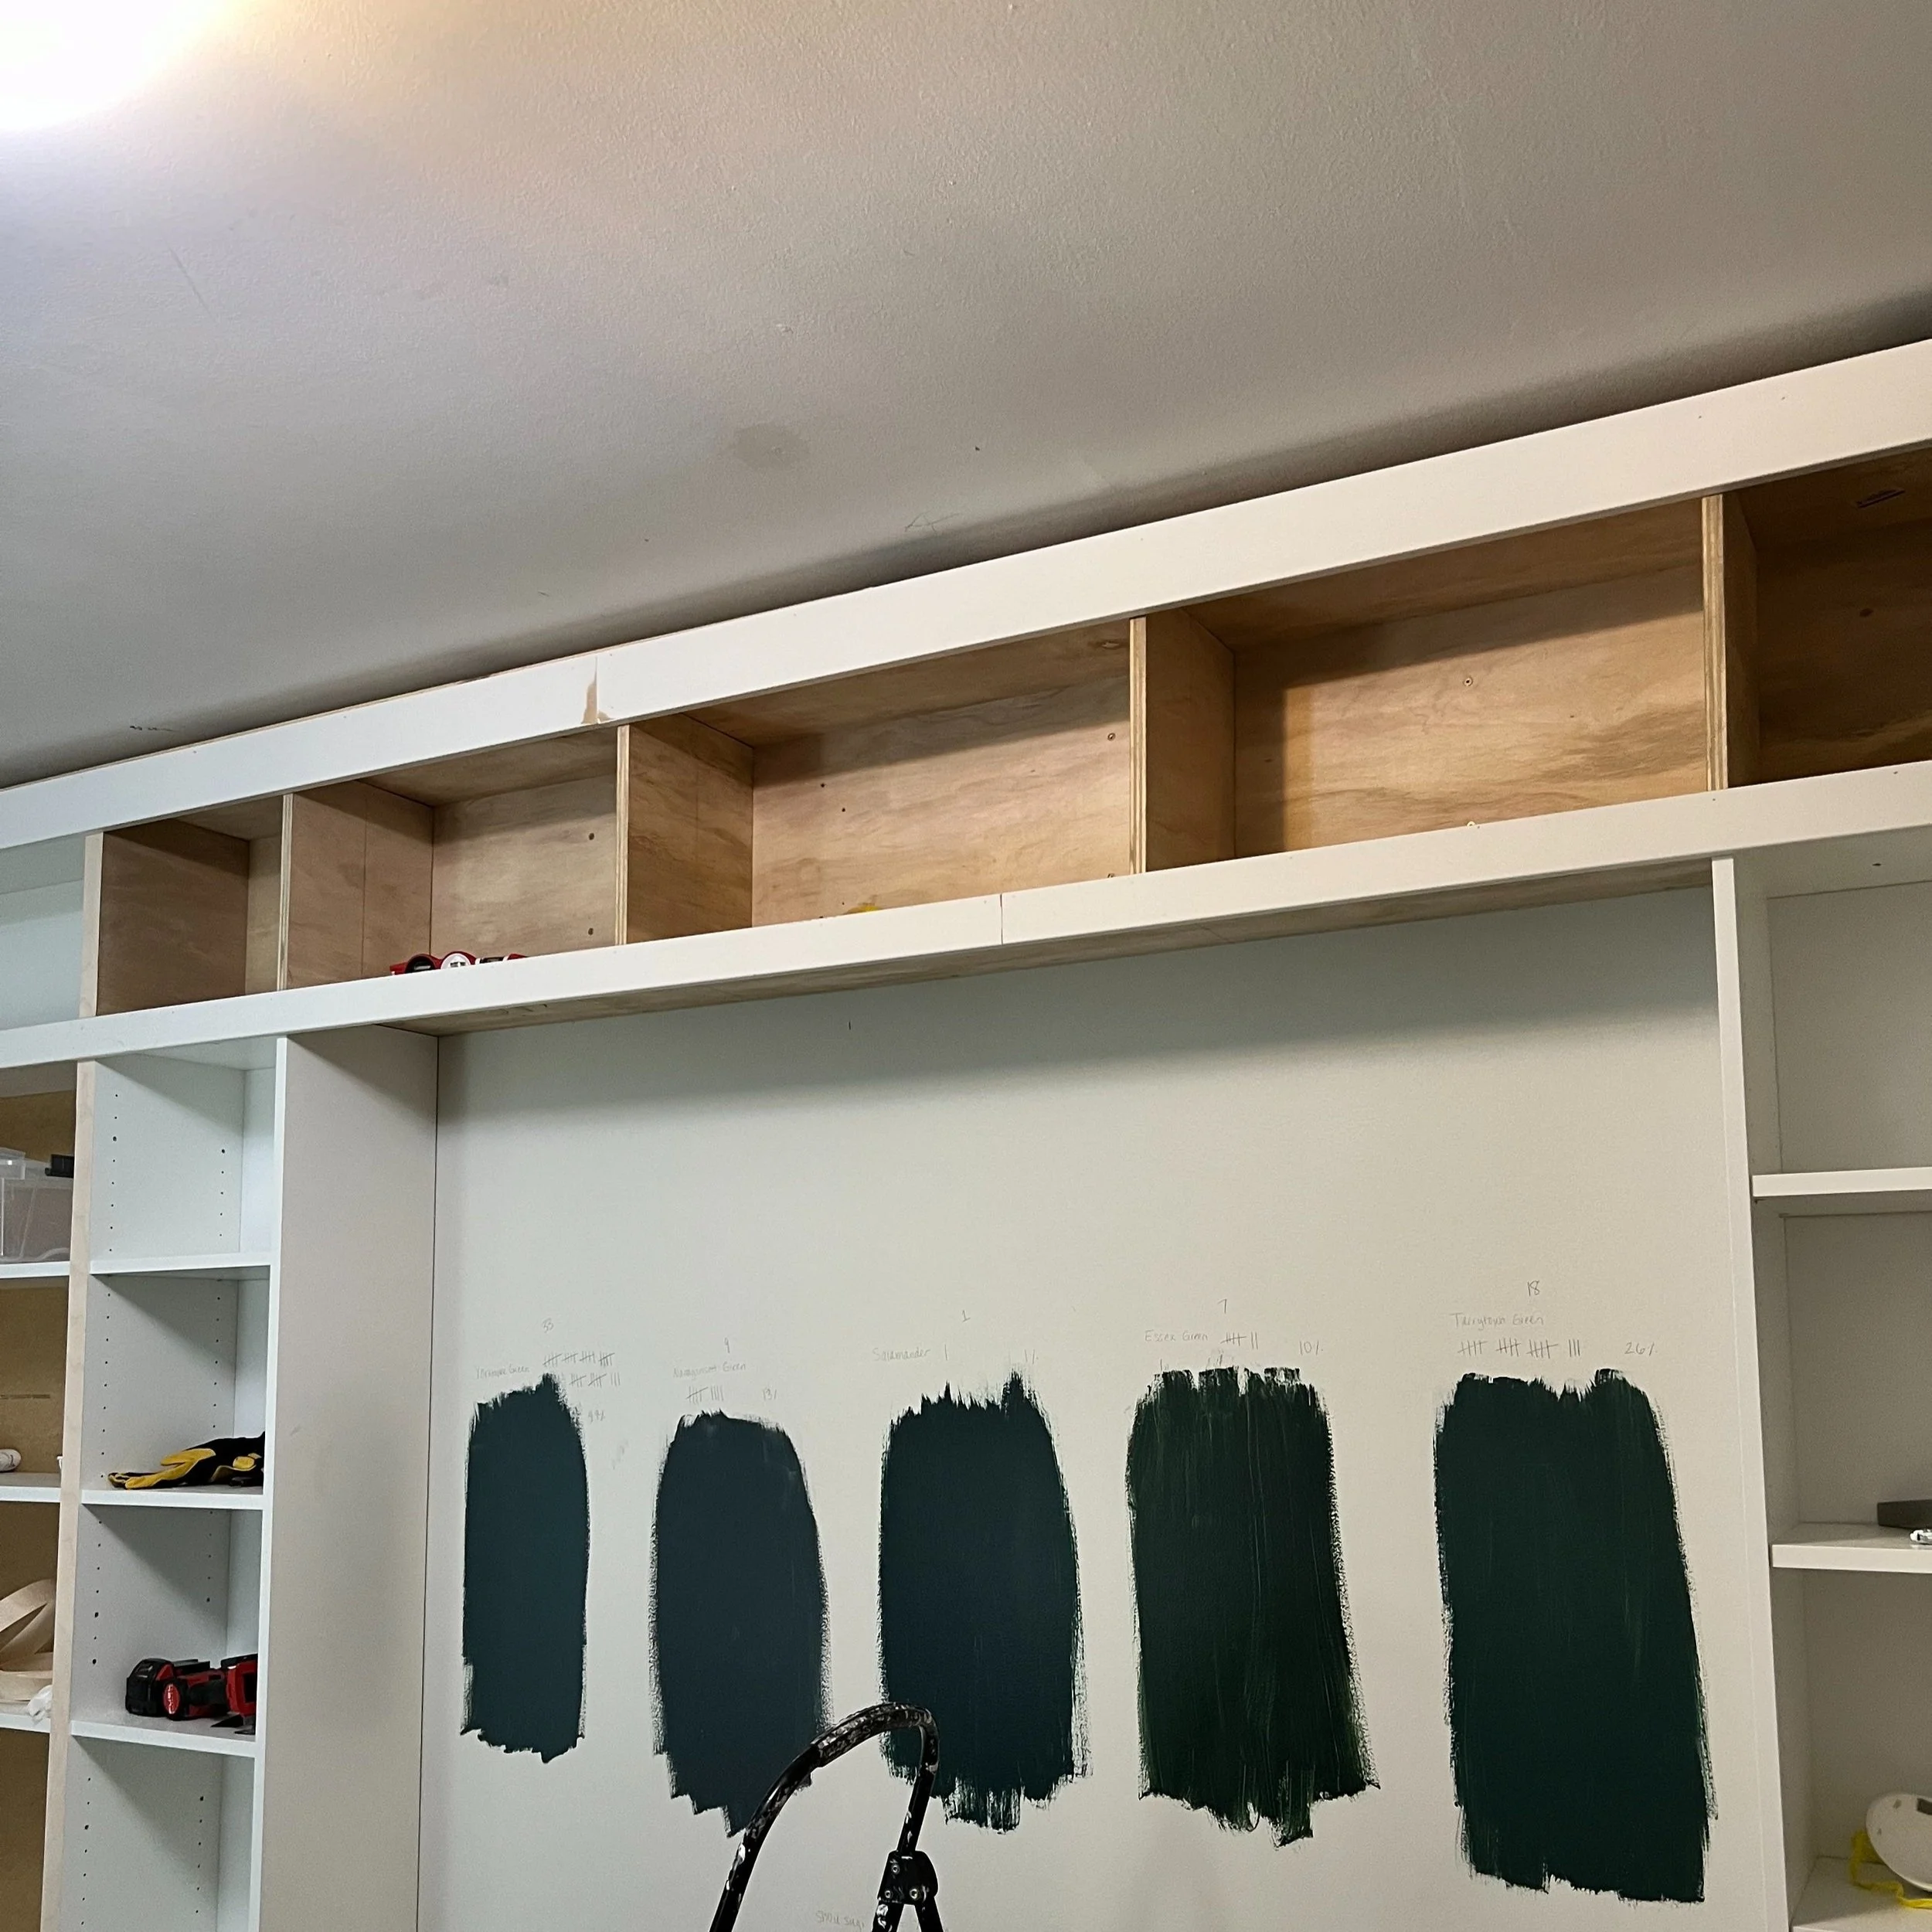
We did this by first attaching 2x4s to the top of the bookcases.
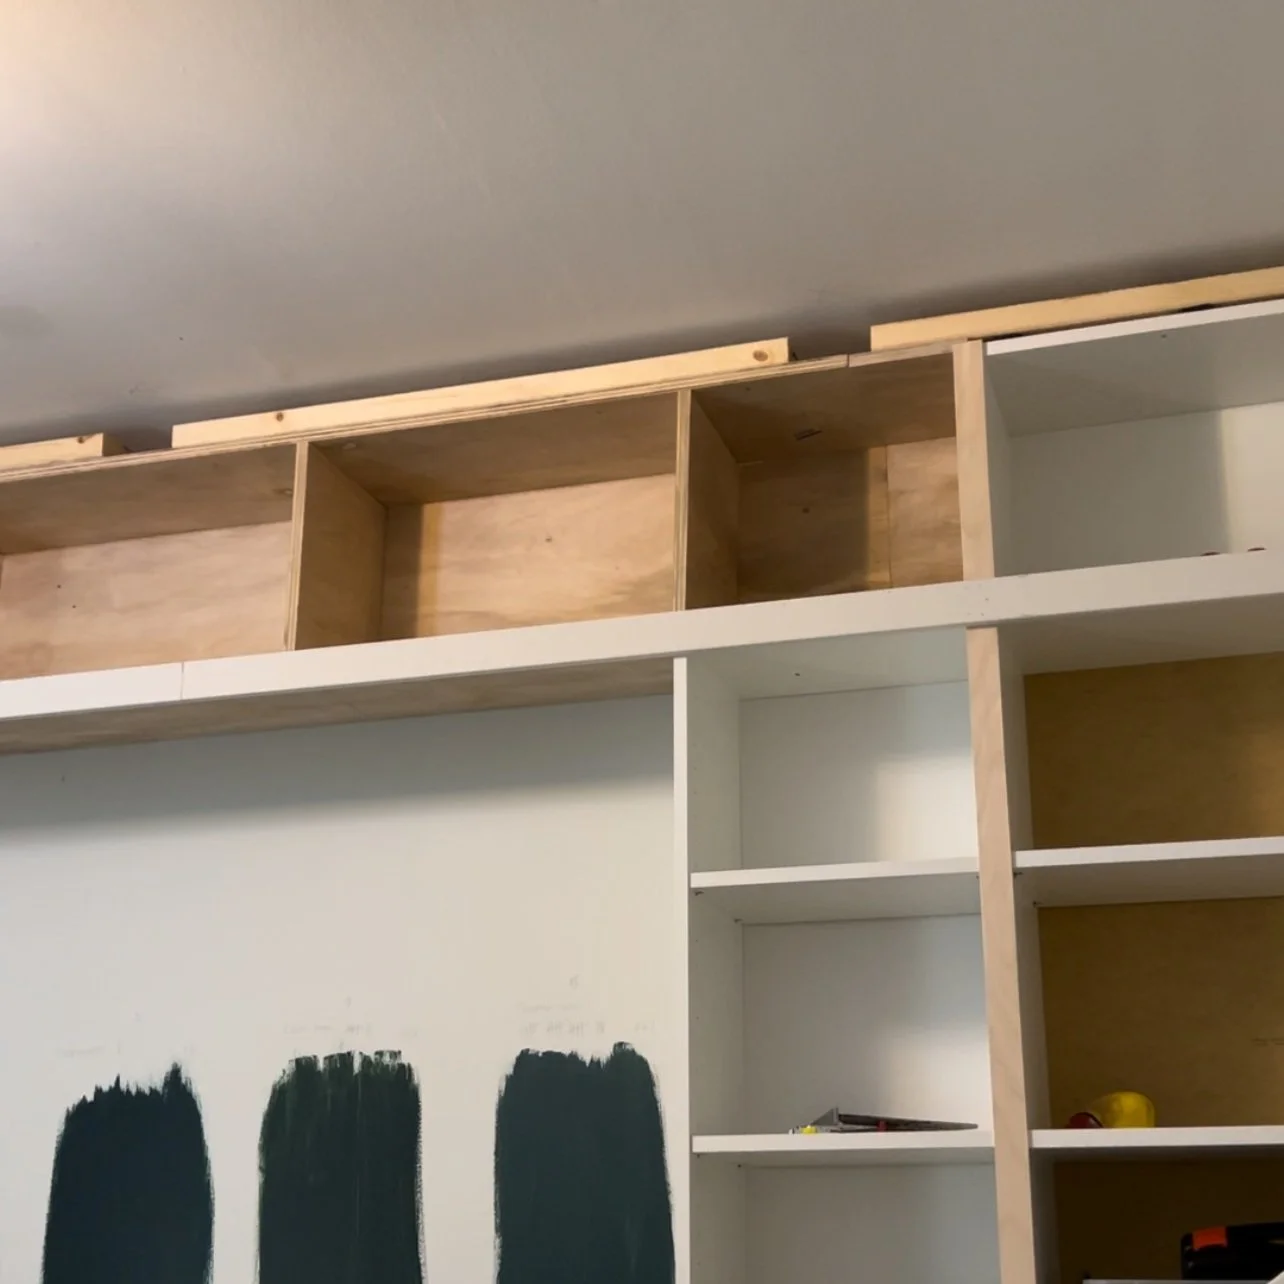
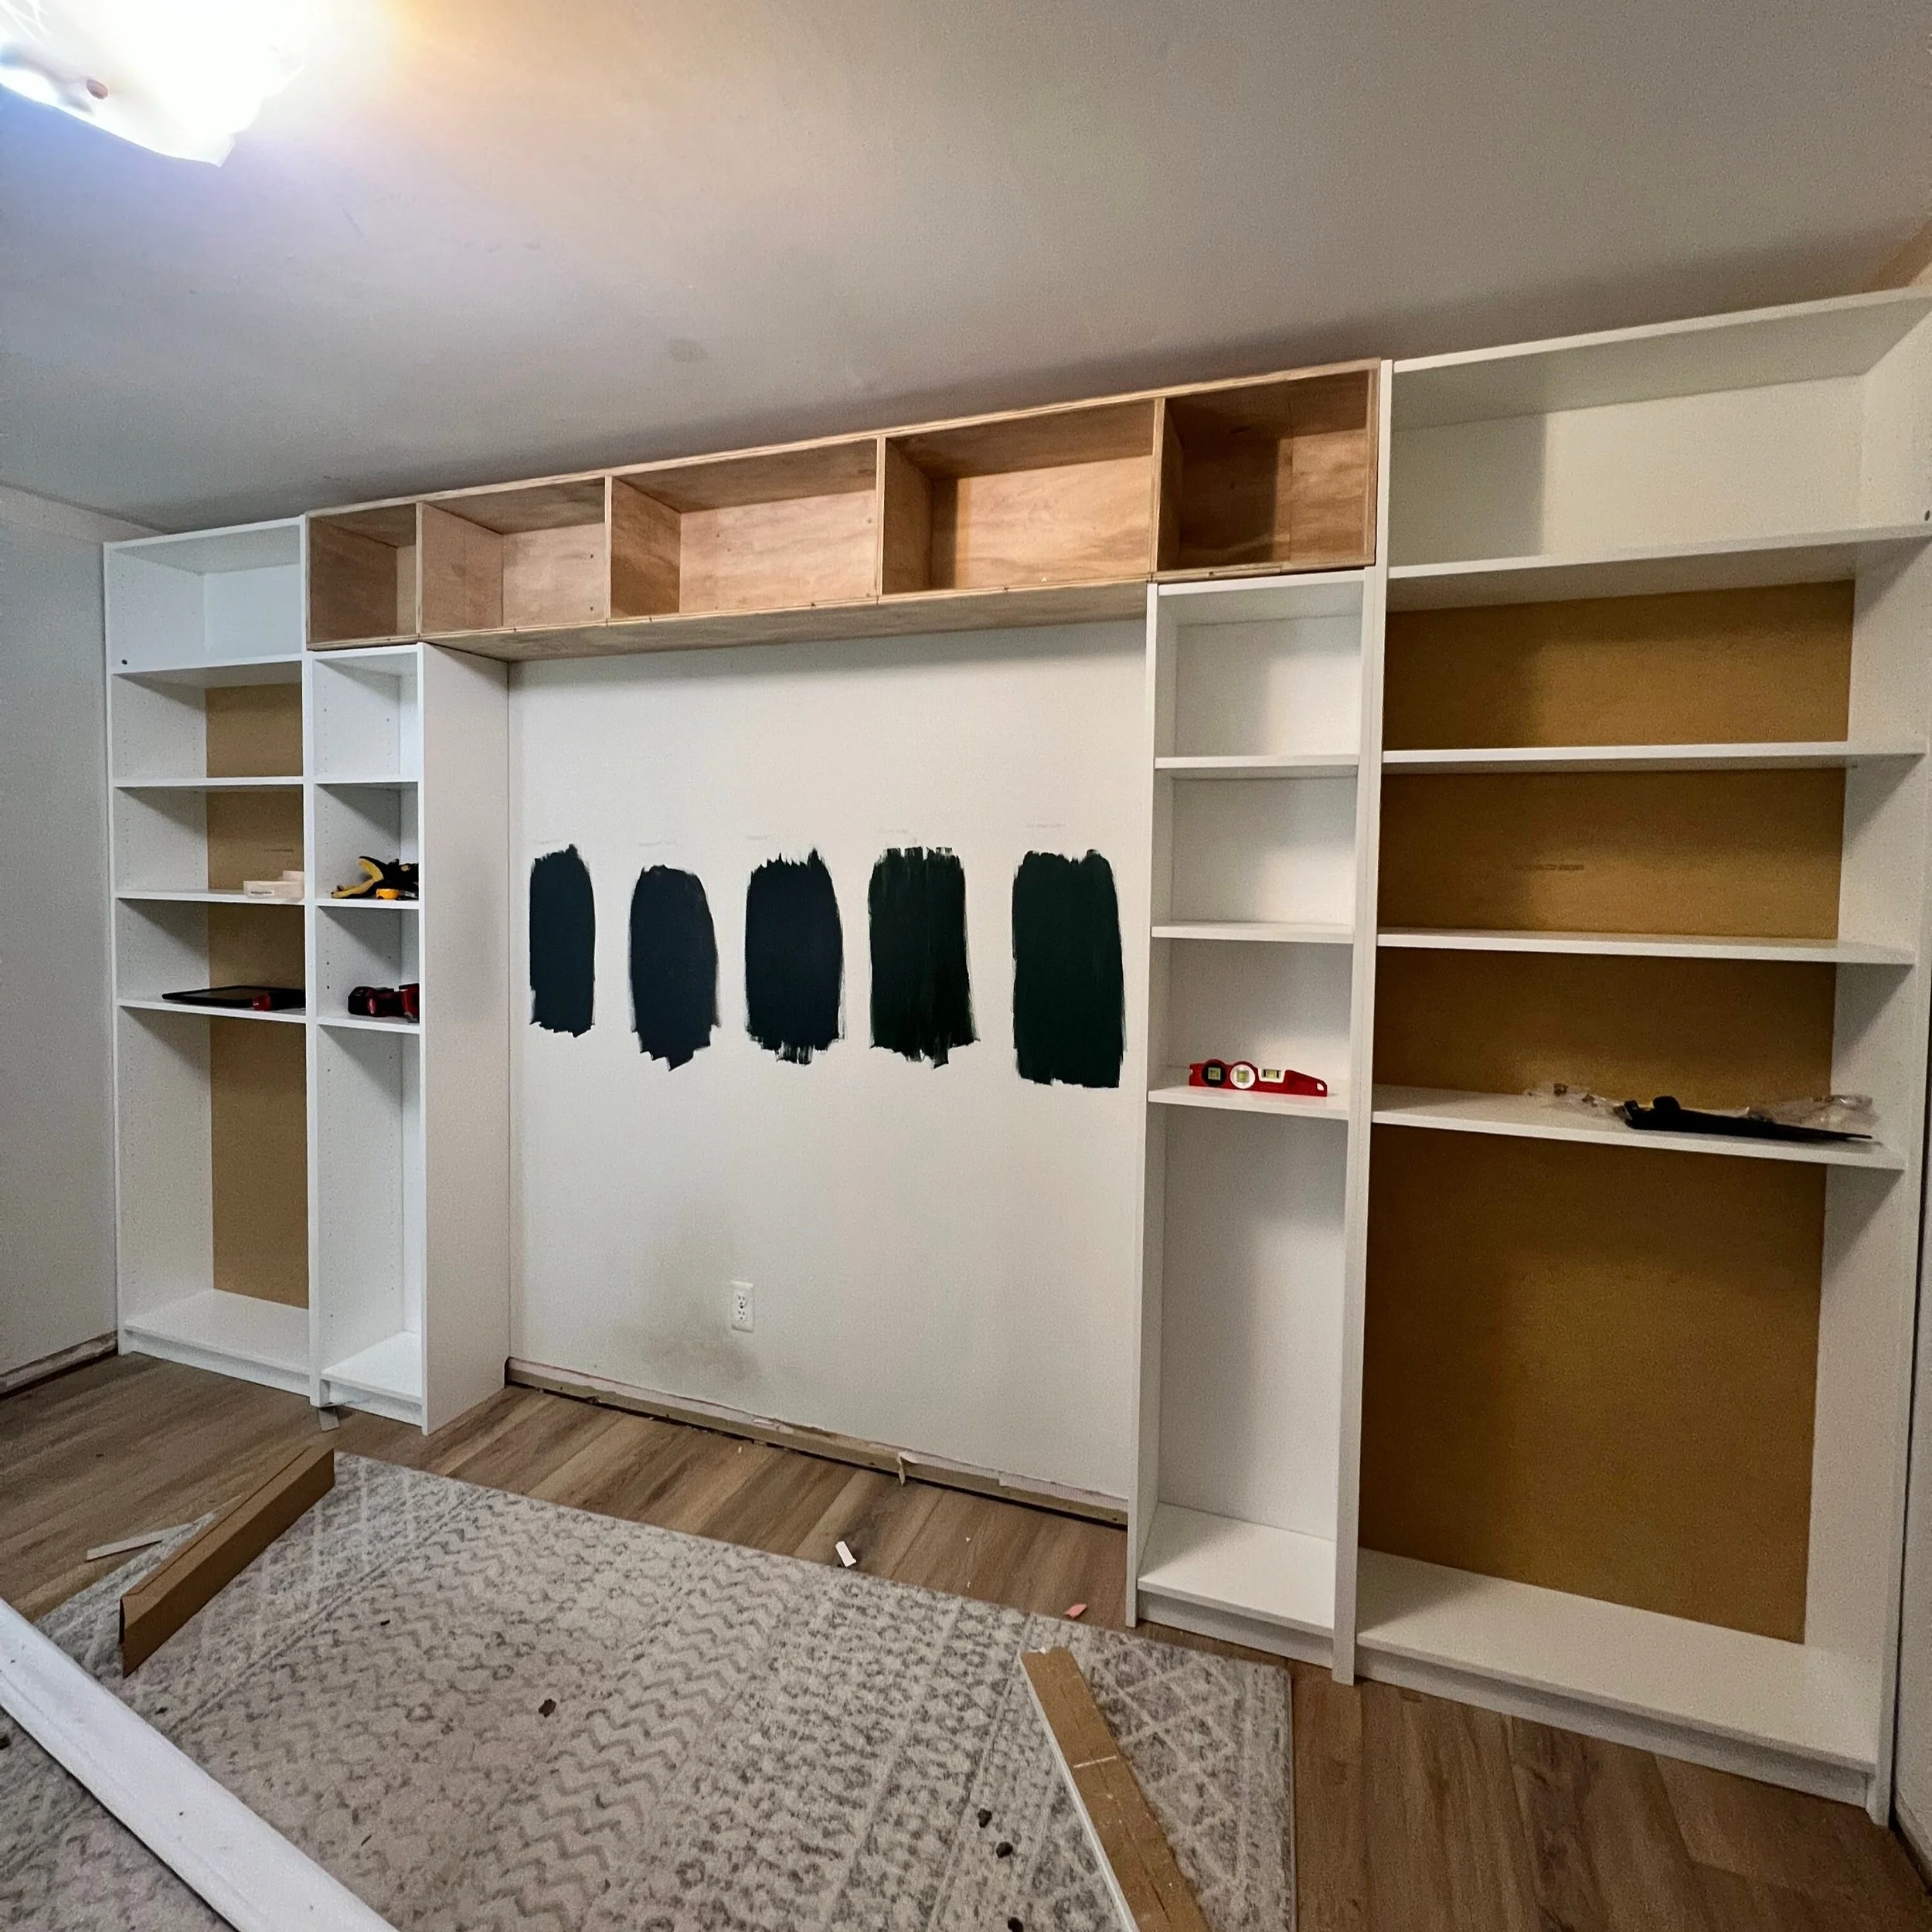
Then we attached two pieces of trim along the top and bottom of our custom bookshelf/Billy height extension pieces to make everything looked like one piece.
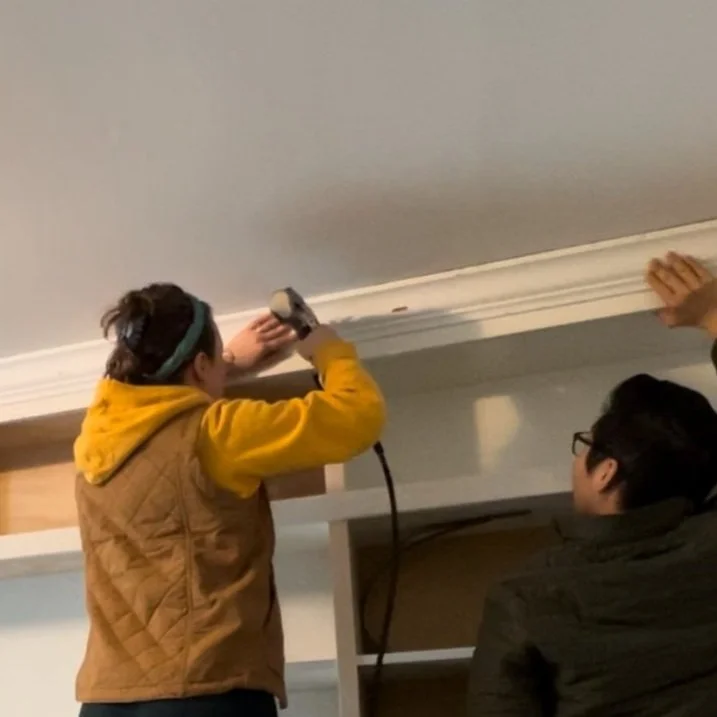
Finally, we secured the crown molding to the 2x4s using brad nails.
We still had a small gap appearing between the wall and Billy bookcase, so we used some inside corner trim to conceal it. We only installed this trim above the cabinet doors so that the doors still had space to open and close.
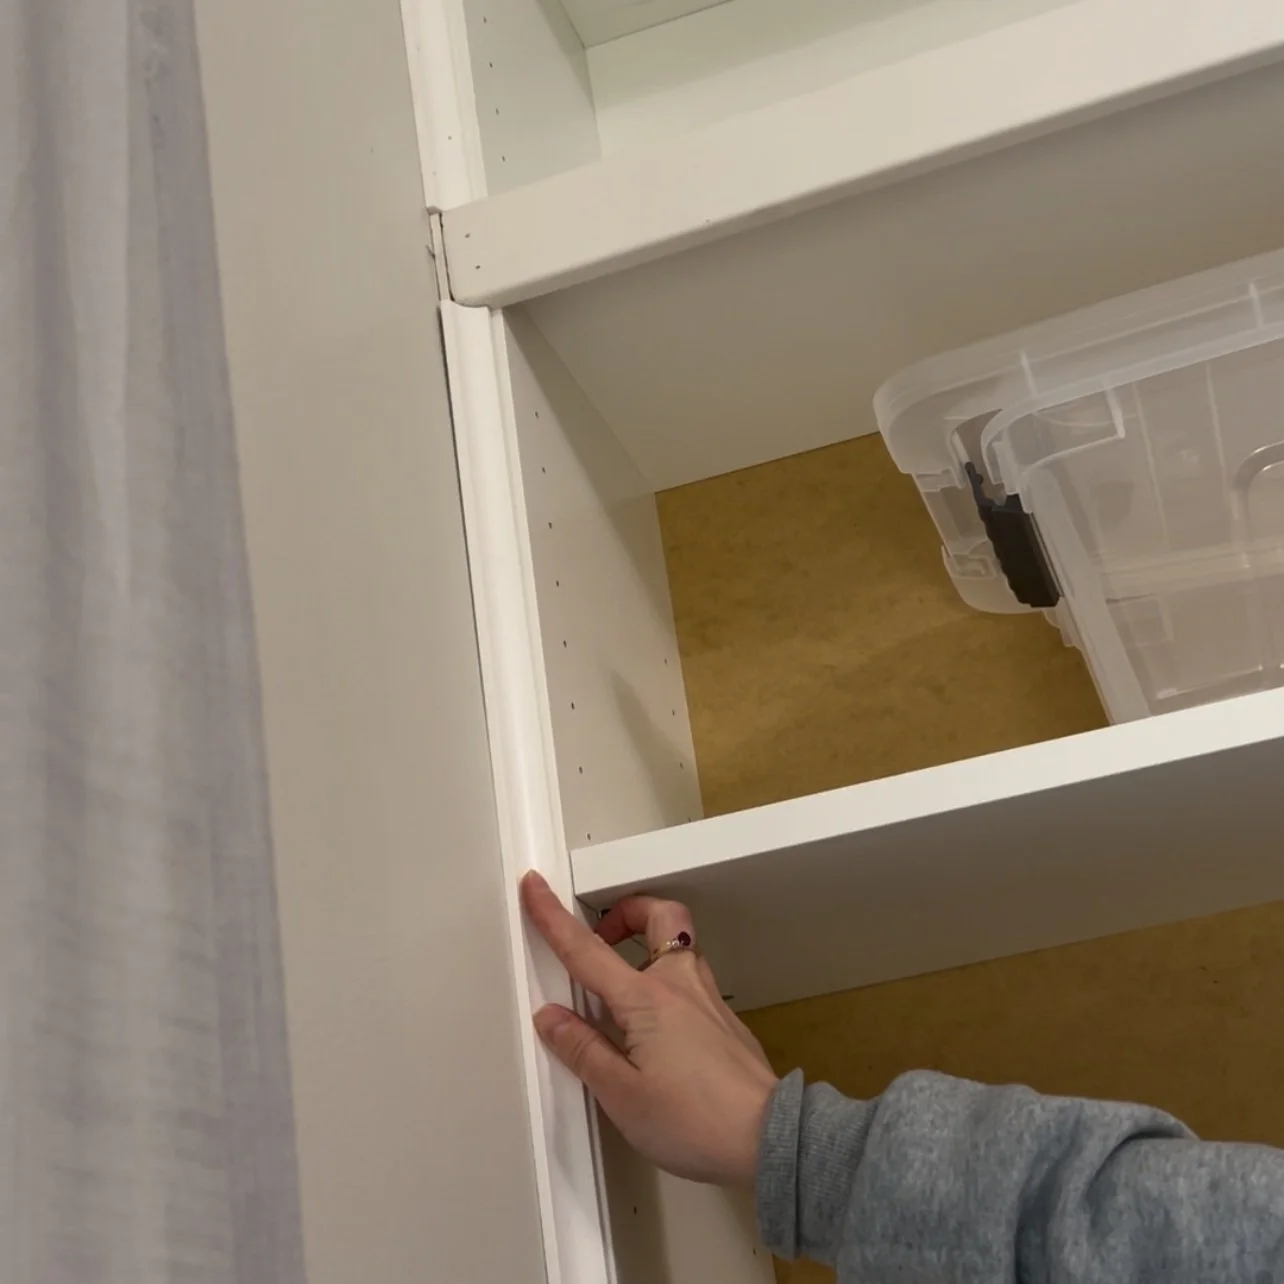

We caulked everything to conceal any remaining gaps, and used wood filler to hide any nail holes and adjustable shelf holes in the IKEA Billy Bookcases. These last two steps are tedious and time consuming, but super important for achieving a high-end, custom look.
Office Built-Ins IKEA: Design and Aesthetics
Once everything was built, it was finally time for my personal favorite part of any project… painting and decorating!
Since most IKEA furniture uses a laminate finish, we made sure to properly prep it for painting to avoid it chipping down the road.
To get paint to stick to IKEA furniture, we first primed with the B-I-N Shellac-Based Interior Primer and Sealer (paid link). This is a shellac-based primer that can be used on any surface without sanding, and will help prevent paint from chipping.
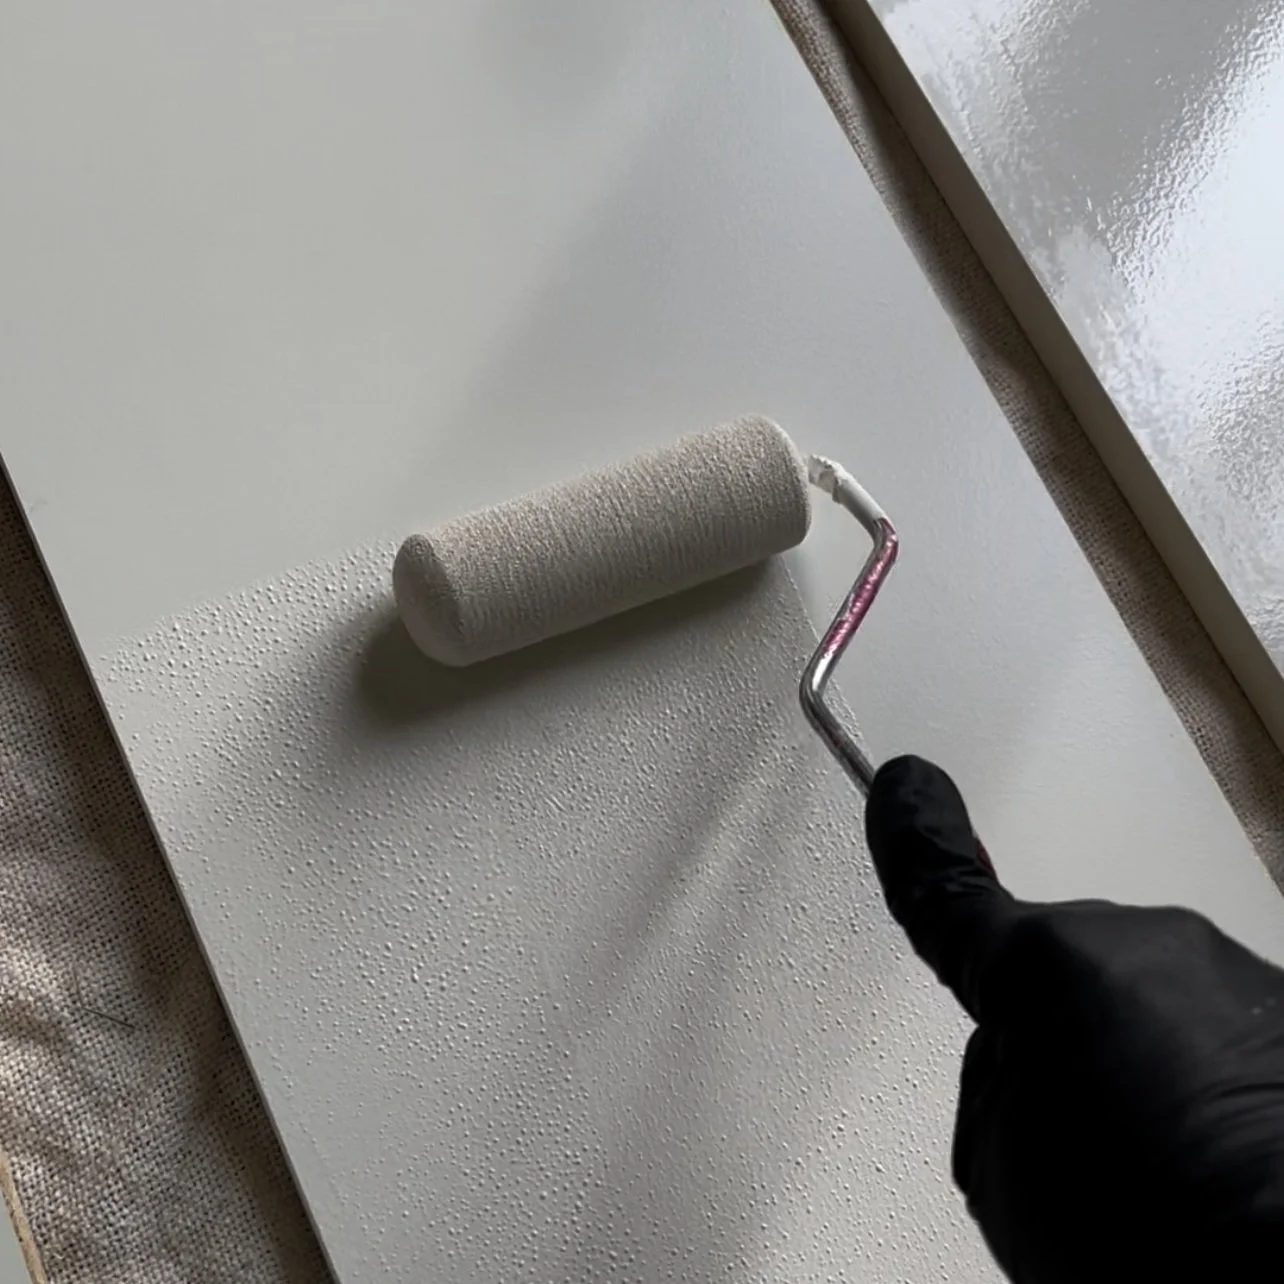
This stuff is STRONG. At the time of me writing this blog post, we painted our IKEA Billy Bookcases over 8 months ago and have had zero chips.
Once the primer dried, we used the Benjamin Moore Regal Select interior paint in a satin finish. I’ve tried so many different paint products, and this is my favorite to date. It applies incredibly smoothly, and is created for surfaces subjected to abuse and soil.
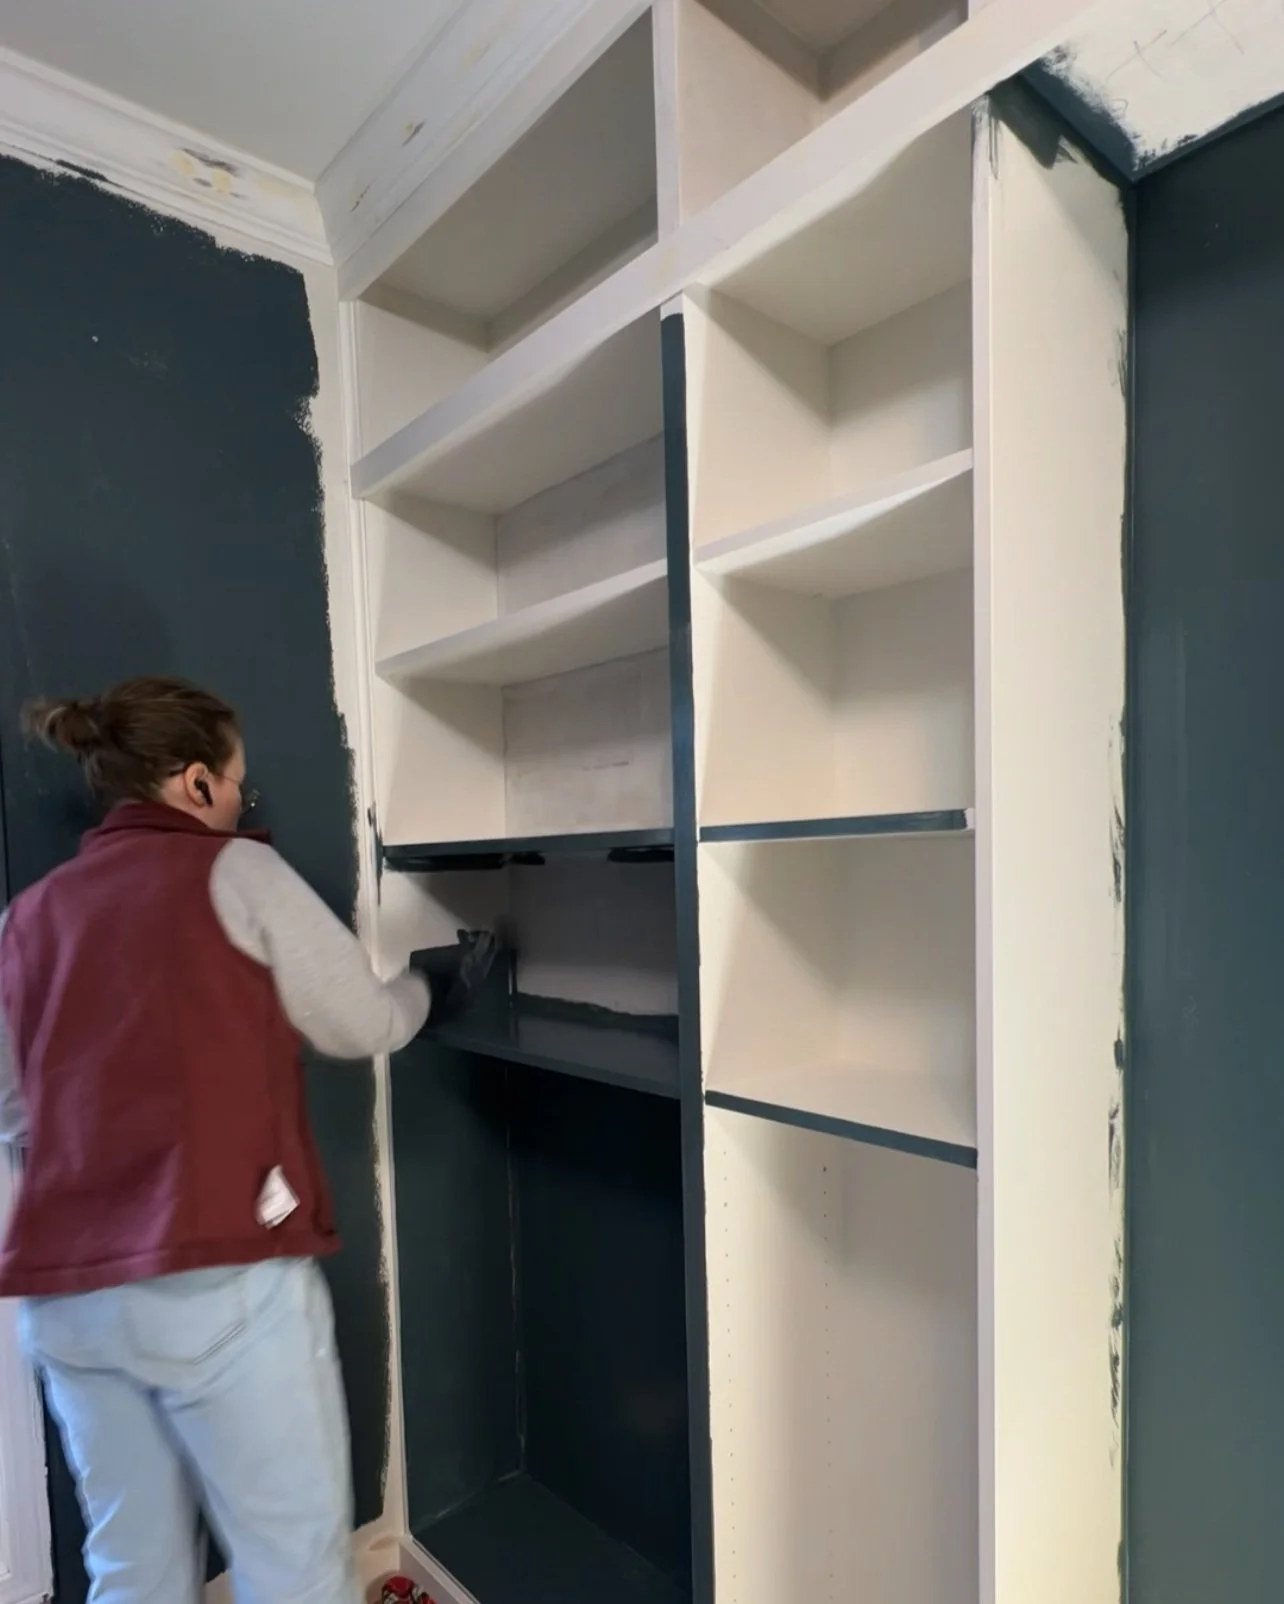
The color we chose for this room is Yorktowne Green by Benjamin Moore. I decided to color drench the room by painting the ceilings for an extra moody vibe.
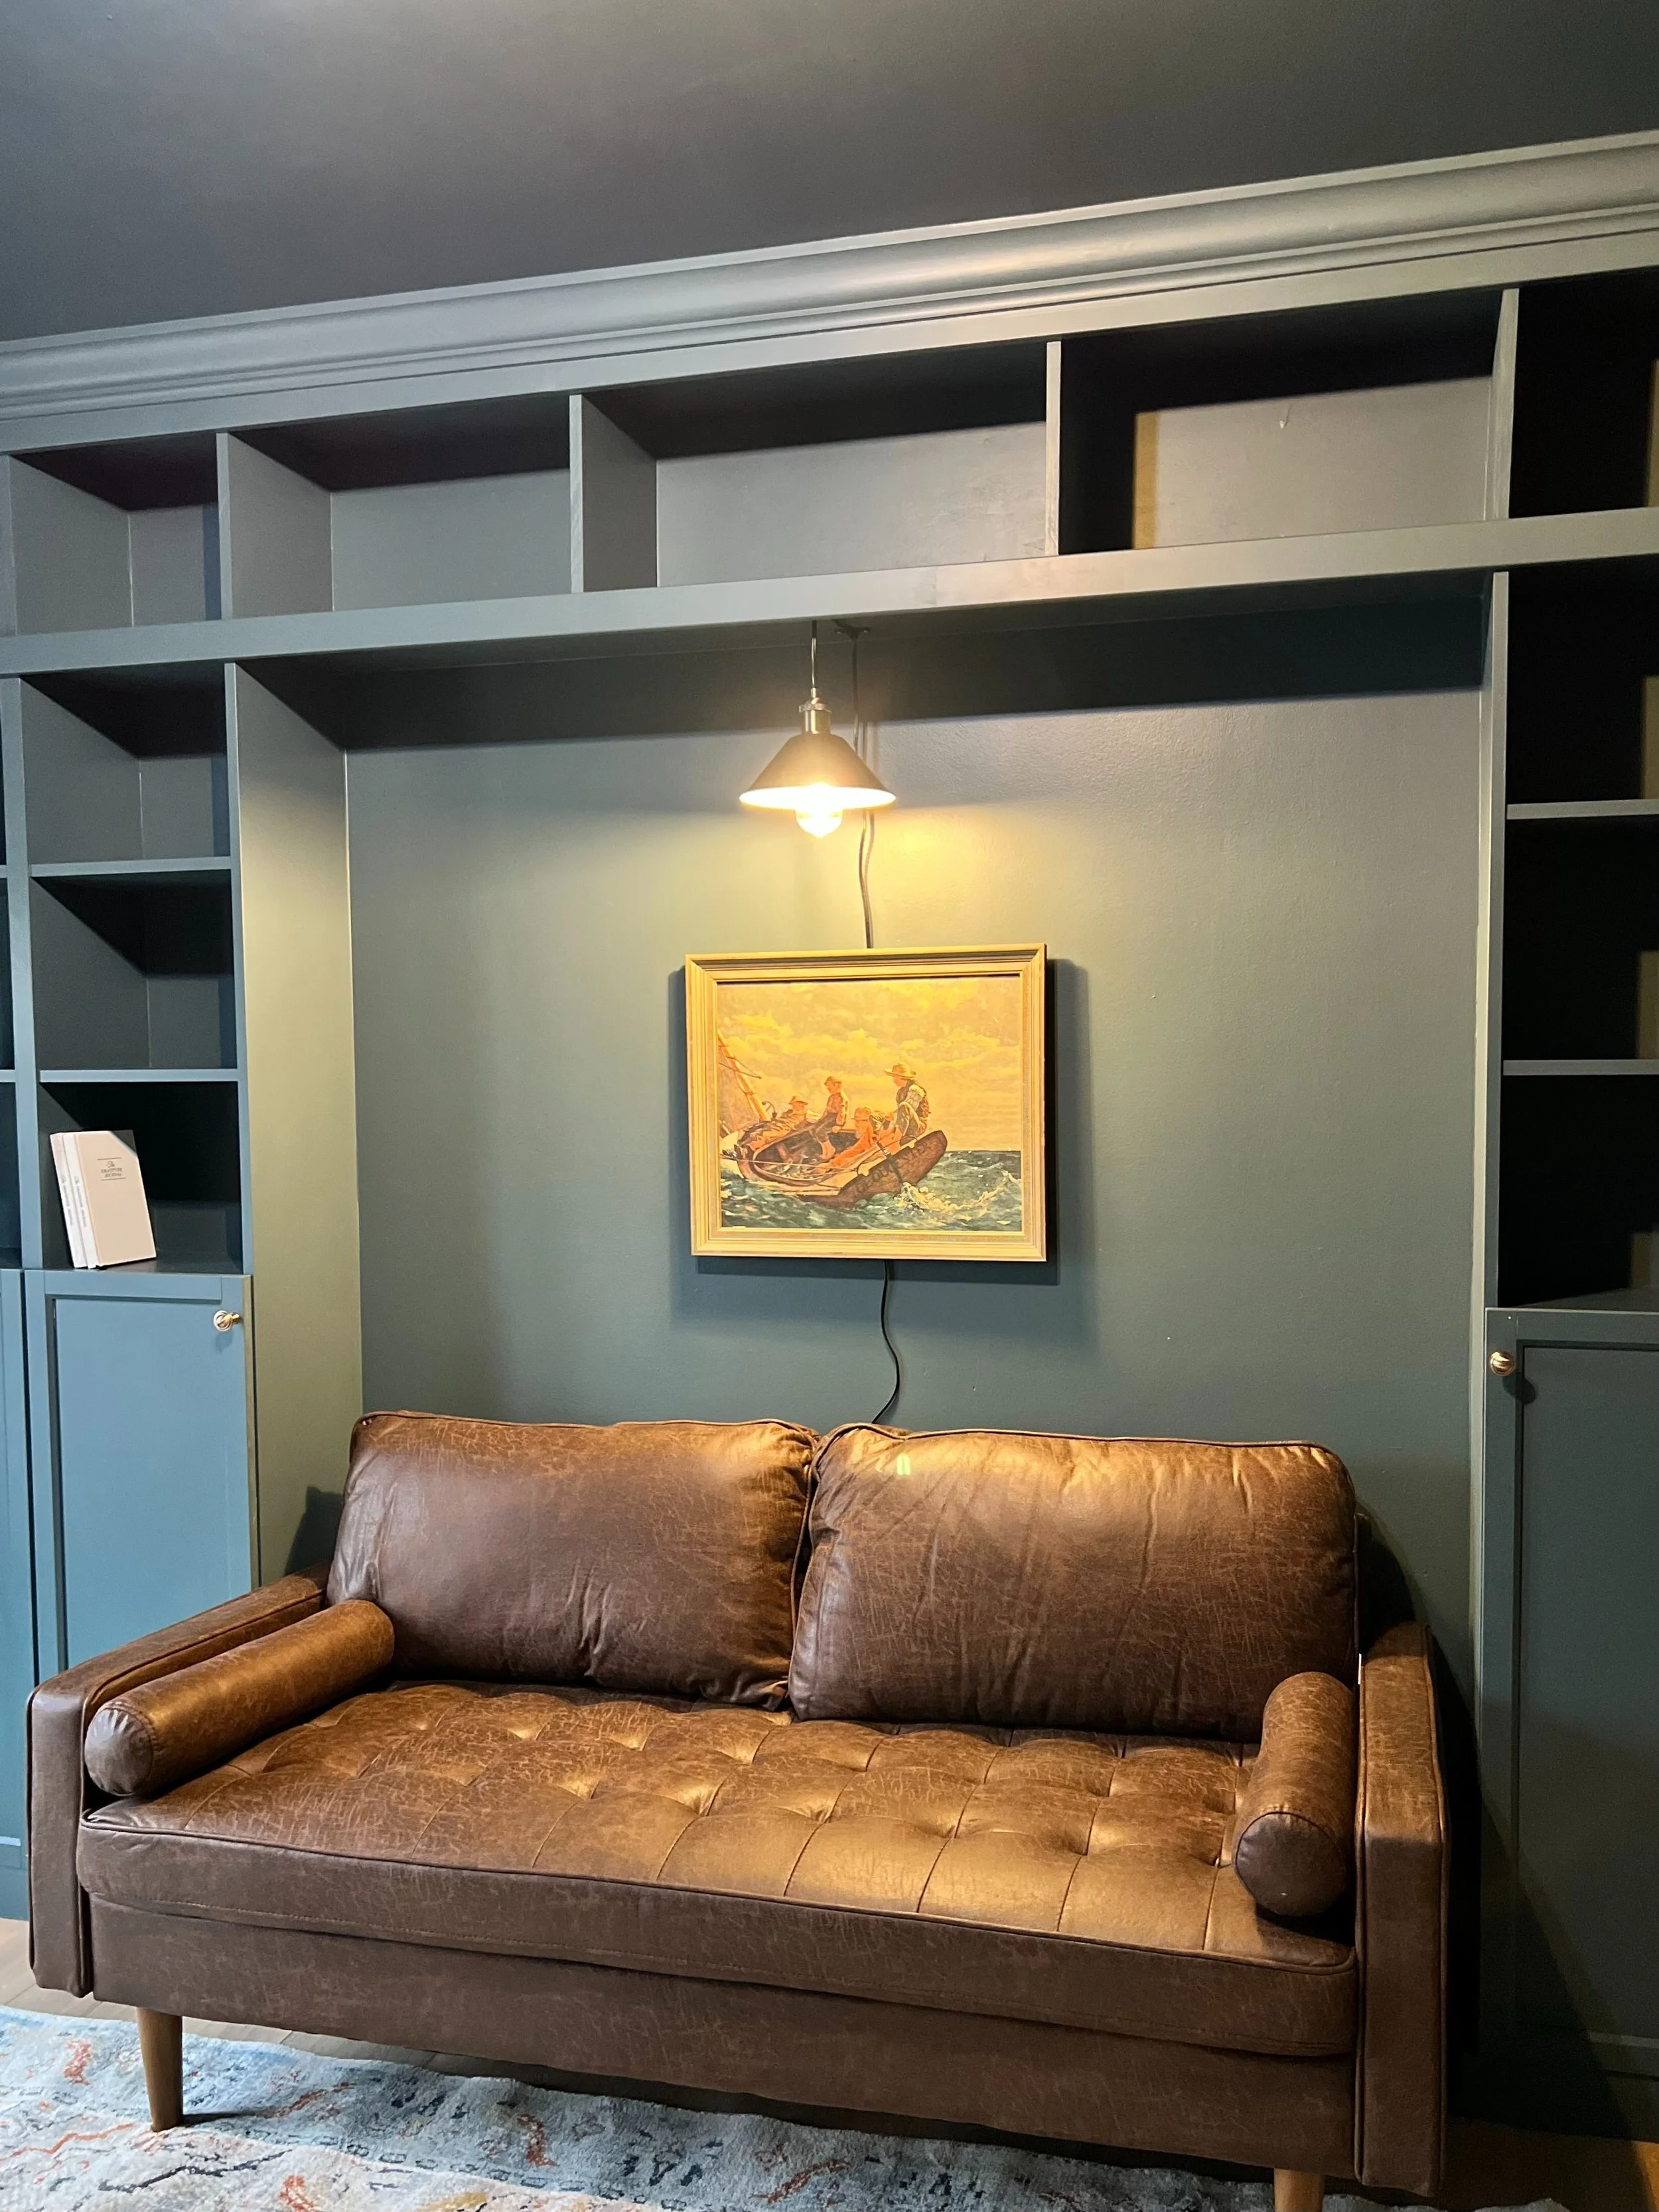
At this point in the project, I was ready to be done, and didn’t really feel like jumping through hoops to install new electrical for lighting. Instead, I bought this hanging lamp (paid link) and secured it to the top of our bookshelf.
I’ve also seen people install sconces with rechargeable bulbs when they want to avoid moving around electrical.
Finally, I went to the thrift store to find some decorative items to add to the bookshelves, and here is the final look!
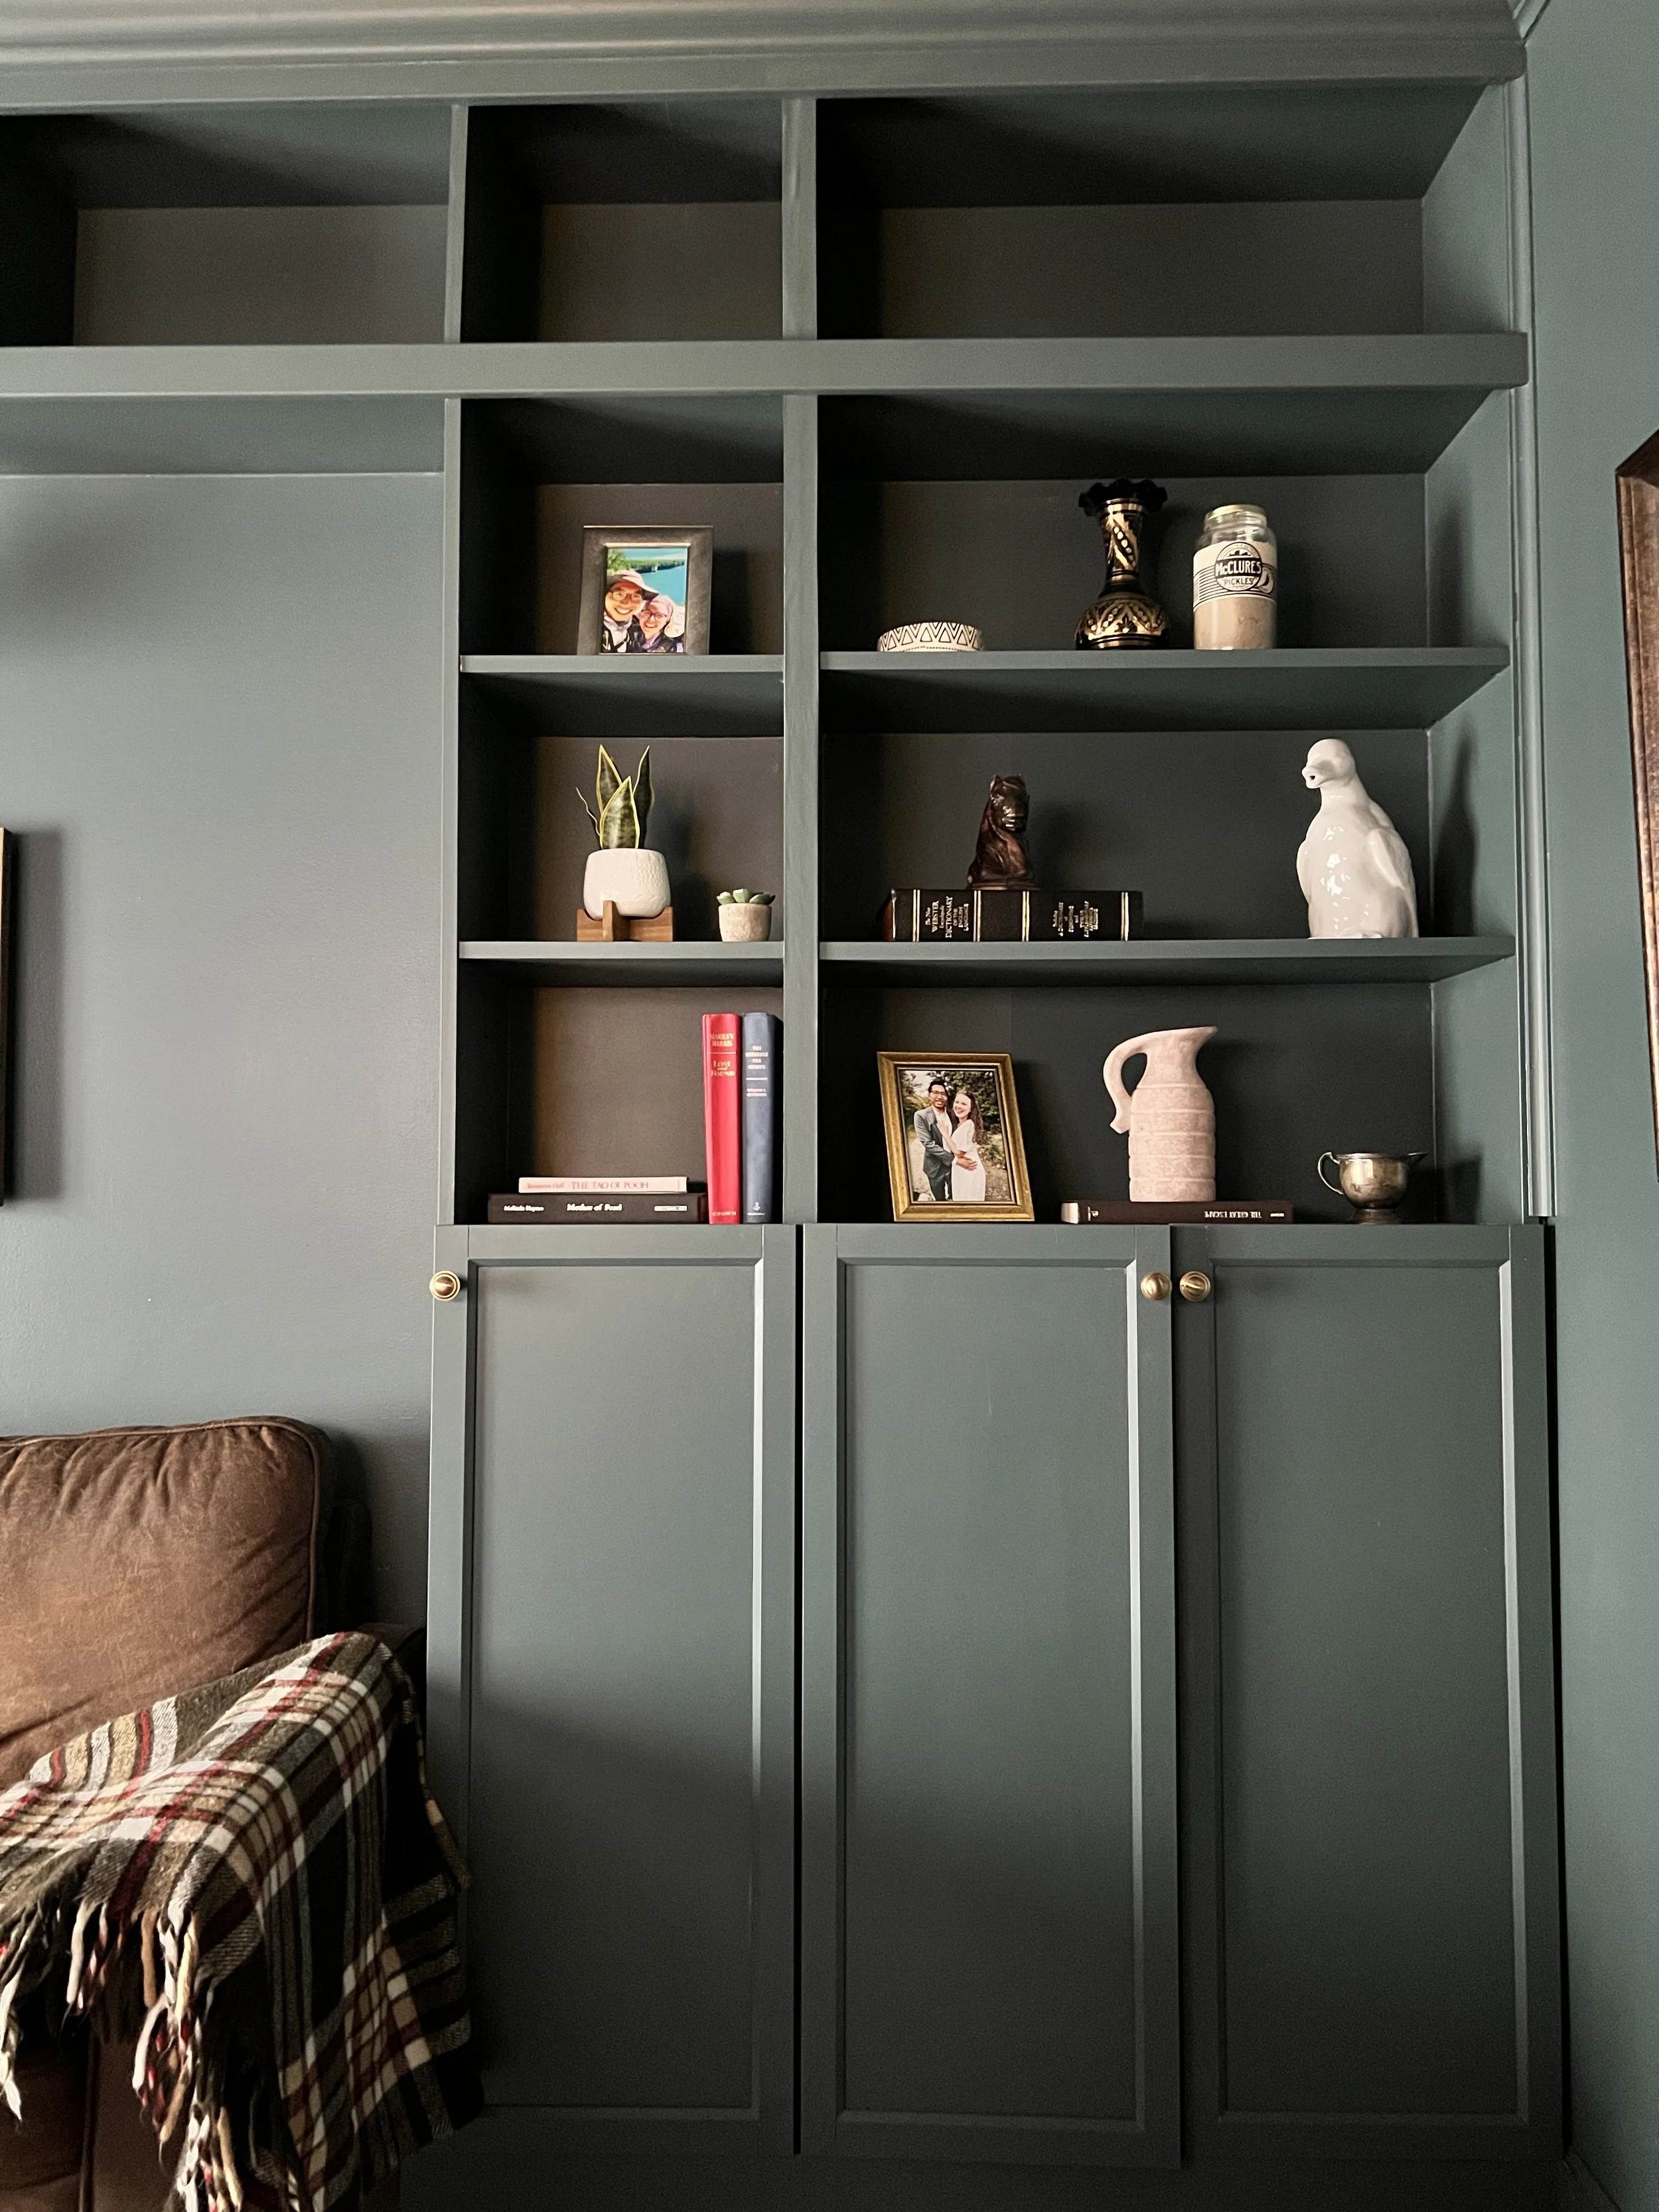
I’m still on a hunt for more decor for this room, but ultimately love how everything has come together.
Conclusion
Transforming our home office with custom built-in bookshelves using the IKEA Billy Bookcase hack is one of our favorite projects yet.
It added so much extra storage space to our home, while giving my husband an elegant and functional place to work from home each day.
The best part? It was a relatively beginner and budget friendly project. We spent about $820 total on building these built-in bookshelves, which is a lot less than we would’ve had to pay if we hired a contractor to install them.
If you’ve been thinking about adding built-in bookshelves somewhere in your home, we definitely recommend it!
Have you tried any IKEA hacks or building built-in bookshelves before? If so, please share your experience, tips, or questions in the comments!
Be sure to subscribe to our e-mail newsletter so you never miss a new blog post, and can have DIY home improvement tips, tricks, and ideas sent straight to your inbox.