DIY Faux Board and Batten Walls
This post contains affiliate links. When you purchase through links on our site, we may earn a small commission at no additional cost to you. As an Amazon Associate we earn from qualifying purchases.
We only recommend products we would use ourselves and all opinions expressed here are our own.
Read the full disclaimer here.
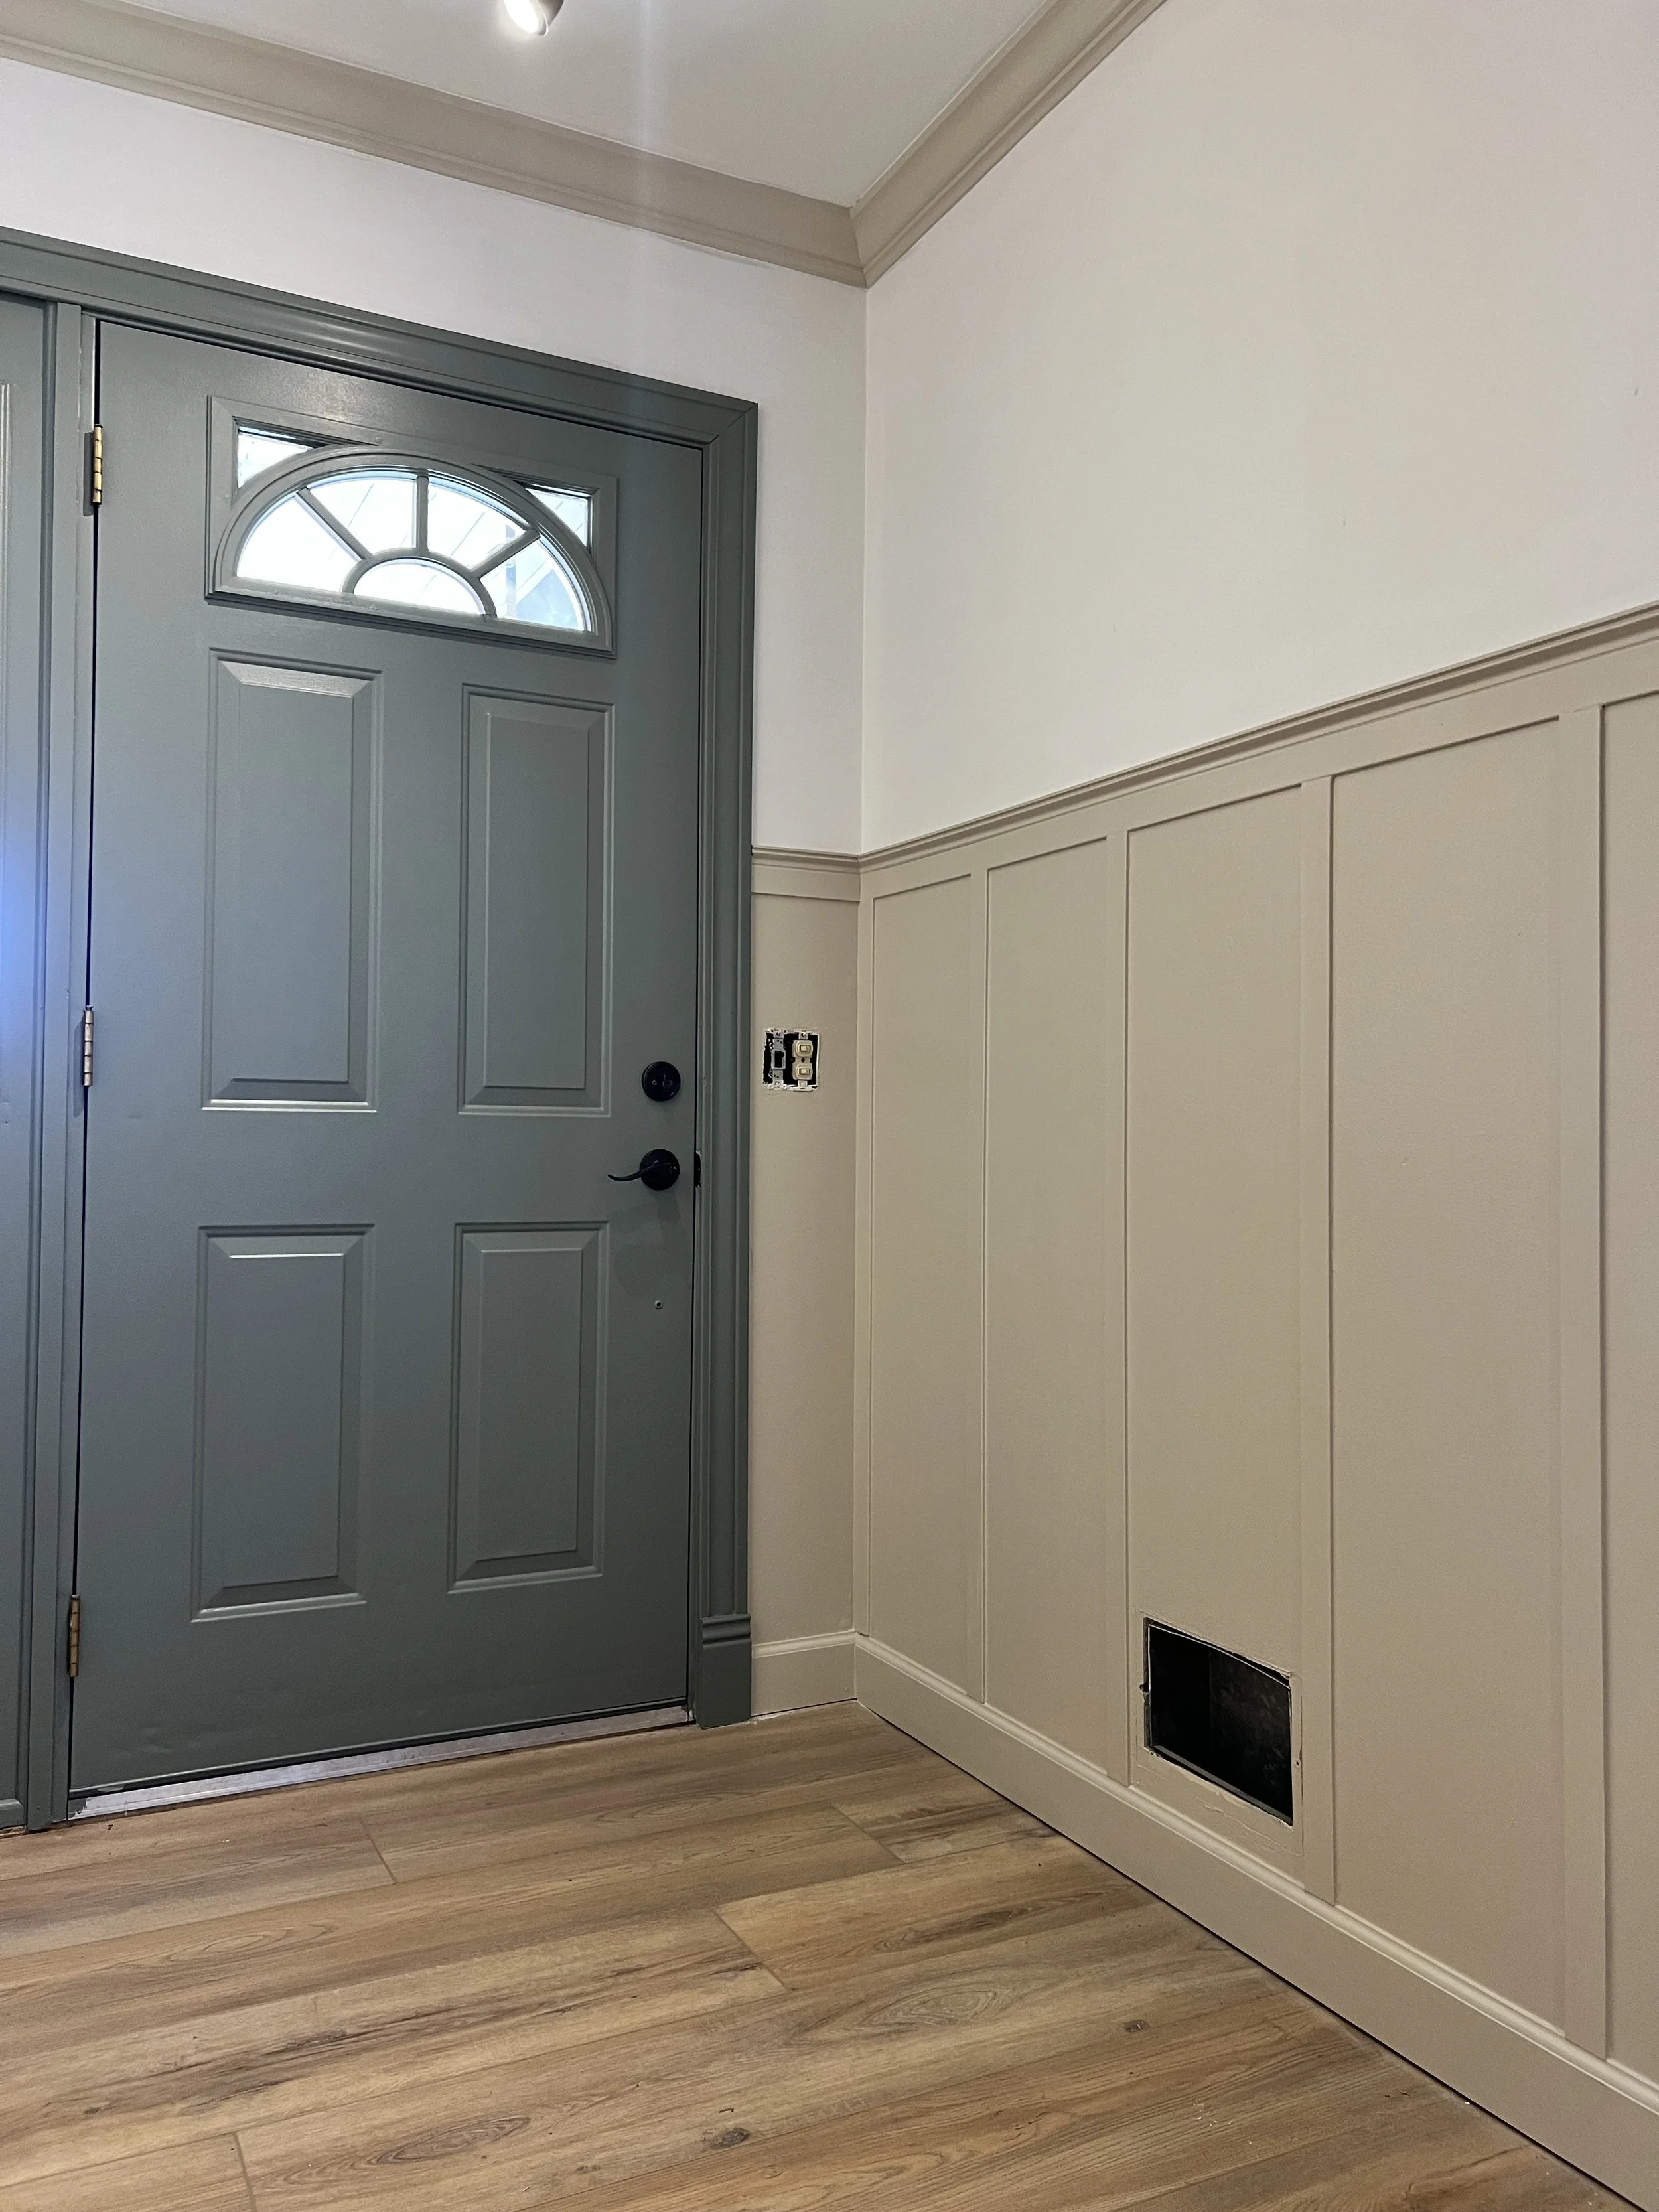
Our next project is sprucing up our entryway with some faux board and batten walls! We’ve had this project in mind for a couple of months, and are so excited to tackle it.
After all, your entryway is the first experience that someone has when they walk into your home, and we wanted to give ours some character while keeping a bright and airy feel.
What are faux board and batten walls?
Essentially, faux board and batten can basically just be called “batten” walls, because there is no board invovled.
MDF boards are generally laid over walls that have texture to create a smooth look, and then the battens are installed on top of them.
Since our entryway walls are already pretty smooth, we’re skipping the boards. This saves time, money, and makes the installation process way faster.


Materials you’ll need for faux board and batten walls
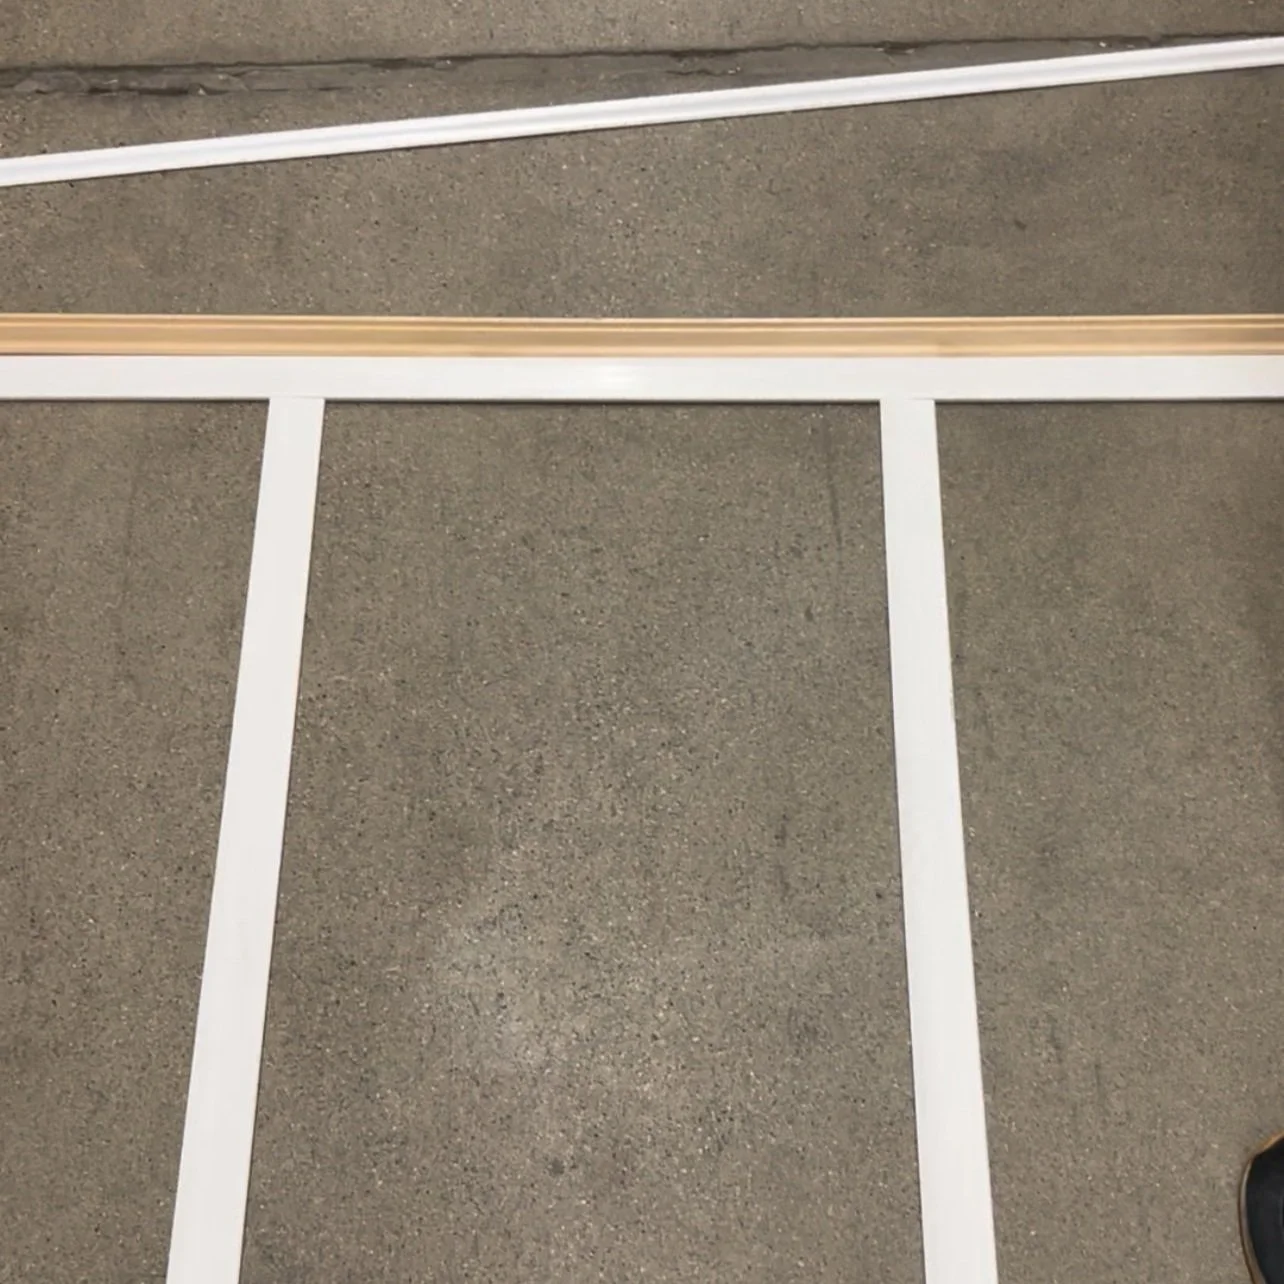
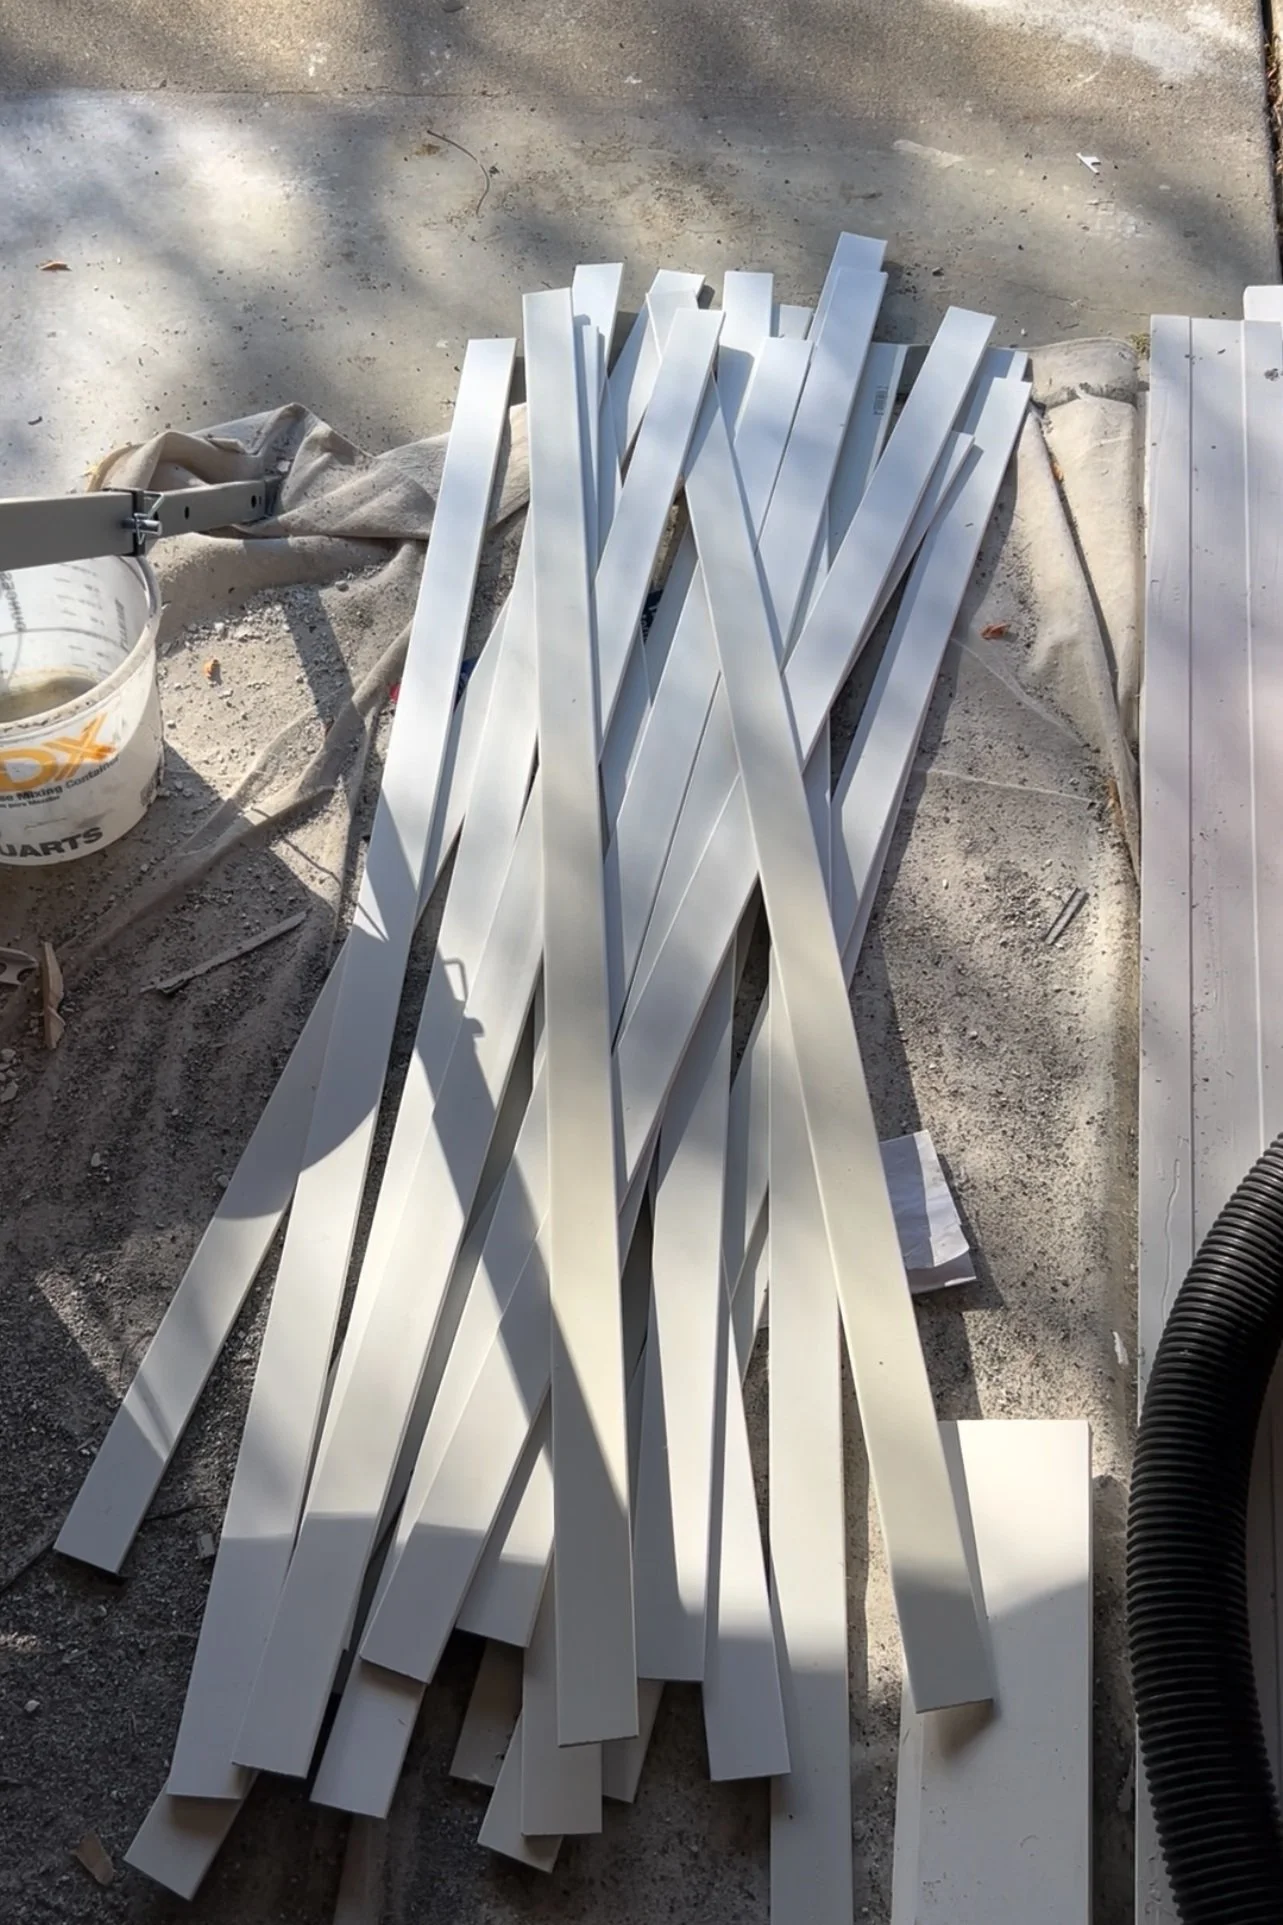
1/4in Thick lattice strips (the ones we used are 1.5in wide)
Level
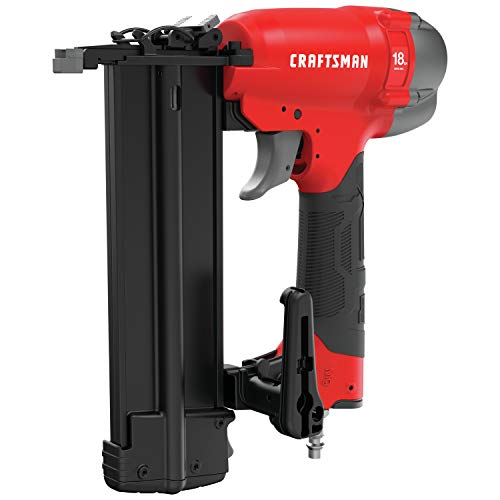
Brad Nailer
Trim (for the top of the board and batten)
Miter saw
Wood Filler
Sander
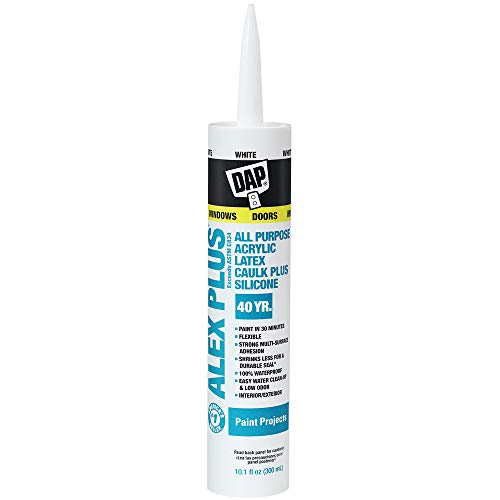
Caulk
Paint
How to Install Faux Board and Batten Walls
Once we had all of the materials together, the installation went pretty quickly!
We started by cutting down all of our lattice strips to 48in pieces.
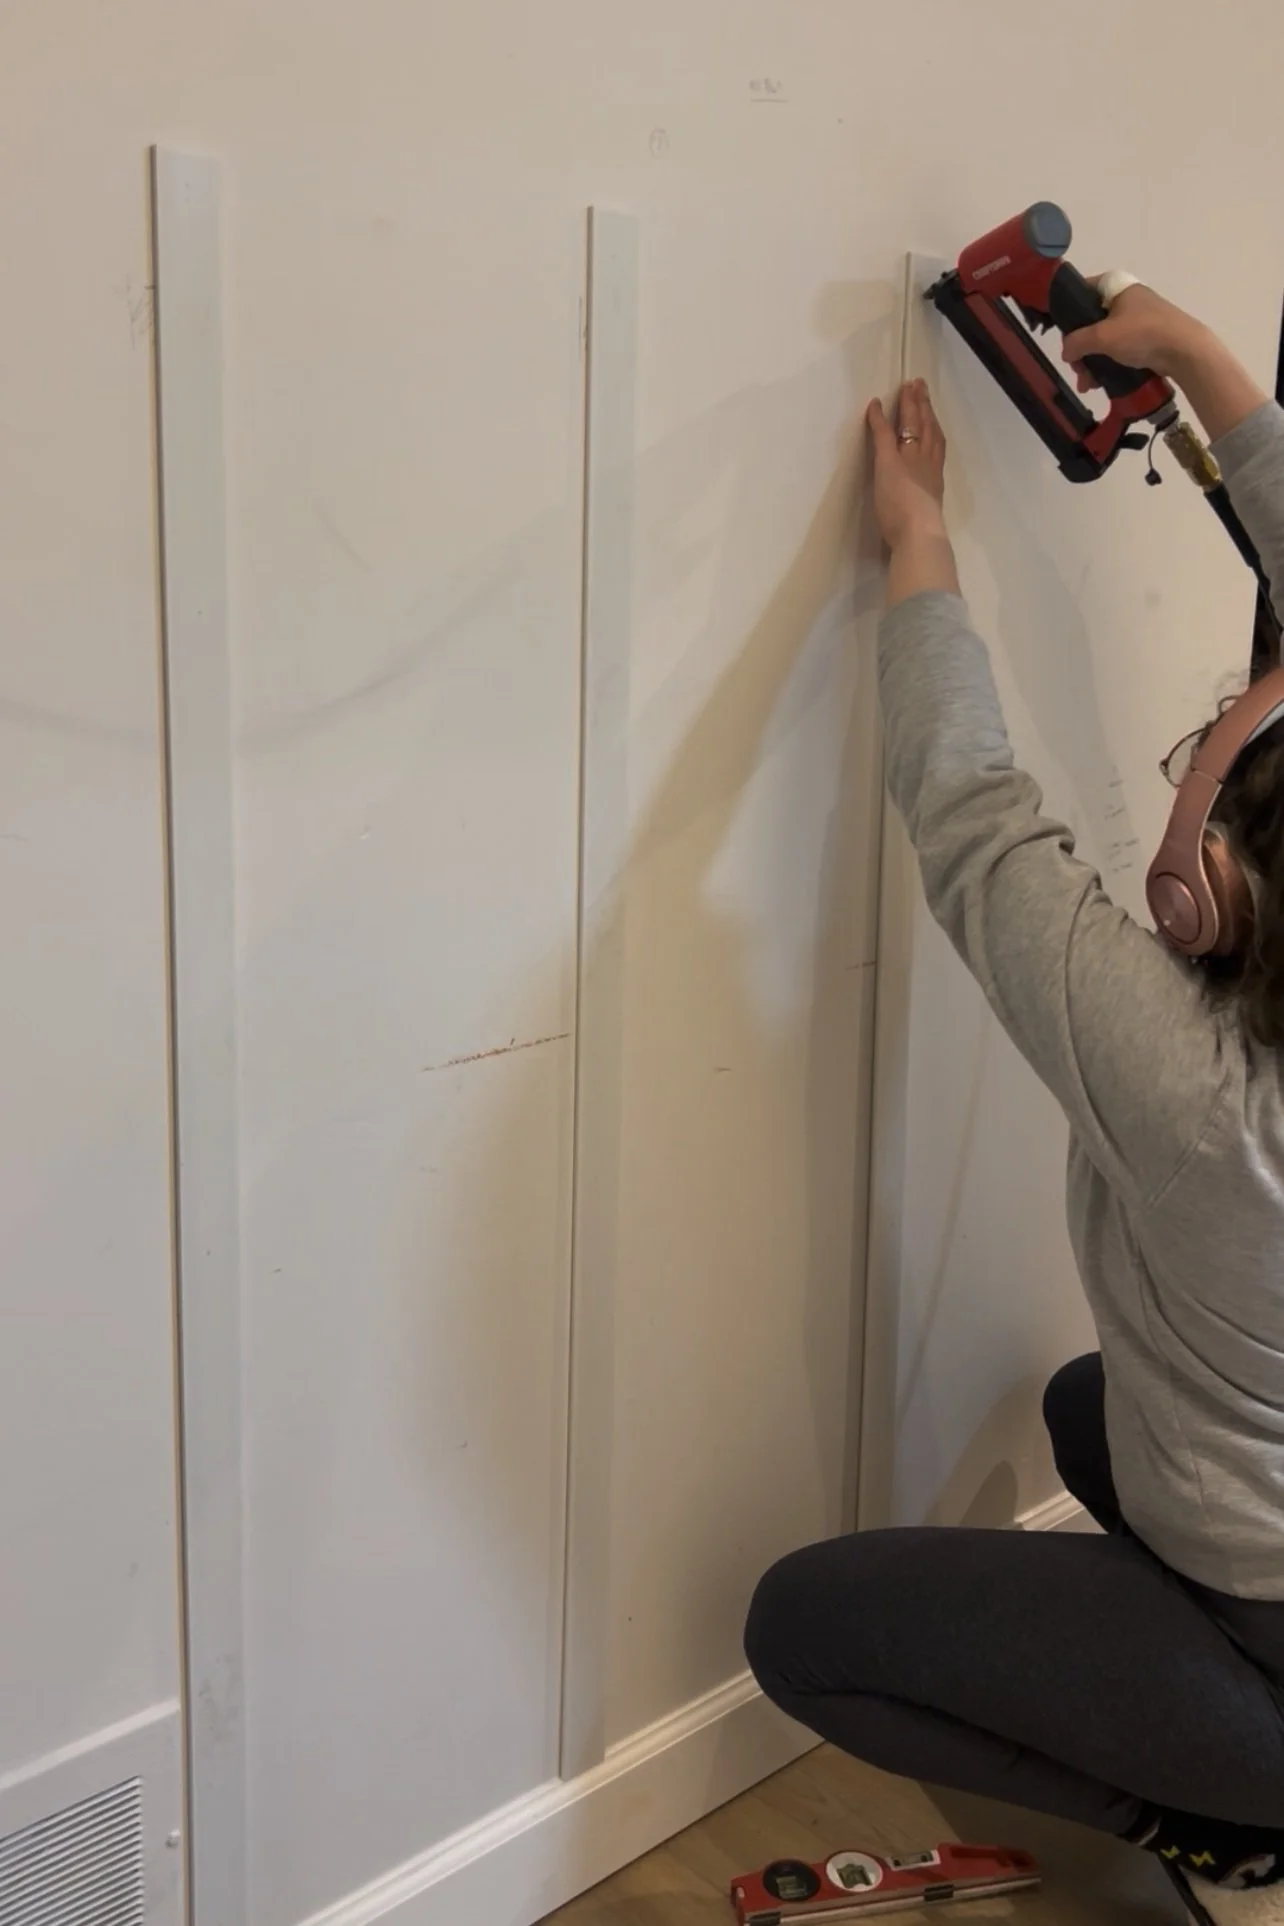
Next, we used a brad nailer to secure them to the wall, checking with a level to make sure each piece was straight.
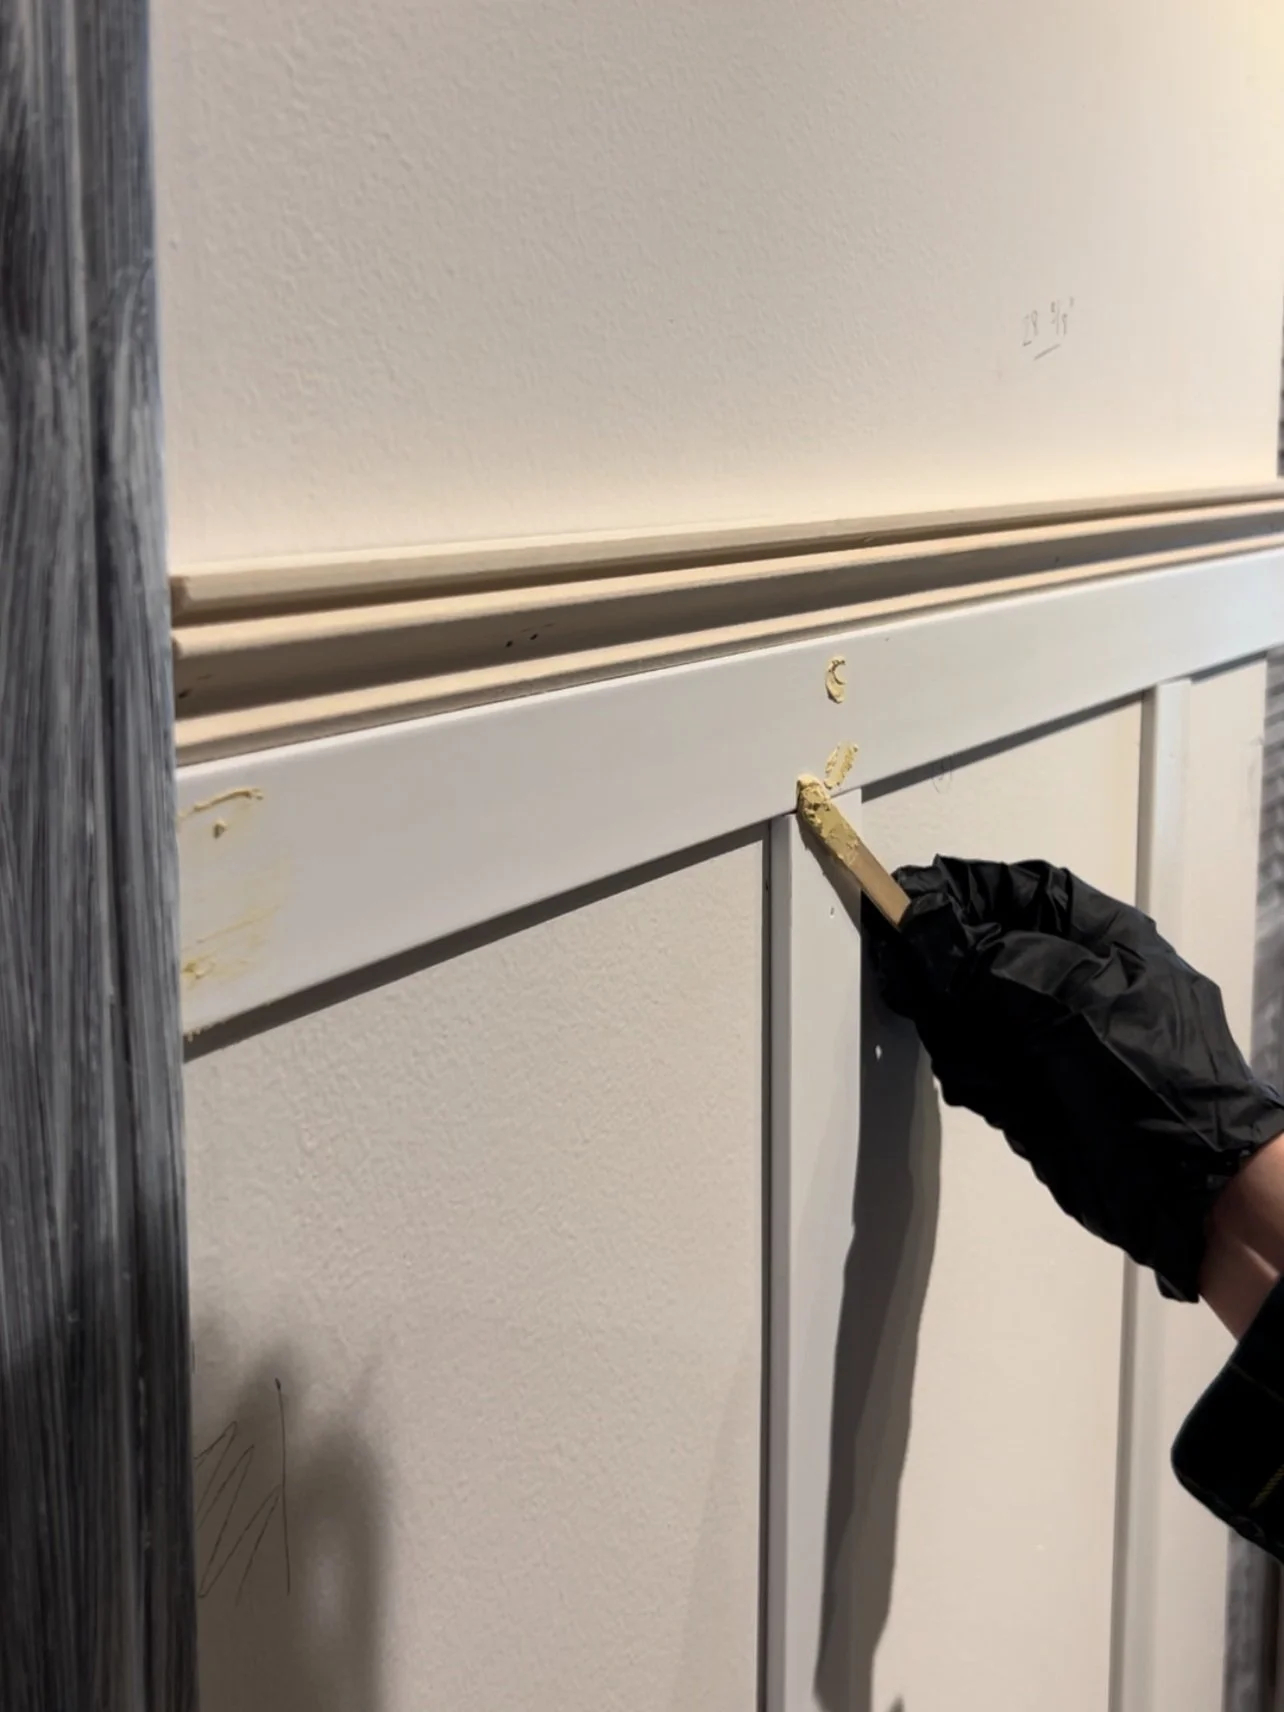
Then we installed the top piece of trim, which added a nice touch of character to this project!
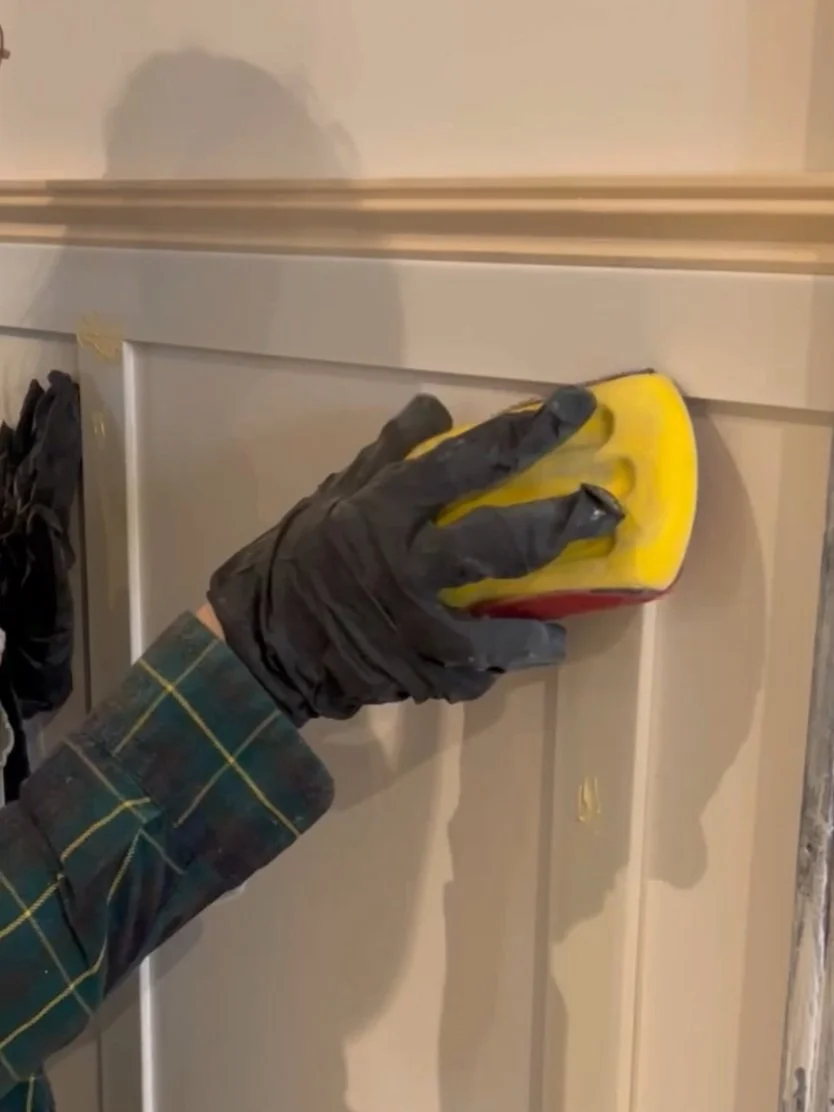
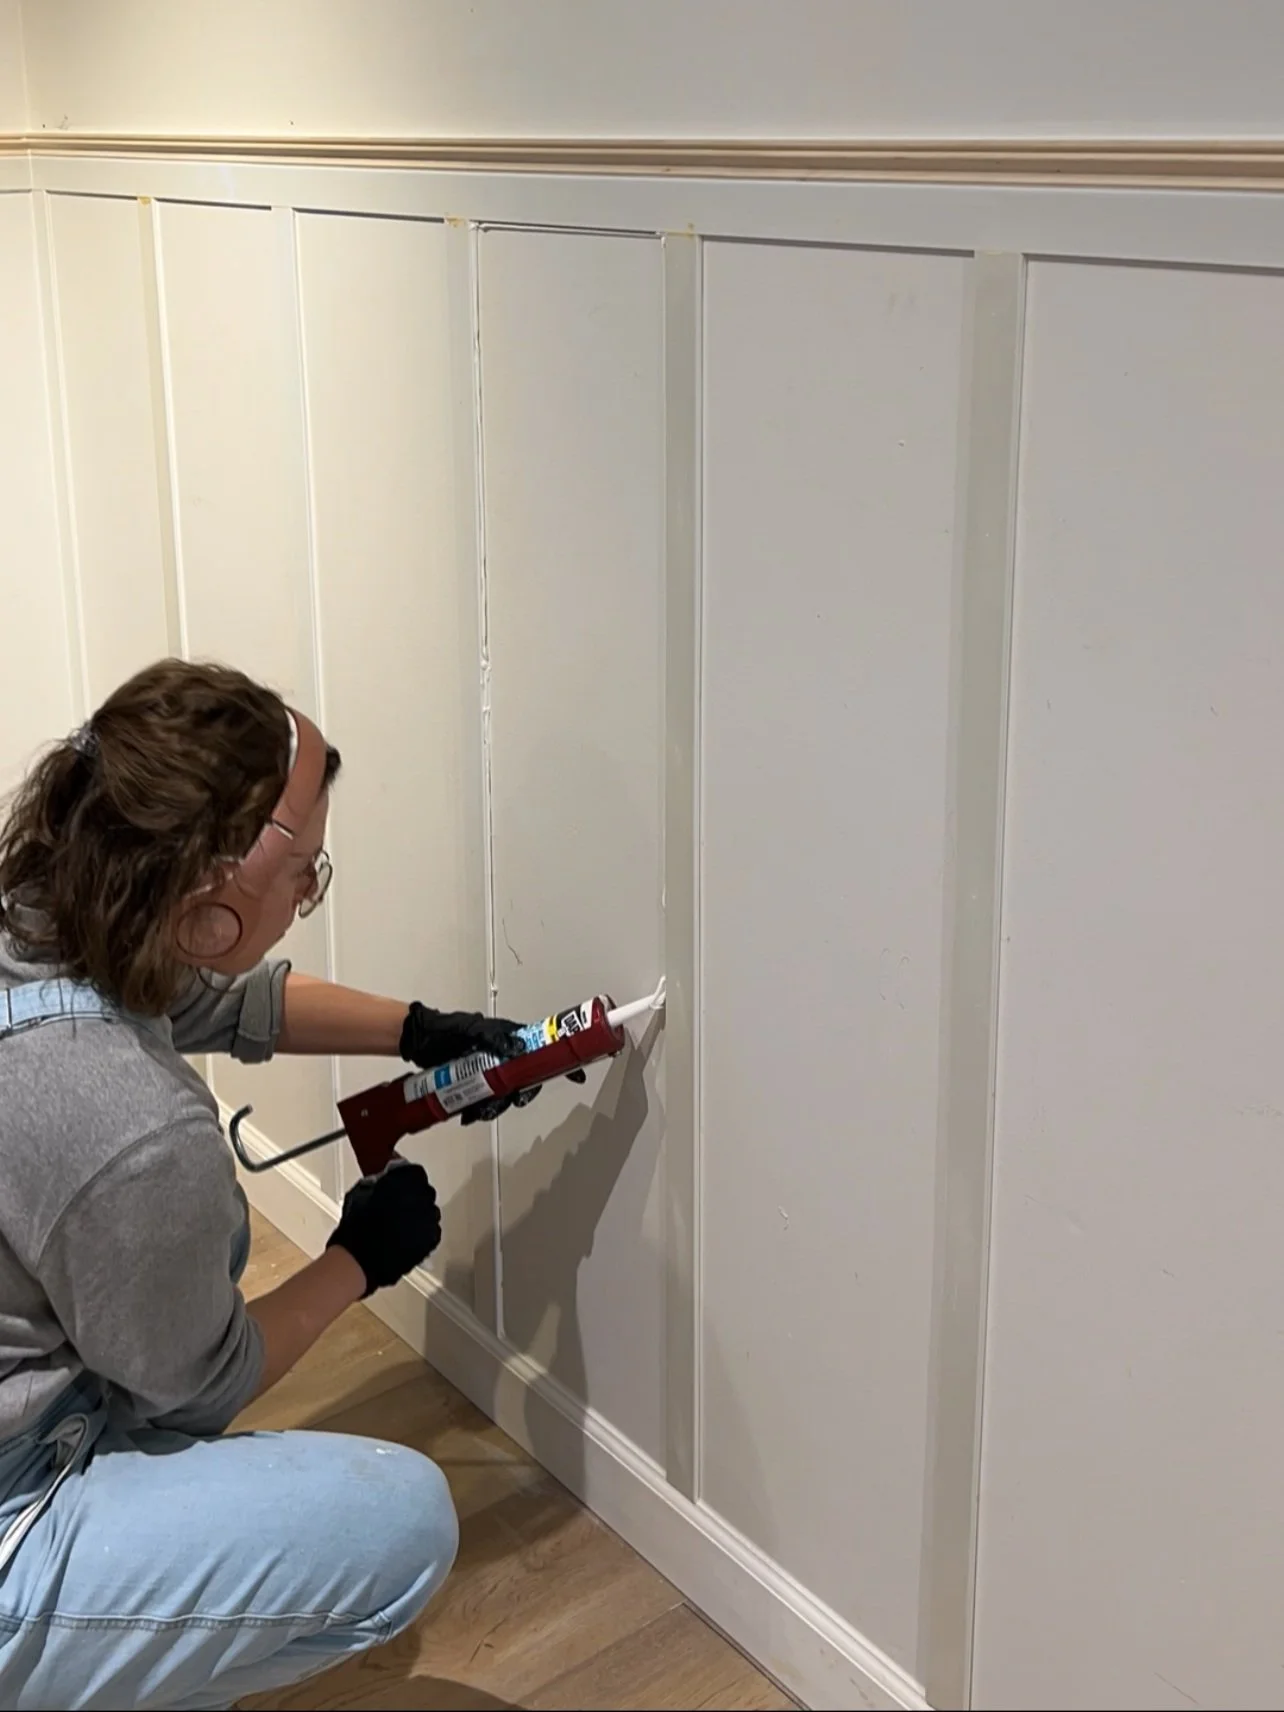
The last steps before painting was to fill nail holes, sand down the wood filler, and caulk all of the seams.
This is probably my least favorite part of any project, but paying attention to these small details helps achieve a professional finish. Don’t skip this step!!
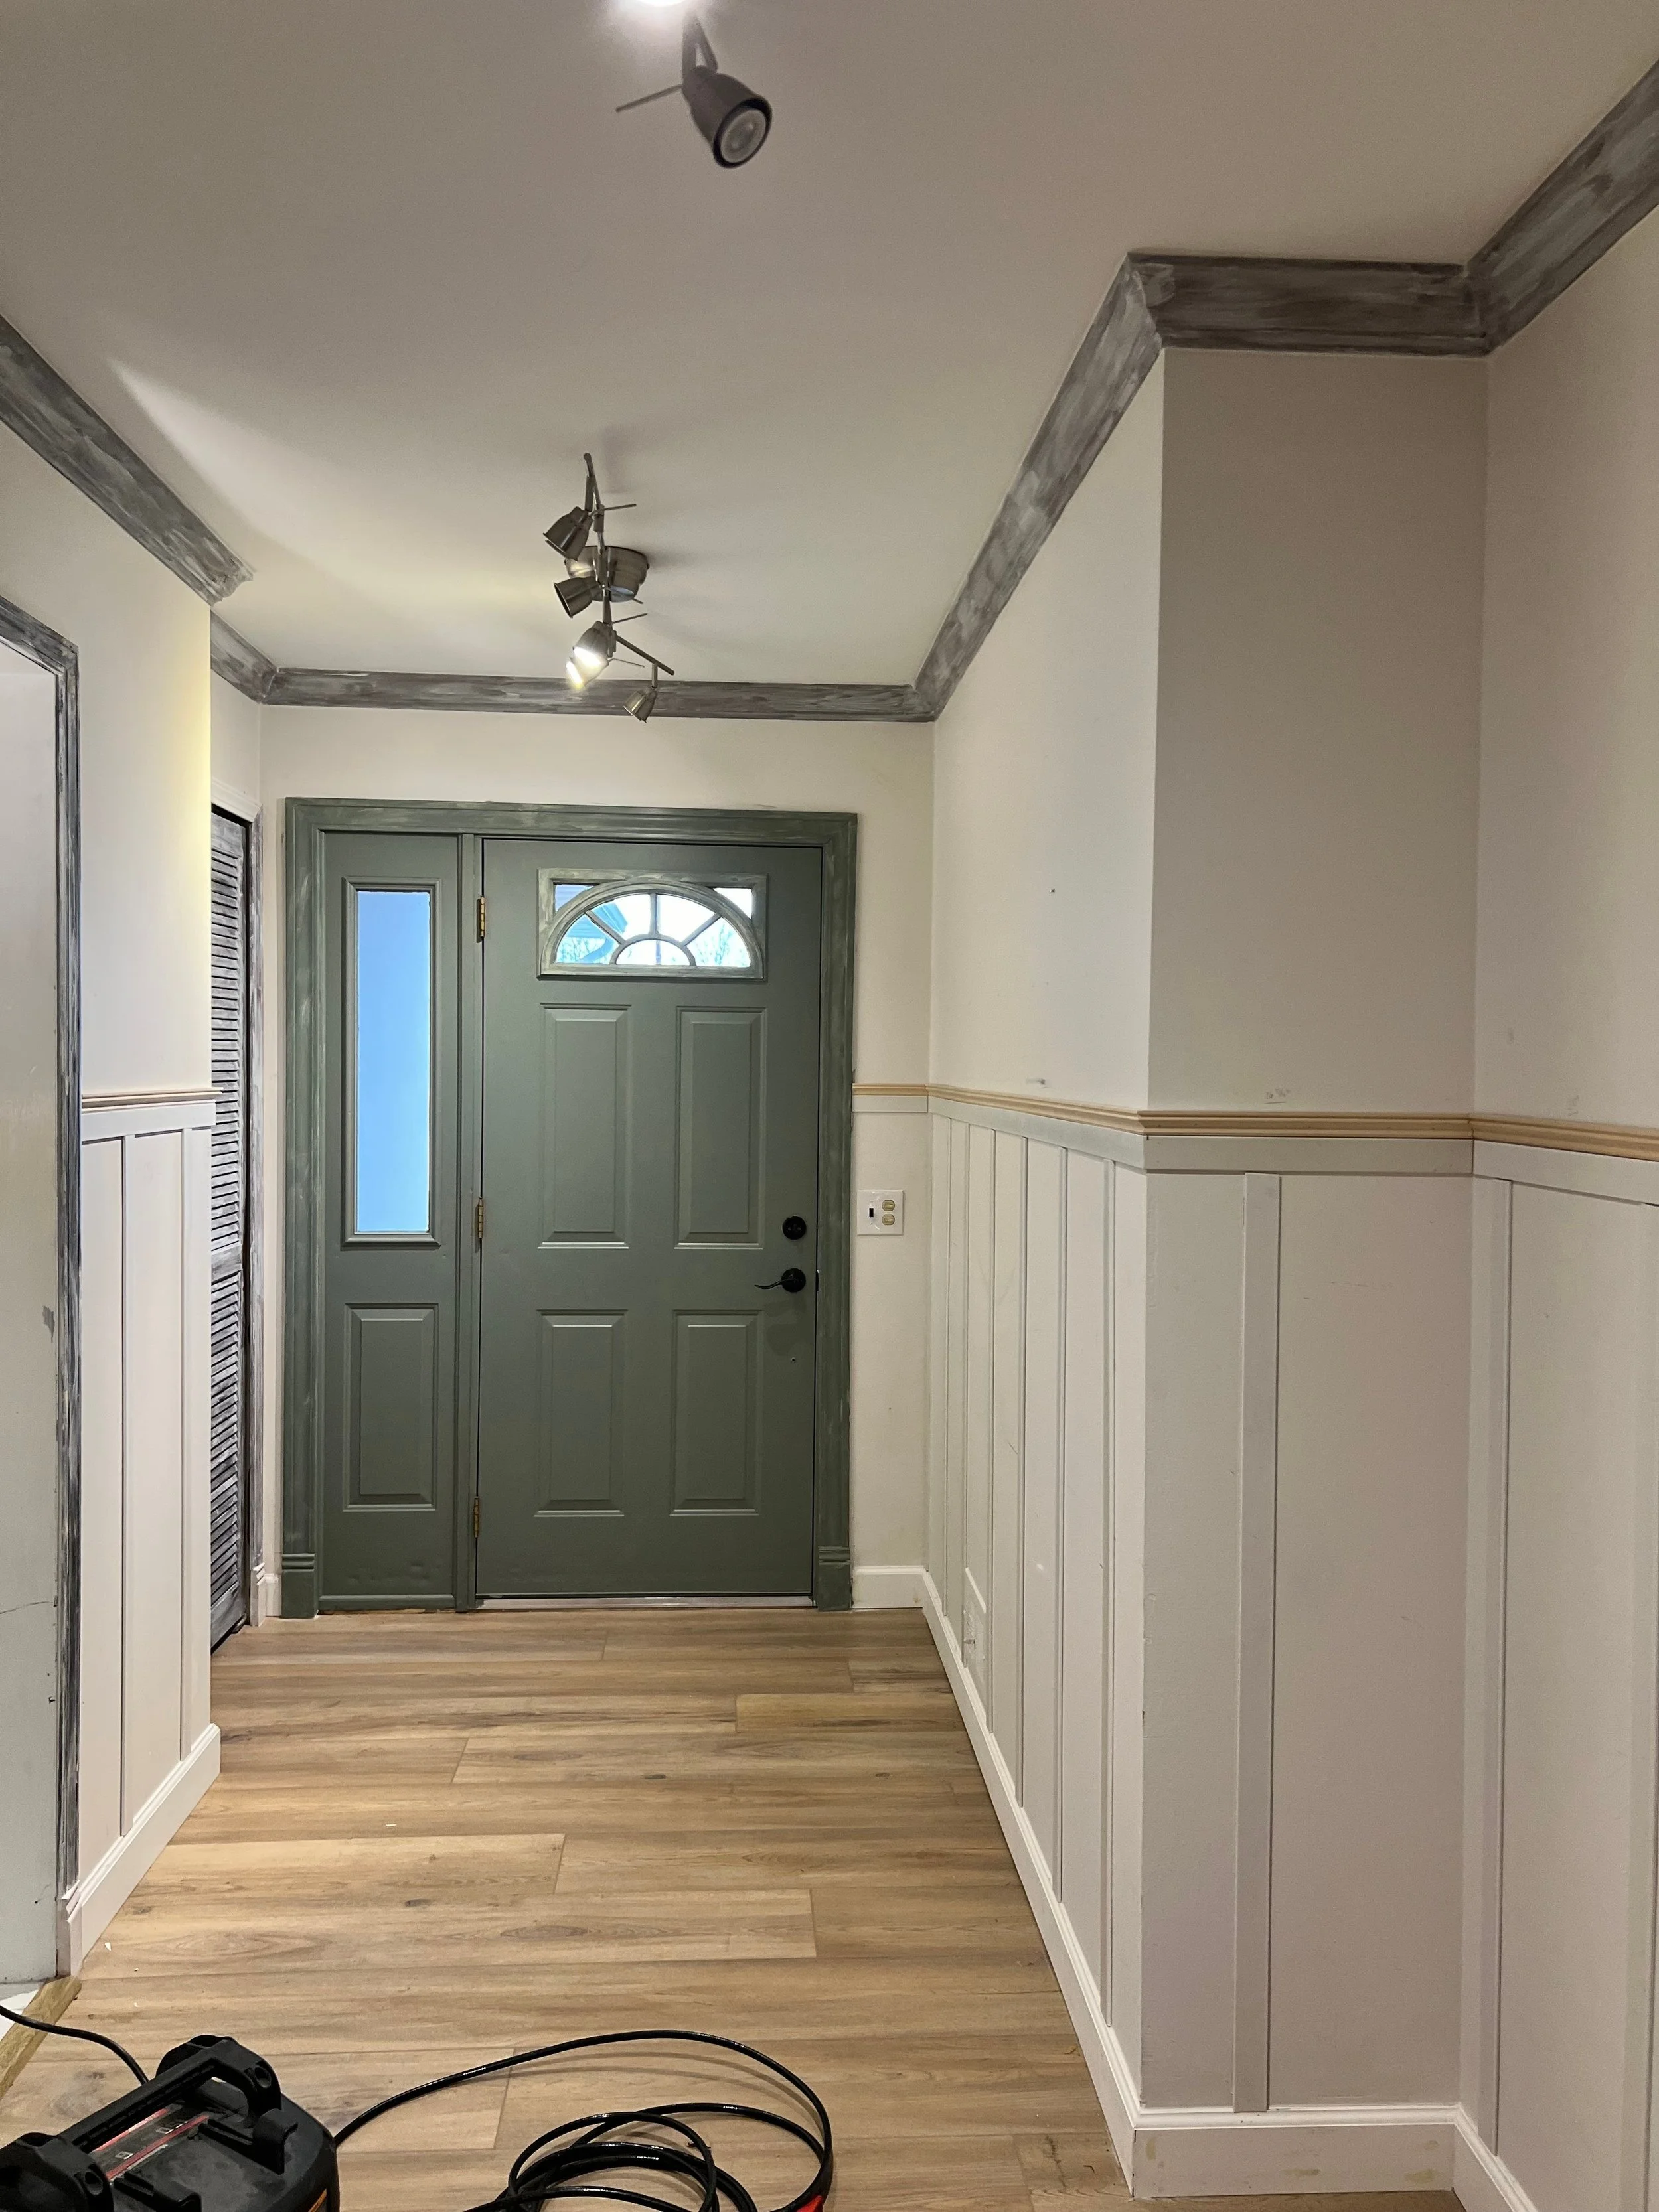
After all of that work, the walls were finally ready for painting!
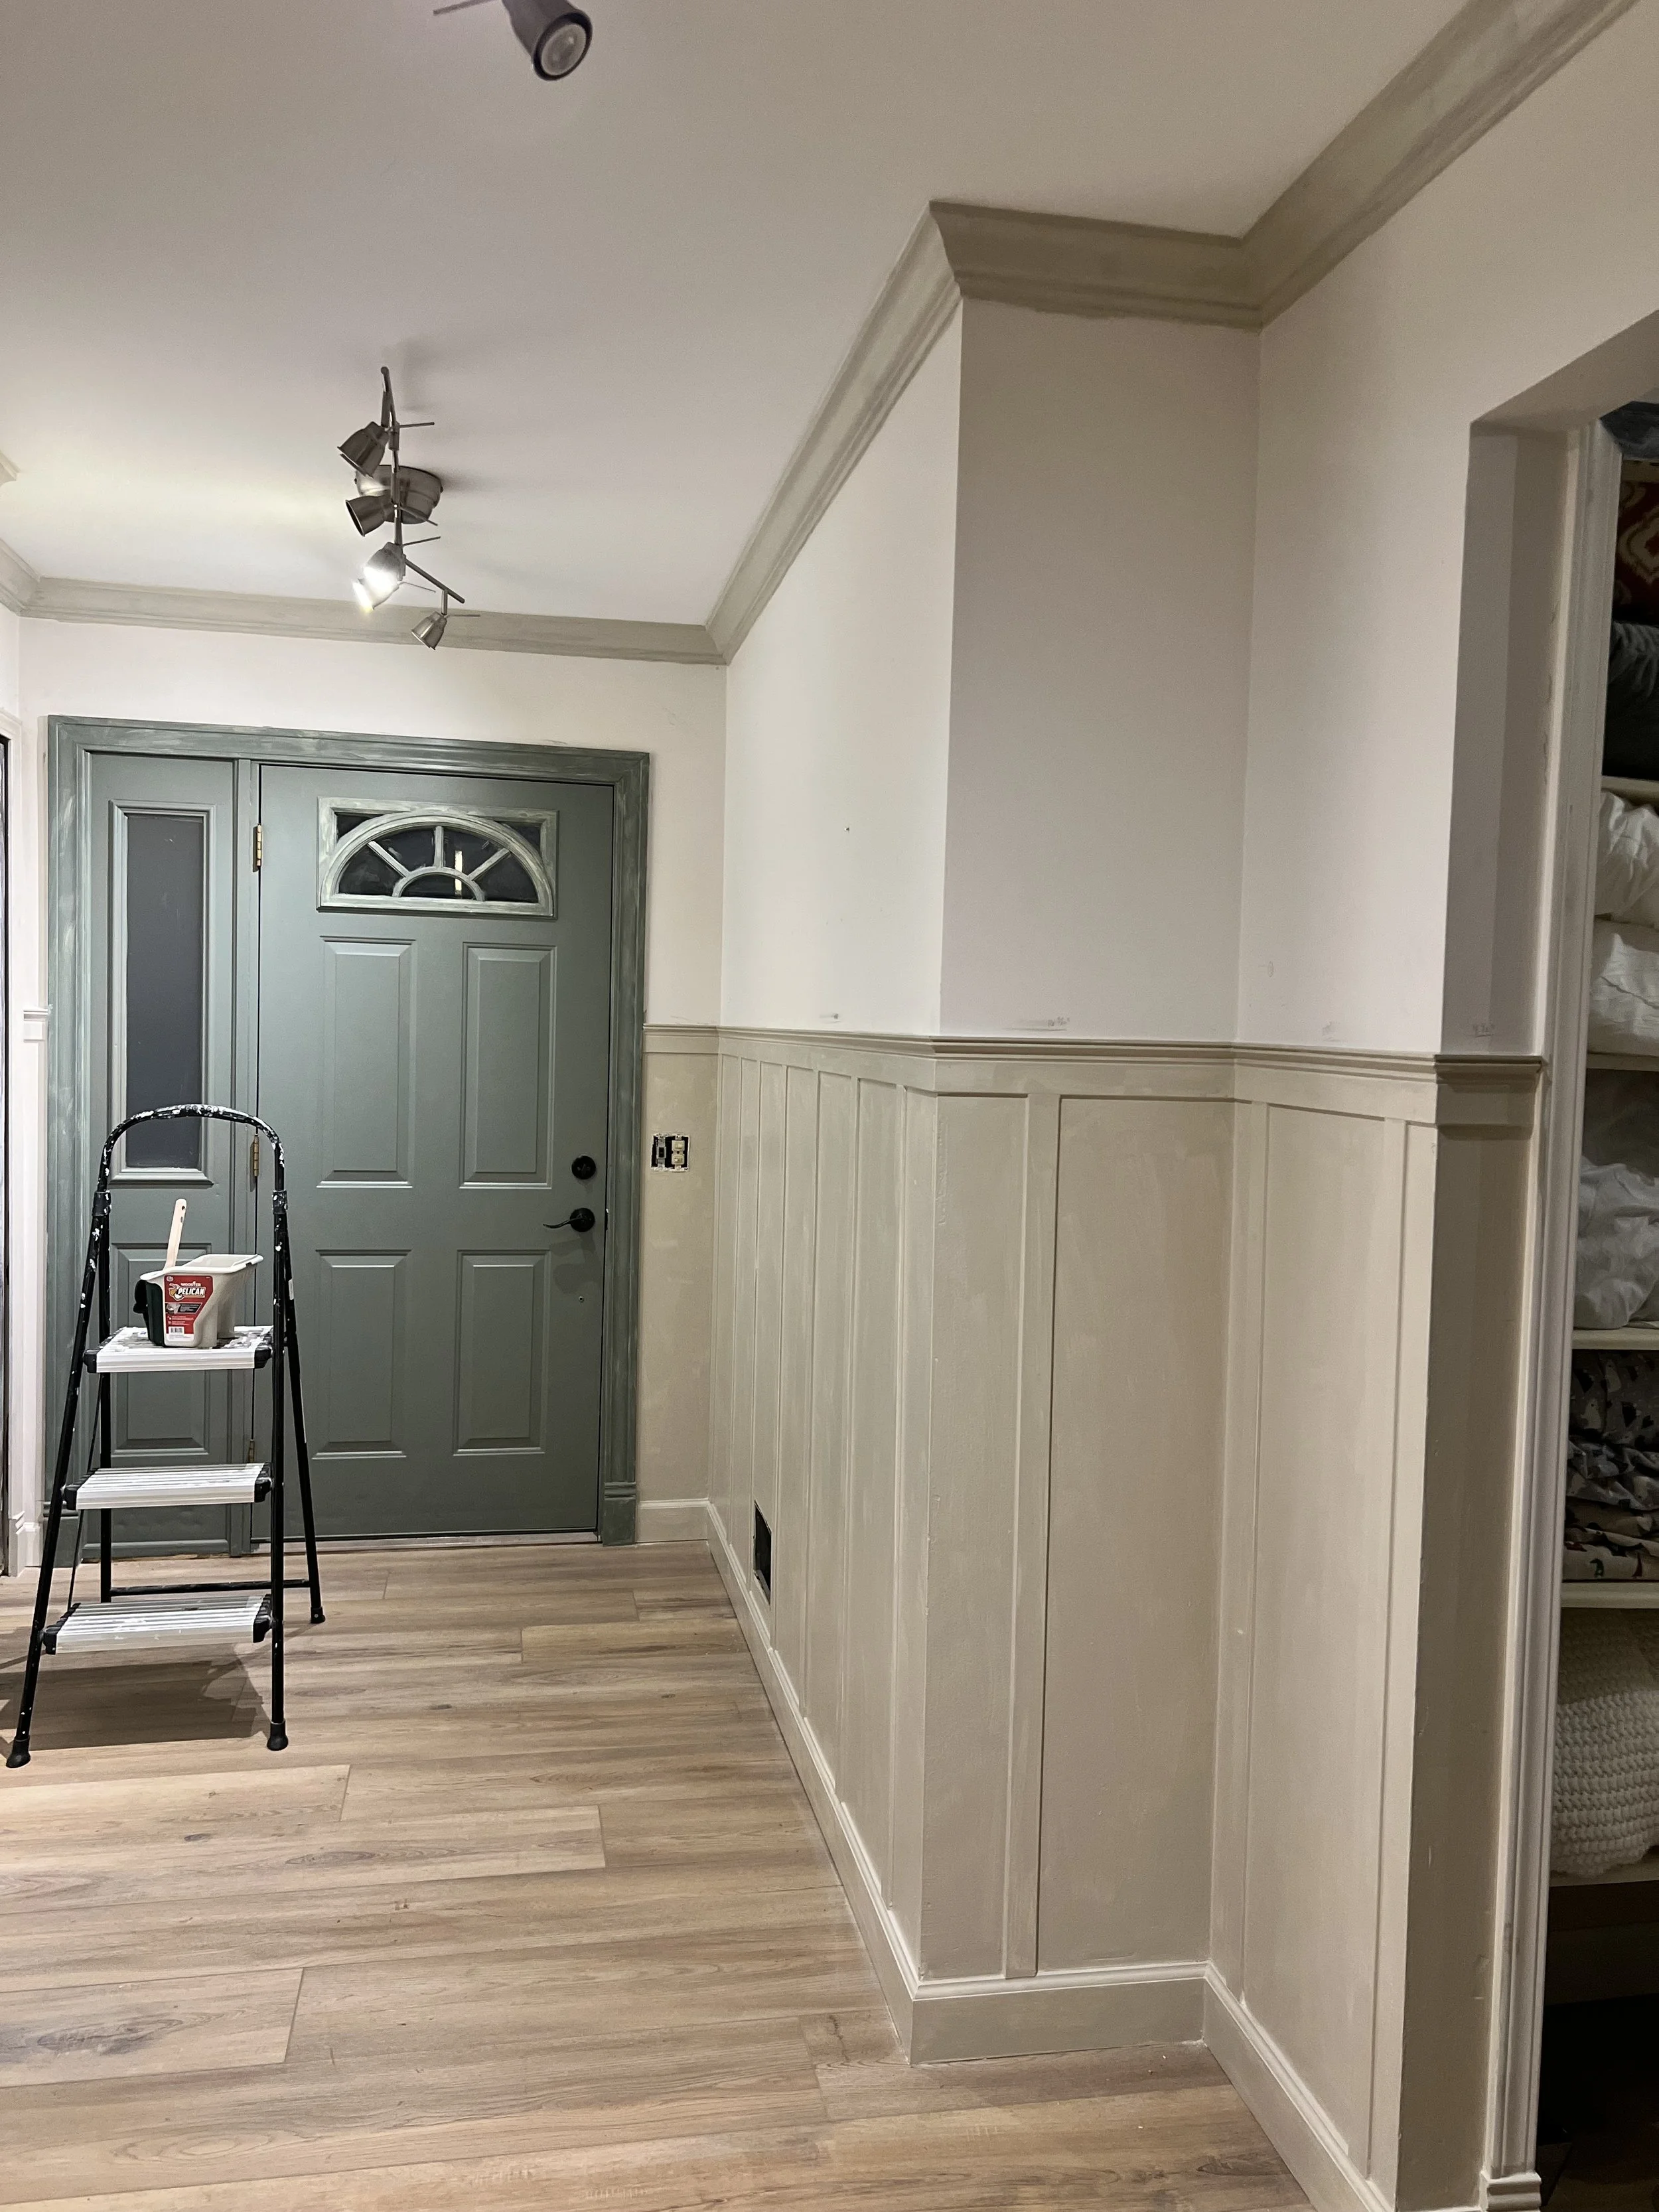
We primed the wood trim using the Zinsser 1-2-3 Bullseye Primer, and then painted two coats of Accessible Beige paint by Sherwin Williams.
Since our entryway doesn’t receive much natural light, we wanted to use a warm toned beige so that the space didn’t feel too cold. Lighting makes a huge difference in how paint appears, so you always want to test out multiple options to see which suits your room/lighting best.

Final Thoughts
That’s it!! This project took a couple of days, but it was completely worth the effort.
Our entryway now feels warm, welcoming, and has so much more personality. We can’t recommend this project enough, and it’s perfect for DIY beginners!
Our next step in the entryway renovation is to change out our ceiling light fixtures, and refinish a bench that I thrifted a few weeks ago.
Be sure to check back in a few weeks for an update!