Budget Kitchen Refresh
This post contains affiliate links. When you purchase through links on our site, we may earn a small commission at no additional cost to you. As an Amazon Associate we earn from qualifying purchases.
We only recommend products we would use ourselves and all opinions expressed here are our own.
Read the full disclaimer here.
When we first moved into our house, we knew that updating the kitchen was one of the first things we wanted to do.
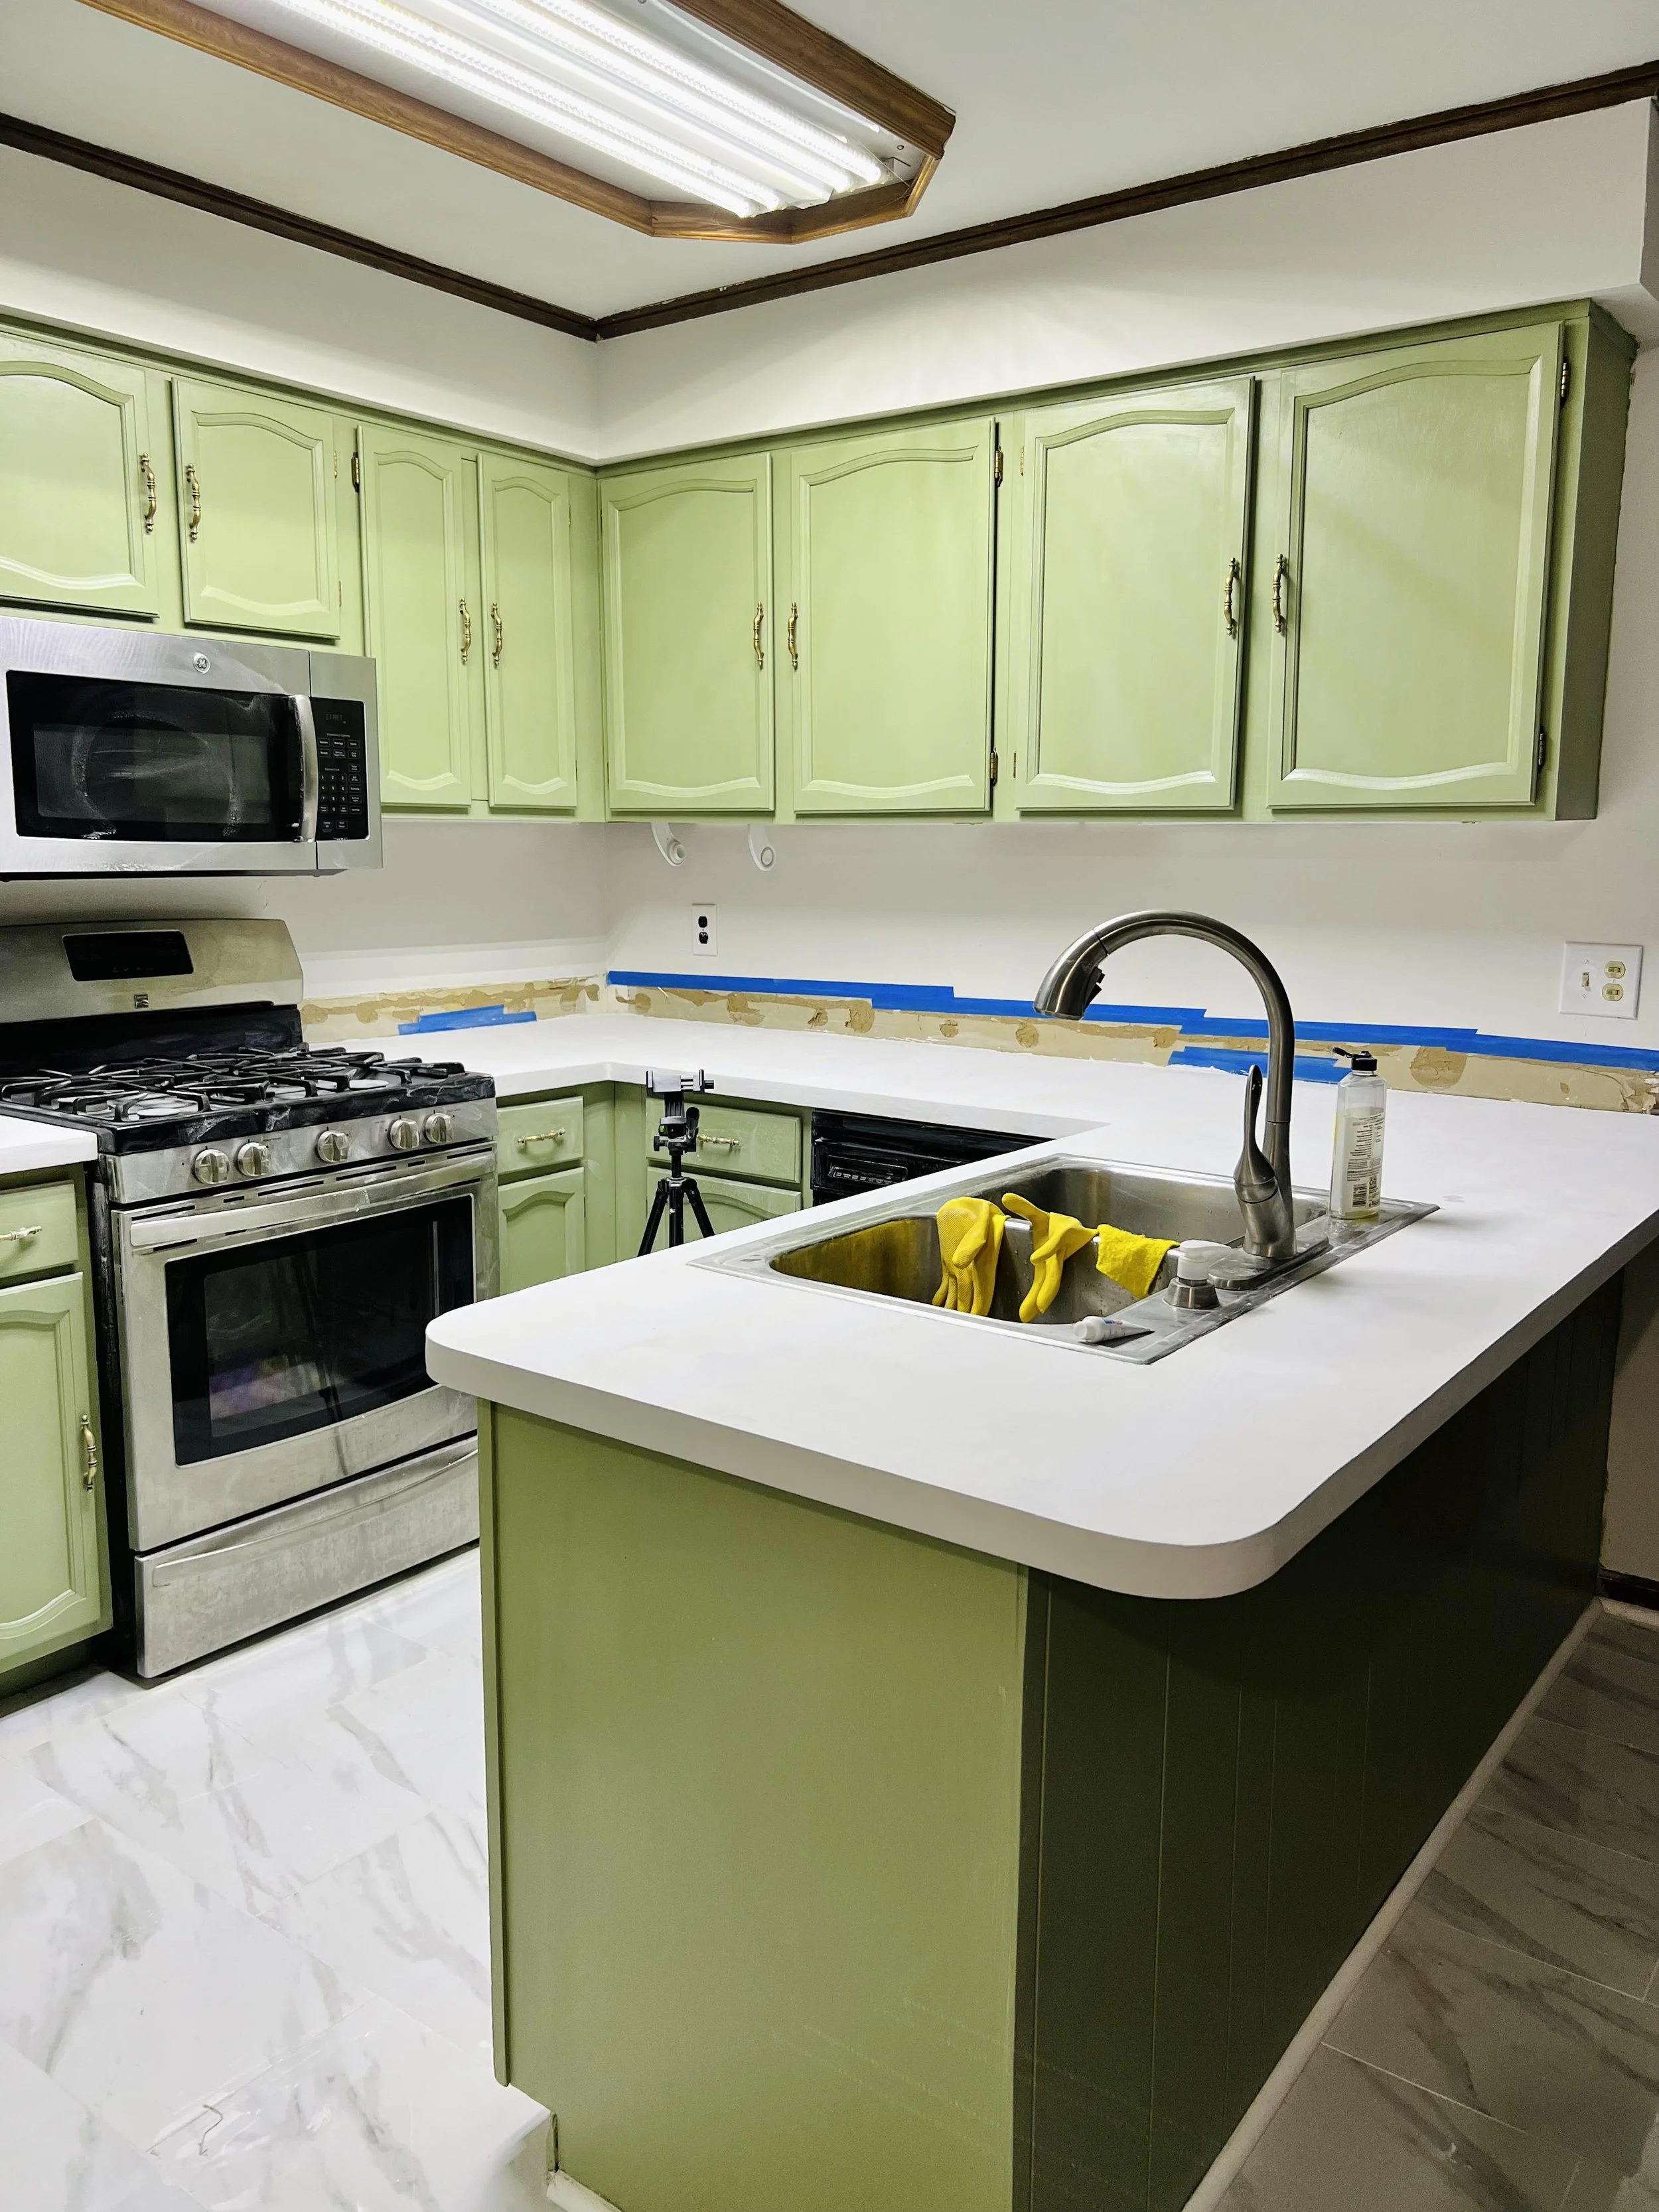
From the laminate countertops, cabinets that looked like they hadn’t been cleaned in years, horrible kitchen light, and unfinished trim, this 1980s builder grade kitchen needed a LOT of work.
However, it was still functional, so we decided to hold off on fully renovating it for 2-3 years while we focus on other projects in our home.
That brings us to our budget kitchen refresh, where the goal was to make the kitchen feel cleaner, brighter, and more inviting so that we could enjoy our space in the meantime.
My partner, Oliver, and I both love to cook and bake, and spend majority of our time in the kitchen when we’re not working. And having a kitchen that reflects your personality makes it a more enjoyable space to spend time.

It's important for your kitchen to reflect your personality so that you can feel comfortable and relaxed while cooking. When you're in a space that feels like it belongs to you, you're more likely to feel inspired to create delicious meals. It allows you to add elements that make you happy, such as artwork, photos, or a color scheme that you love.
When your kitchen reflects your personality, it can bring a sense of joy and satisfaction to your cooking experience.
So here’s how we quickly updated our kitchen into a space we love until we are ready to fully renovate it in a few years.
Step 1: Paint the Cabinets

Painting kitchen cabinets is a LOT of work (like, way more work than I thought it would be), but it is probably one of the best and least expensive things that you can do to freshen up your kitchen.
Since this is a temporary refresh, I wanted to find ways to save as much time as possible on the painting process.
One way I did this is by using chalk paint, which adheres to most surfaces without the need of primer or sanding.
However, if your furniture is in poor condition (scratches, nicks, etc.) then you will probably still want to sand for a smooth finish at the end.
One of my FAVORITE chalk paints of all time is by Country Chic.
Since this is a temporary project, we decided to test out going a little bolder with the color Sage Advice.
(While I do love the finish of Country Chic’s chalk paint, I realized that bold cabinet colors aren’t totally my thing—but that was the point of trying out something different on cabinets that we aren’t planning on keeping forever!)
Even though this specific color isn’t my thing, Country Chic is one of my favorite paints because it applies smoothly, Country Chic has a beautiful selection of colors, and it’s also eco-friendly and has ultra low VOCs.
I’ve used their paints on a couple different furniture refinishing projects, and it’s always turned out so well!
Check out this post for some tips on painting kitchen cabinets.
Step 2: Concrete Feather Finish the Countertops
Things were already looking a lot better by just painting the cabinets.
I couldn’t believe how much bigger the kitchen felt just by brightening up one aspect of it, and I couldn’t wait to see how it would turn out after we finished everything else.
The next step in this project was to update the 1980’s laminate countertops.
I don’t hate all laminate countertops, but the pattern we had looked dirty all the time. It was also old, worn, and chipping away in some parts.
Since this is a temporary refresh, we obviously didn’t want to drop hundreds or thousands of dollars on a new countertop at the moment.
So, after doing some research, I learned about countertop concrete feather finishing, which is basically when you apply a series of very thin concrete layers onto an existing surface.
To complete this project, I used:
Ardex Feather Finish in White
Cheng Concrete Countertop Sealer
Cheng Concrete Countertop Wax
Orbital Sander
For $150 and about three days of work, we ended up with a brand new countertop surface!
And, oh my gosh, did it make a BIG difference.
For the full breakdown of how I concrete feather finished our countertops, check out this post.


Step 3: Install a Backsplash & Trim
If there is one thing we’ve learned about our house since moving in, it’s that the builders cut CORNERS.
If there was a step that could be skipped in the building process, I guarantee you they skipped it.
Backsplash included.
When brainstorming how to add a little bit of pizzazz to our kitchen walls, I knew that adding tile didn’t make the most sense for this refresh.
During the major kitchen remodel in a few years, we will definitely add tile. But we have no idea what type of design/vibe we want to shoot for and also don’t want to go through the hassle of removing the tile and mortar at that point.
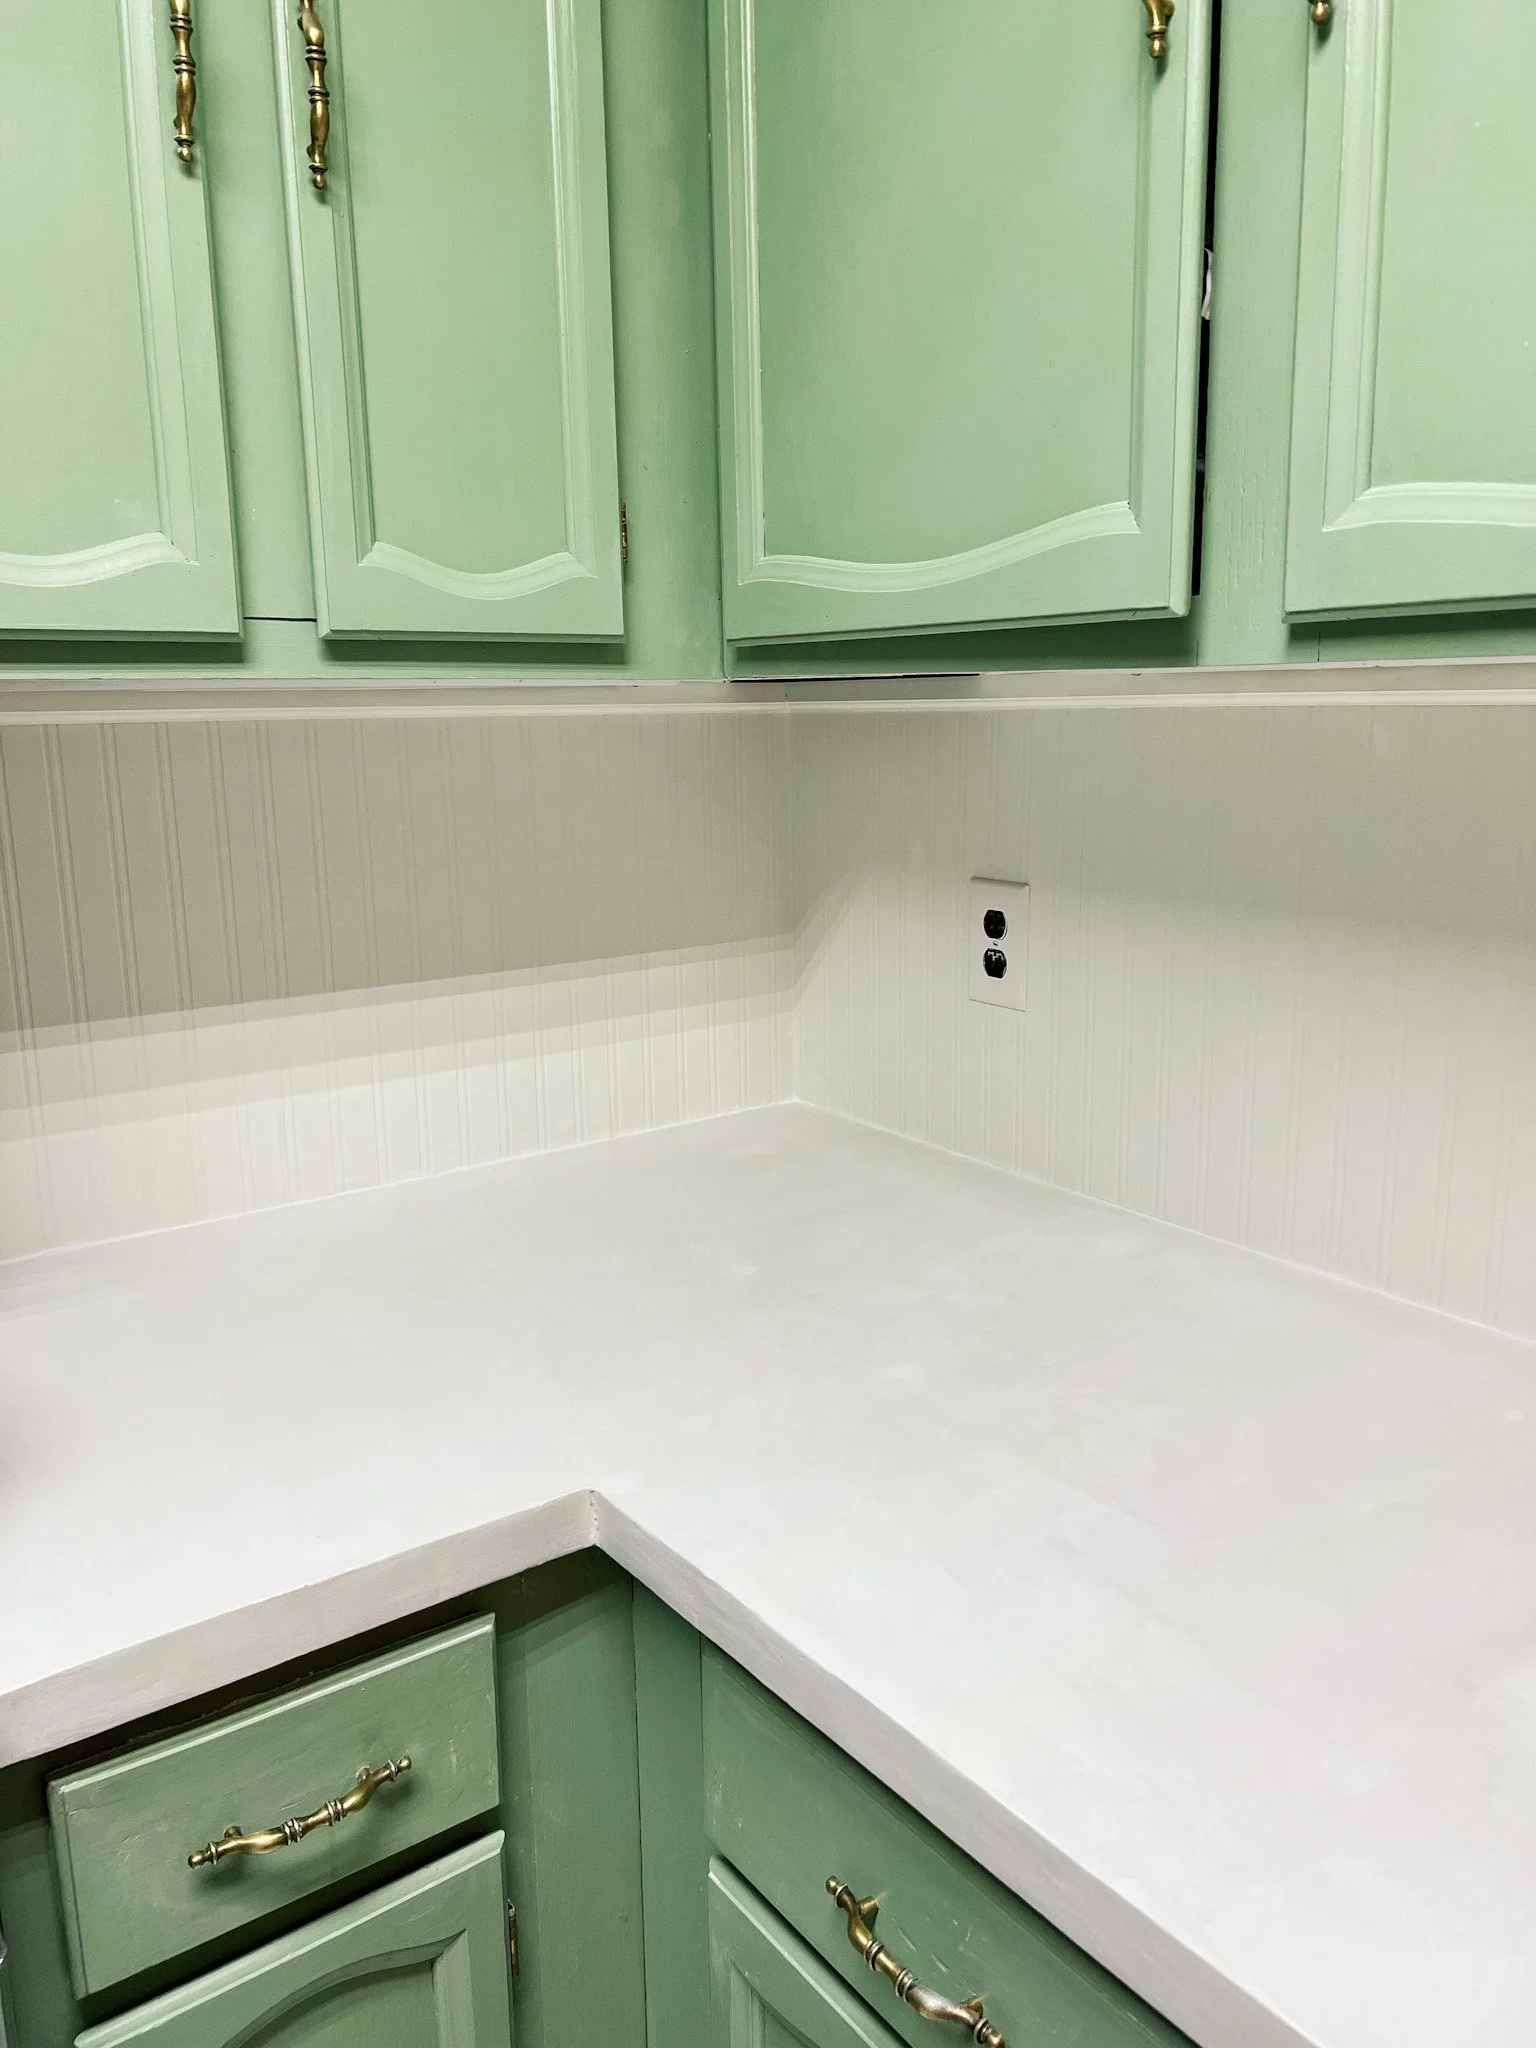
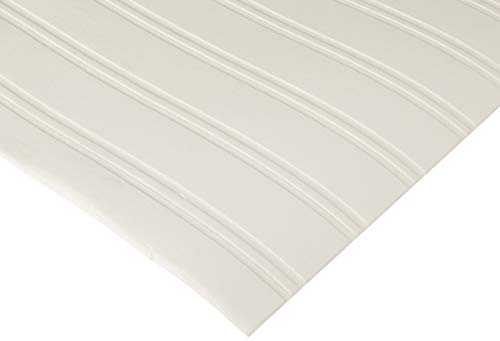
So I started researching different temporary options: from peel and stick tile, vinyl wallpaper, and more, until I finally stumbled across this bead board wallpaper on Amazon.

Before applying the wallpaper, I primed my walls using the Zinsser 1-2-3 Bullseye Primer, which is my ride or die primer for just about all painting projects.
I measured and precut sections of wallpaper, and learned from reading online reviews that the wallpaper becomes extremely fragile when completely submerged in water as the directions suggest. Instead, I decided to use a spray bottle to spray the back of the wallpaper piece with water until it was pretty saturated.
Next, I carefully lined up the wallpaper and smoothed it out from top to bottom and used scissors to cut off any excess.
While the wallpaper was drying, I headed to Lowe’s to grab some PVC trim that I cut with a miter saw, and used Liquid Nails to secure each section of trim to the wall.
Step 4: Paint
After waiting approximately 24 hours for the Liquid Nails to cure, I painted the backsplash wallpaper and trim in the shade Promenade by Sherwin Williams, which complemented the Cabinets in Sage Advice by Country Chic really well.
We also decided to do something a little controversial and paint over the wood crown moulding and base boards. We plan to paint all of the wood trim in our home, which has made a LOT of people angry on the internet.
While I think it’s important to preserve the character of old homes (for example: an adorable craftsman-style home built in the 1940s), I don’t think that ALL wood trim needs to stay natural wood.
Like I’ve mentioned before, we moved into a builder grade 1980s fixer upper, and the wood trim style in our house is the cheapest option available at Lowe’s. This is not “nice” wood or “antique” wood, and it honestly makes our house feel darker and moodier than we would like.
So, we decided to paint the trim “Pure White” by Sherwin Williams and it REALLY brightened up the space.
I used Liquid Sandpaper to remove the shine of the wood finish before priming with the (you guessed it) Zinsser 1-2-3 Bullseye Primer.
Finally, I warmed up the rest of the walls in the kitchen with the color Swiss Coffee by Behr, and the kitchen started to feel like it’s coming together!
Final Steps
We’re still not quite finished with this kitchen refresh, but our kitchen is already WAY more enjoyable to be in!
The last two things we want to do in our kitchen is replace the horrible spaceship overhead light (it’s sooo bad and HAS to go 😂), and create a coffee bar by installing some floating shelves and refinishing a buffet cabinet.
We can’t wait to see how our kitchen turns out!! Be sure to follow us on TikTok and Instagram for more updates on our diy home renovation projects!